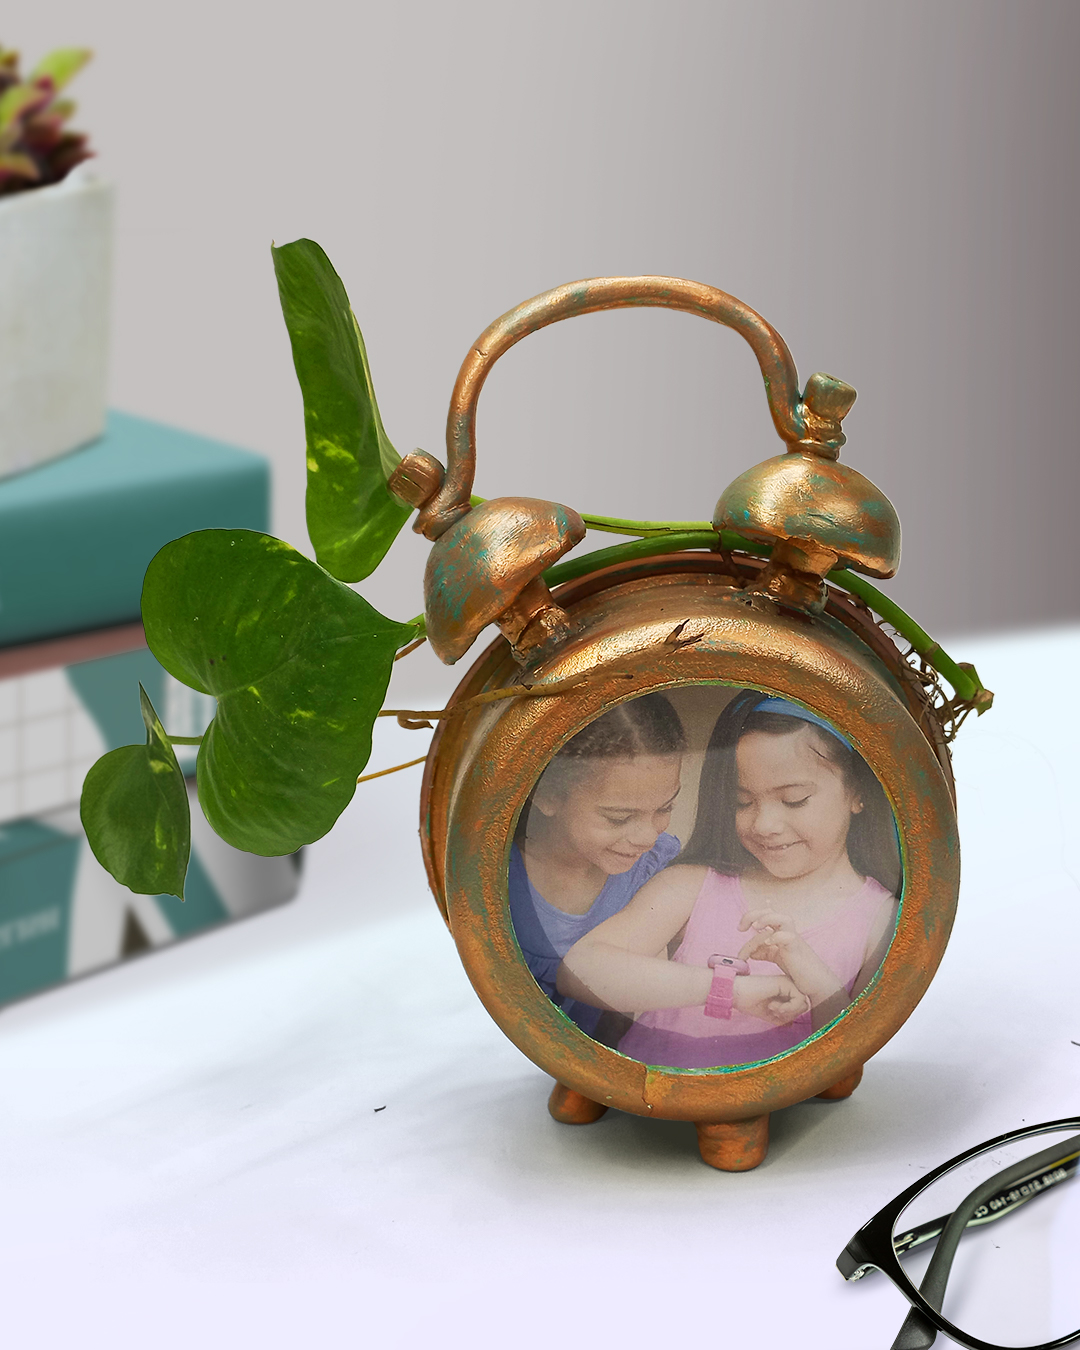
Vintage Clock Photo Frame

You Will Need:
Fevicryl Acrylic Colours - White 27, Sky Blue 63, Teal Blue 68, Fevicryl Acrylic Colours Pearl - Metallic Bronze 355, Fevicryl Mouldit, Fevicryl Fabric Glue, Fine Art Brushes, Plastic Container, Paper Cutter, Corrugated Sheet / Cardboard Paper, Wooden Stick, OHP Sheet, CD Marker, Scissors, Clay Carving Tools, Colour Palette, Water Container, Colour Palette
Product Used:

Description :
A great DIY that teaches you how things of utility can be churned out of waste materials and basic elements easily available. An alarm clock made using Fevicryl Mouldit and corrugated sheets, it’s simple and basic and loads of fun to make.
Take a CD, paint with a base coat of Fevicryl Acrylic Colour – White 27. Let it dry.

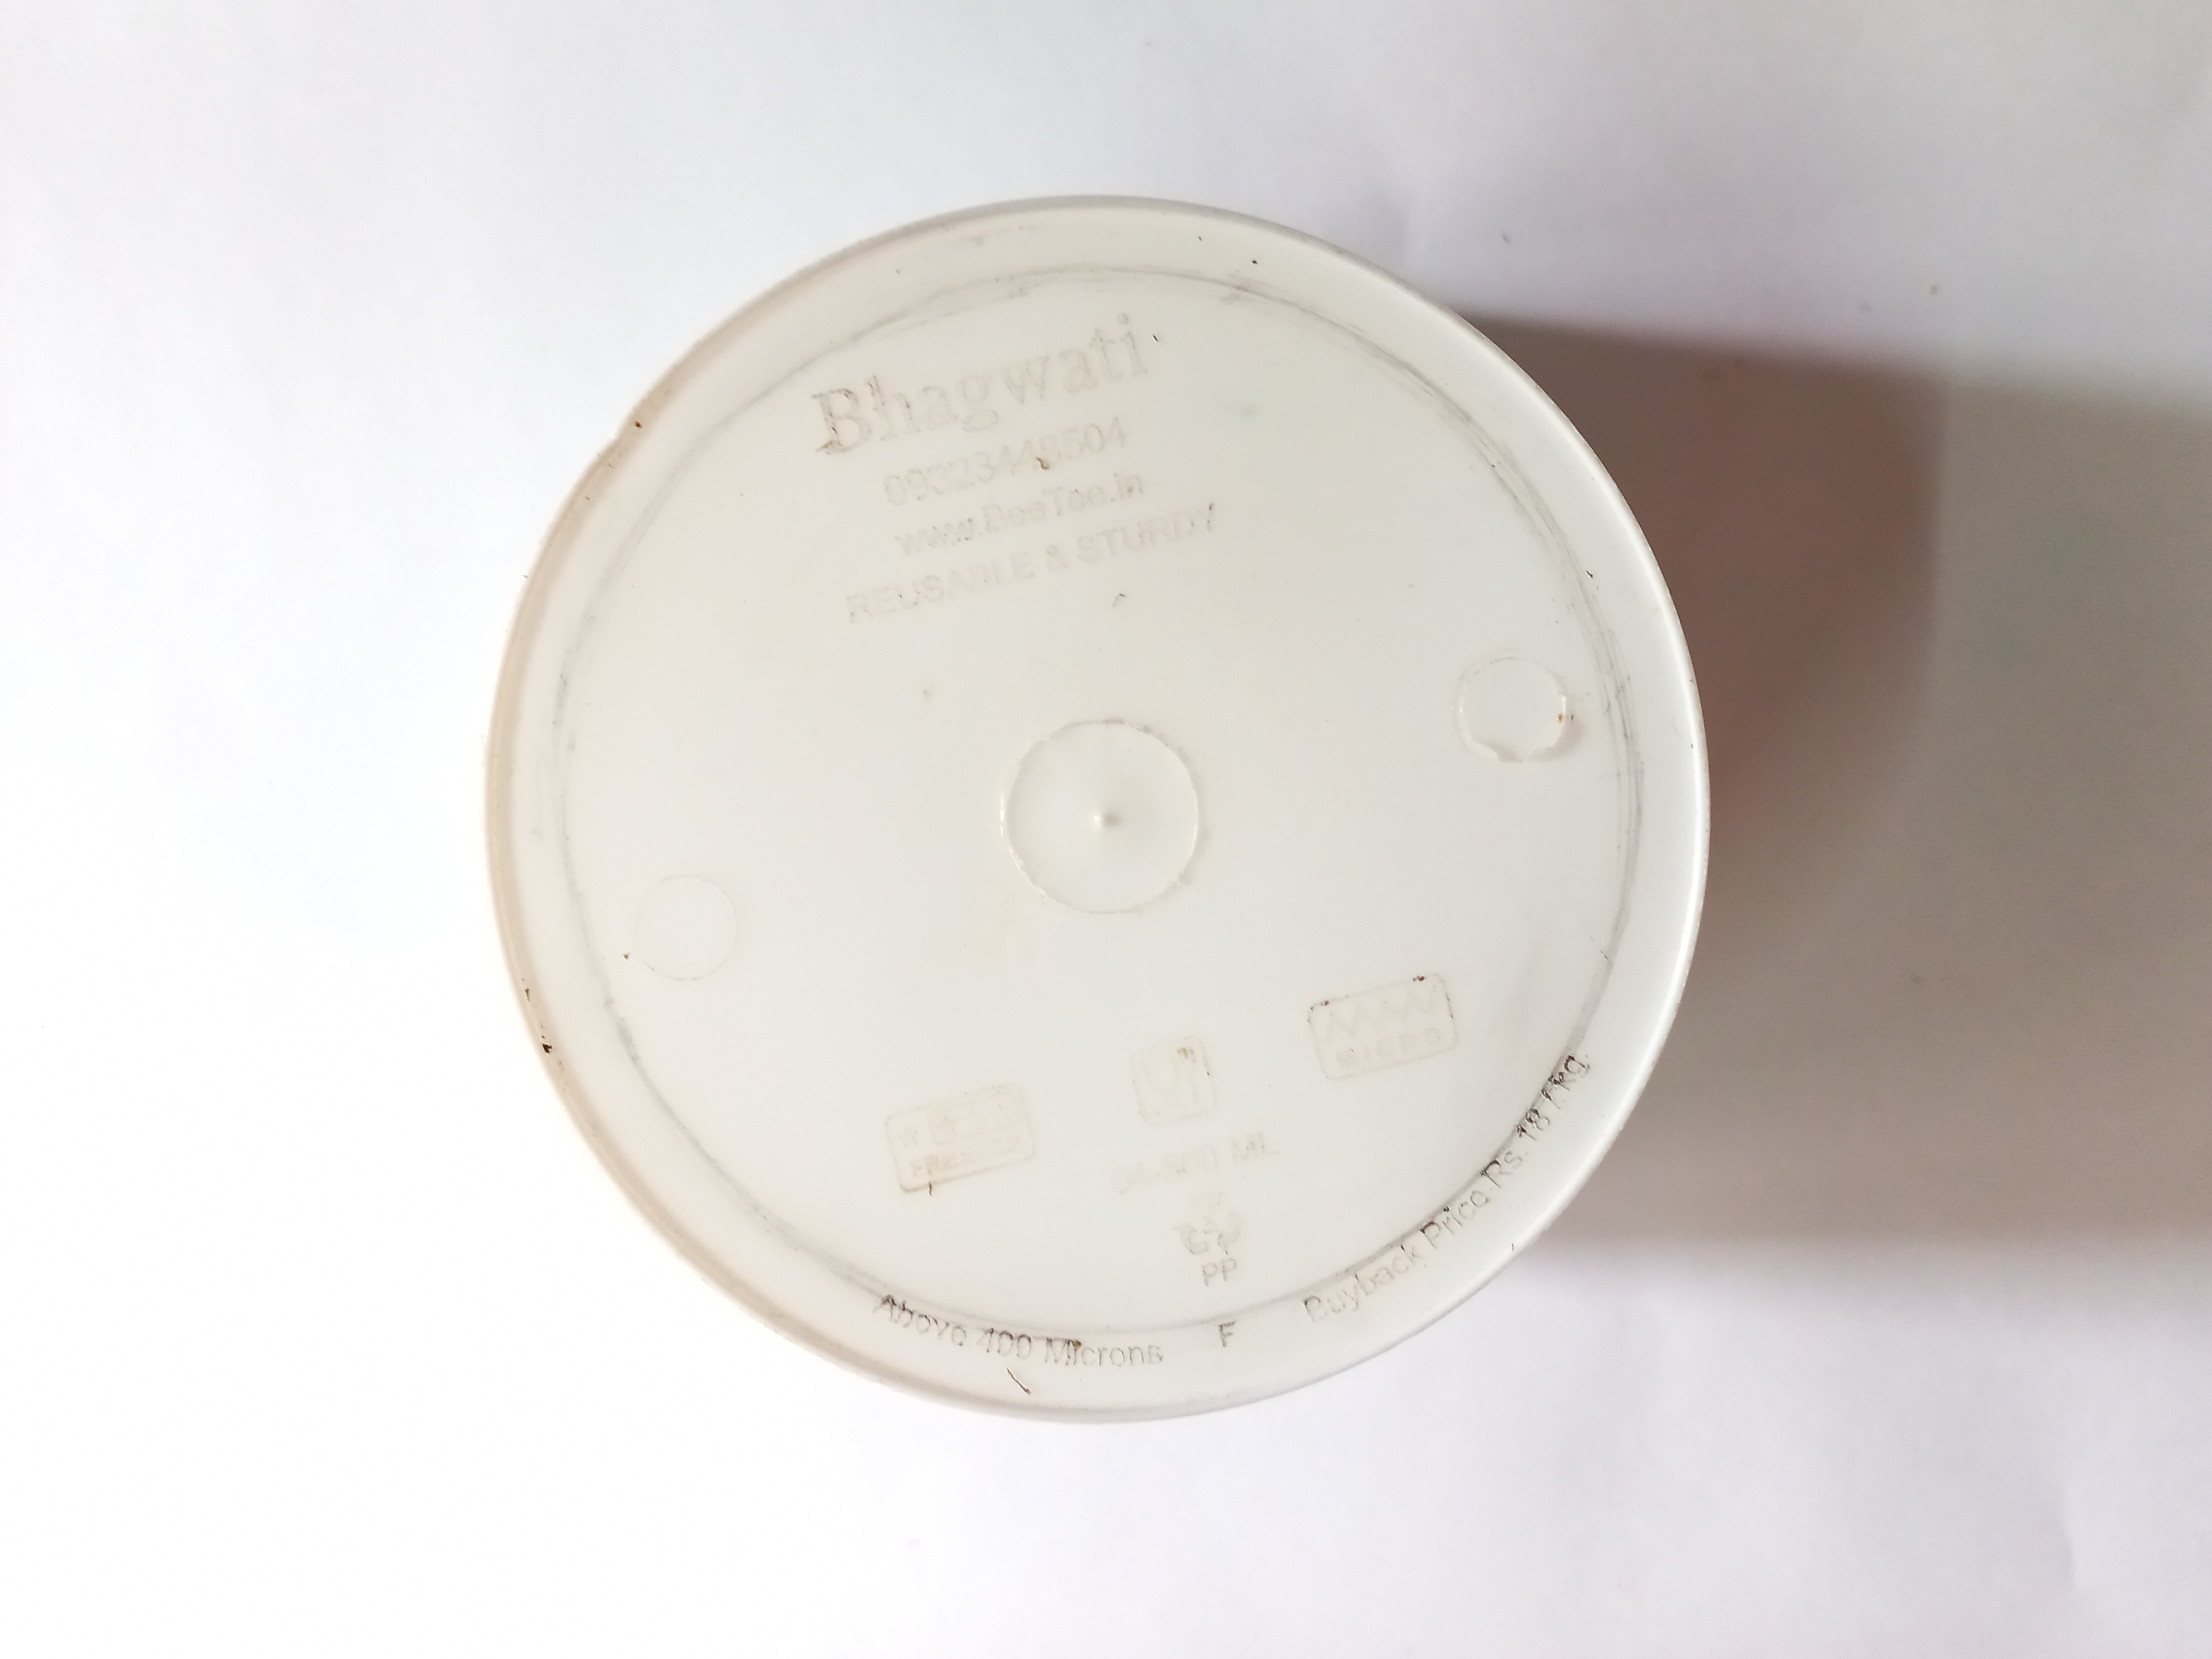
Take a plastic container and cut off the base with a sharp paper cutter.
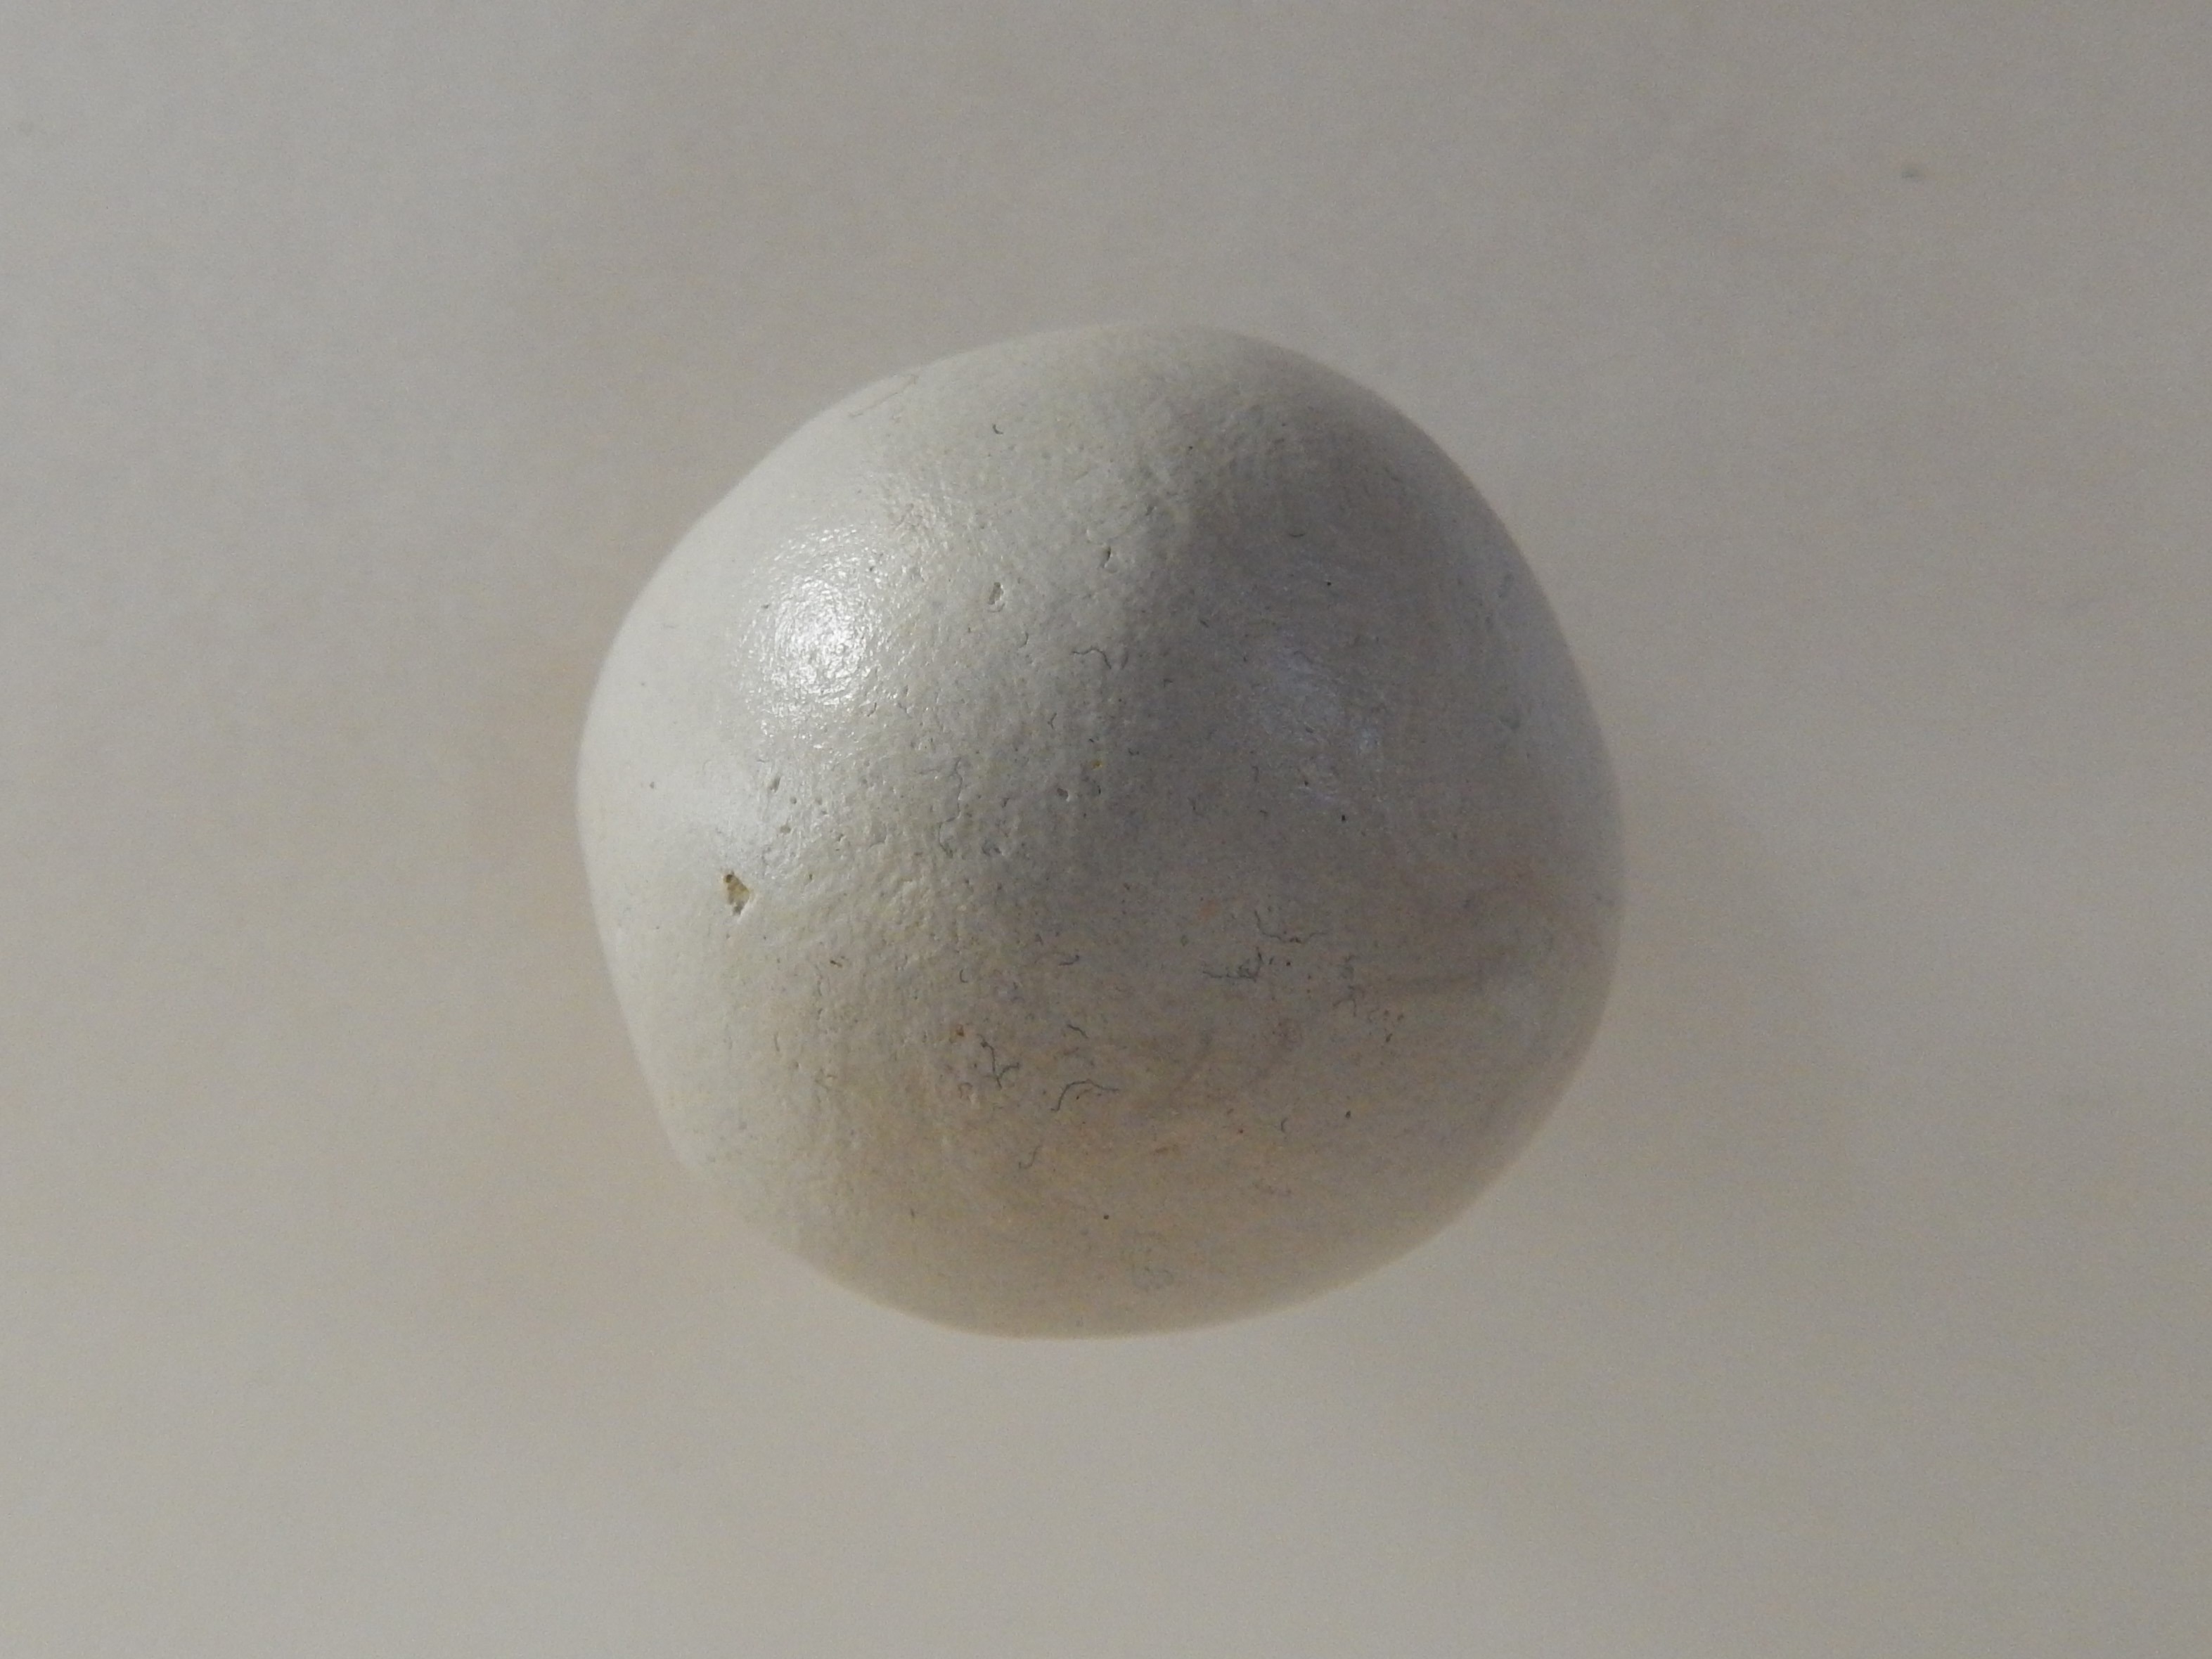
Take Fevicryl Mouldit – resin base & hardener, mix well to form an even soft dough.

Take the dough and make two rounded pieces and two beads with holes pierced within each of them.
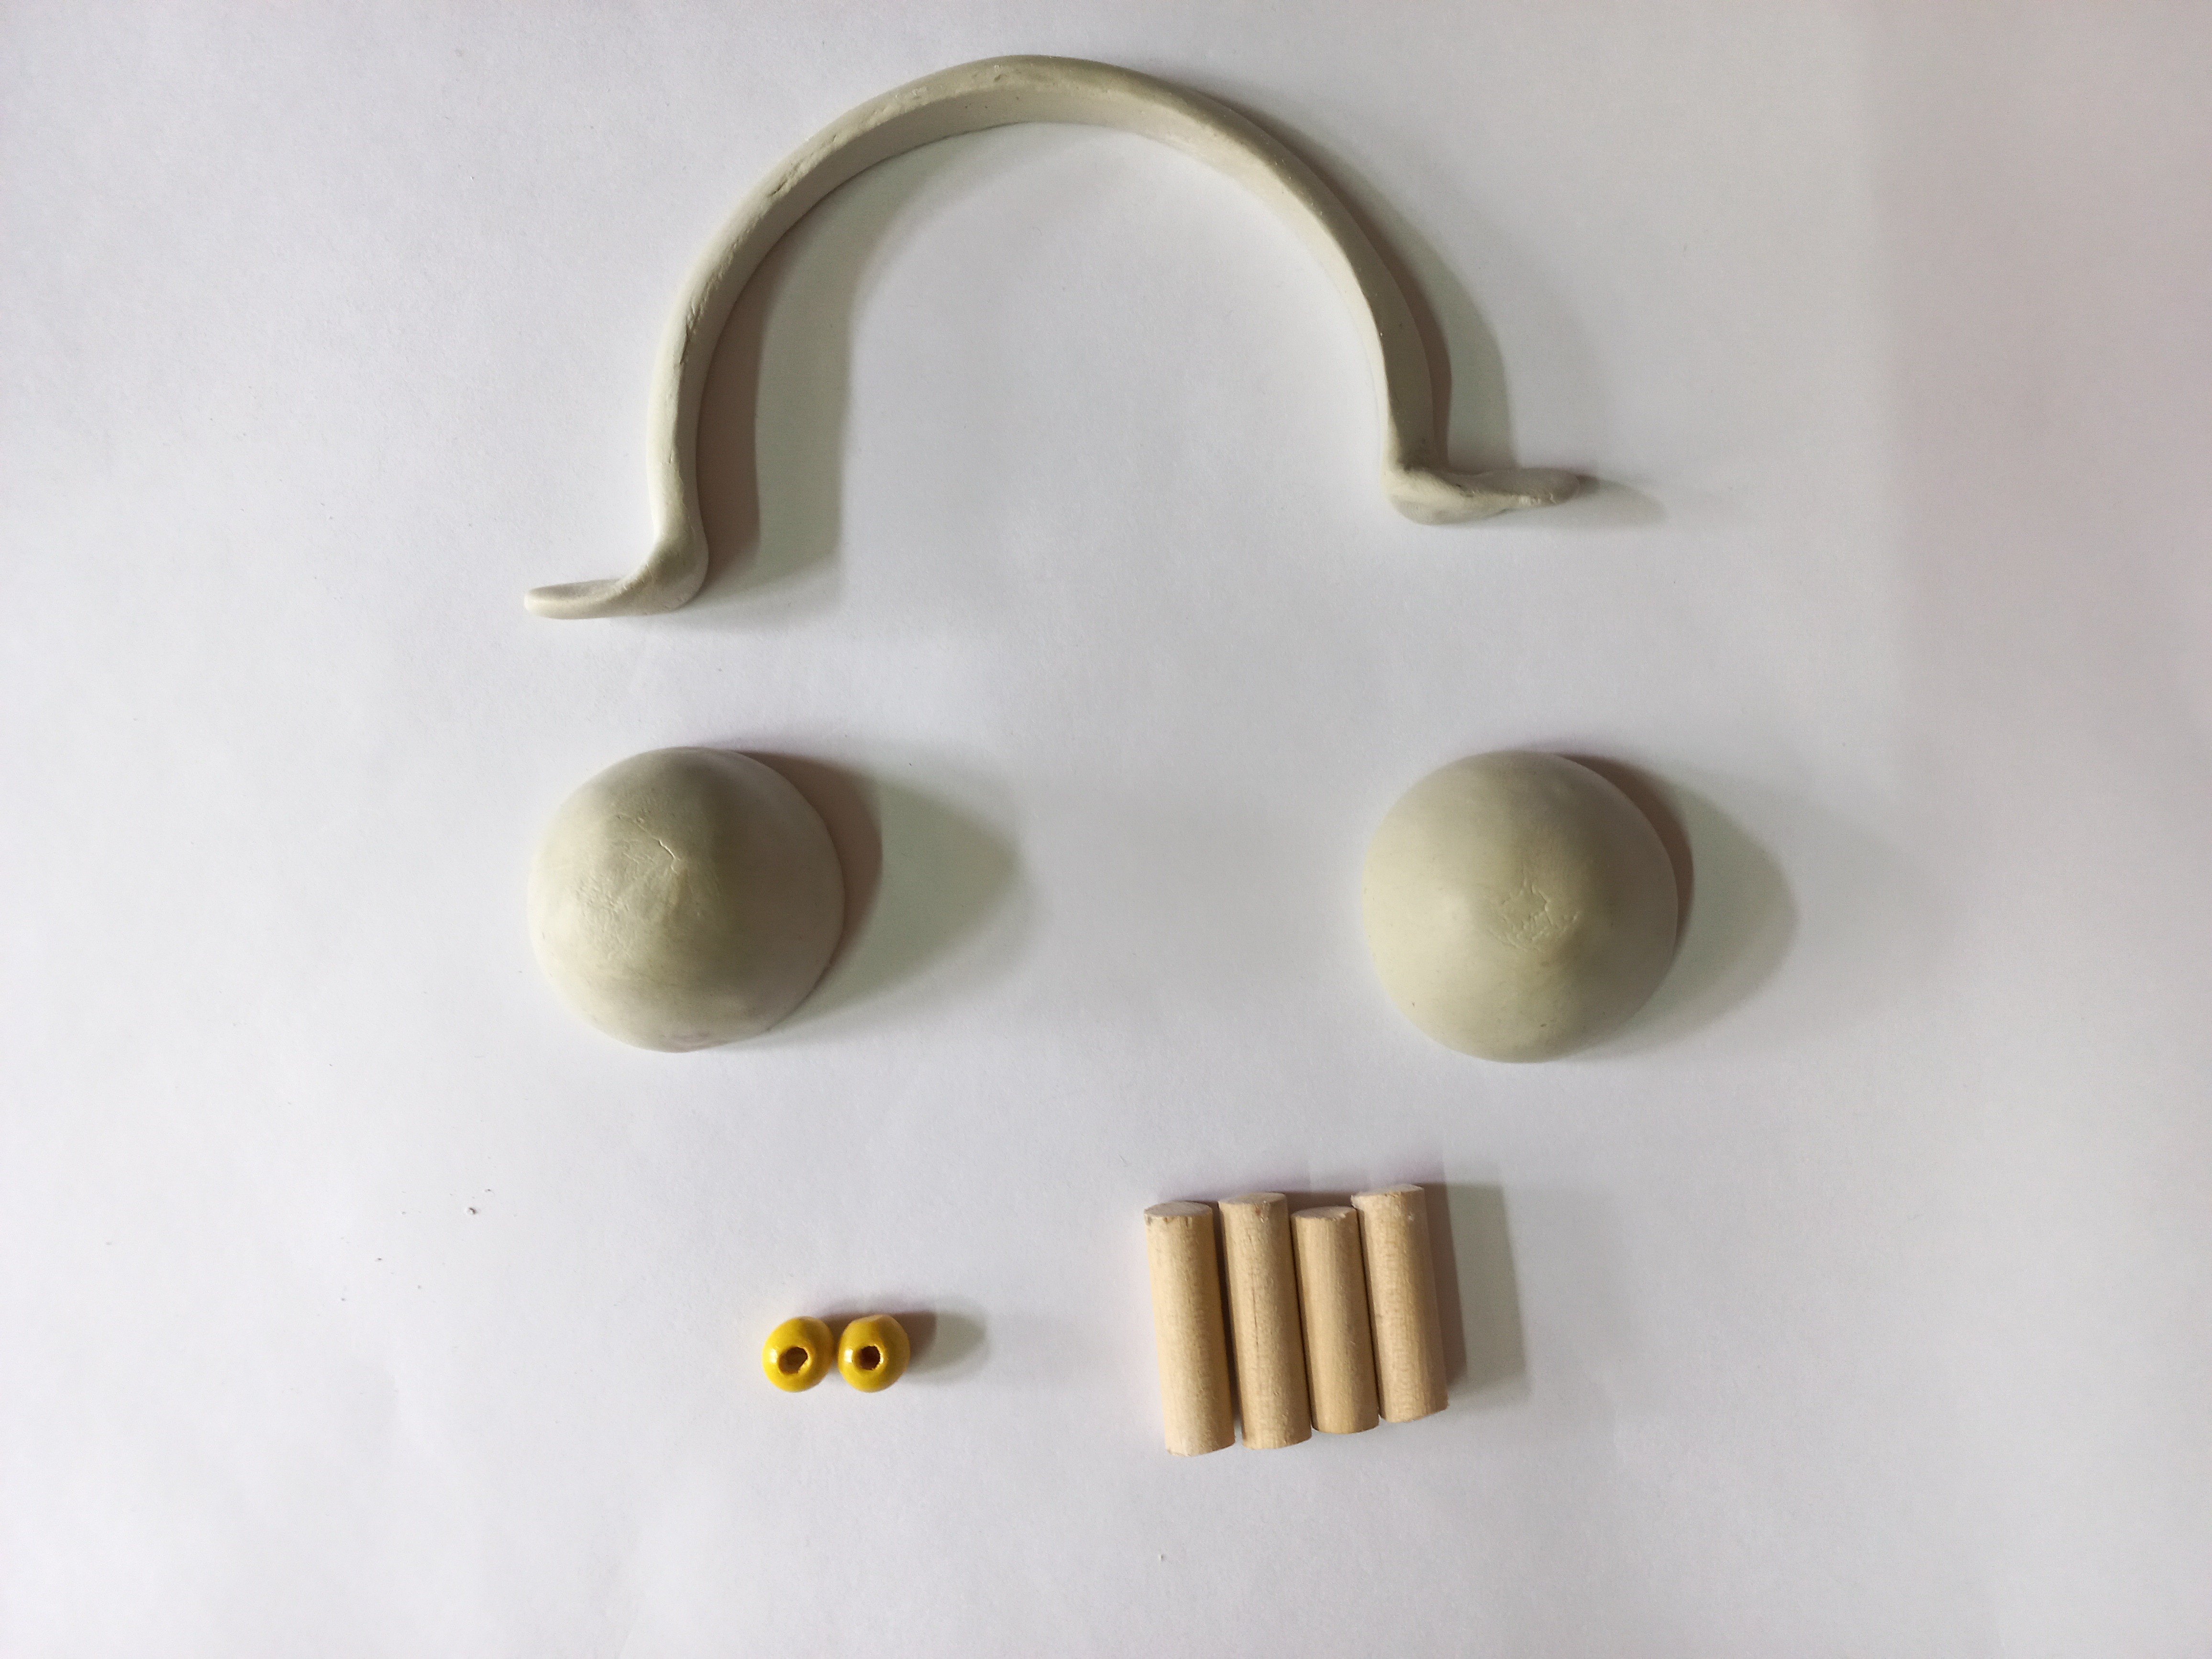
Make different shapes from the clay that would comprise the various parts of the alarm clock. Take wooden sticks and cut them short like you see in the image. Cover each one with Mouldit, using Fevicryl Fabric Glue while sticking. Use clay carving tools for ease.
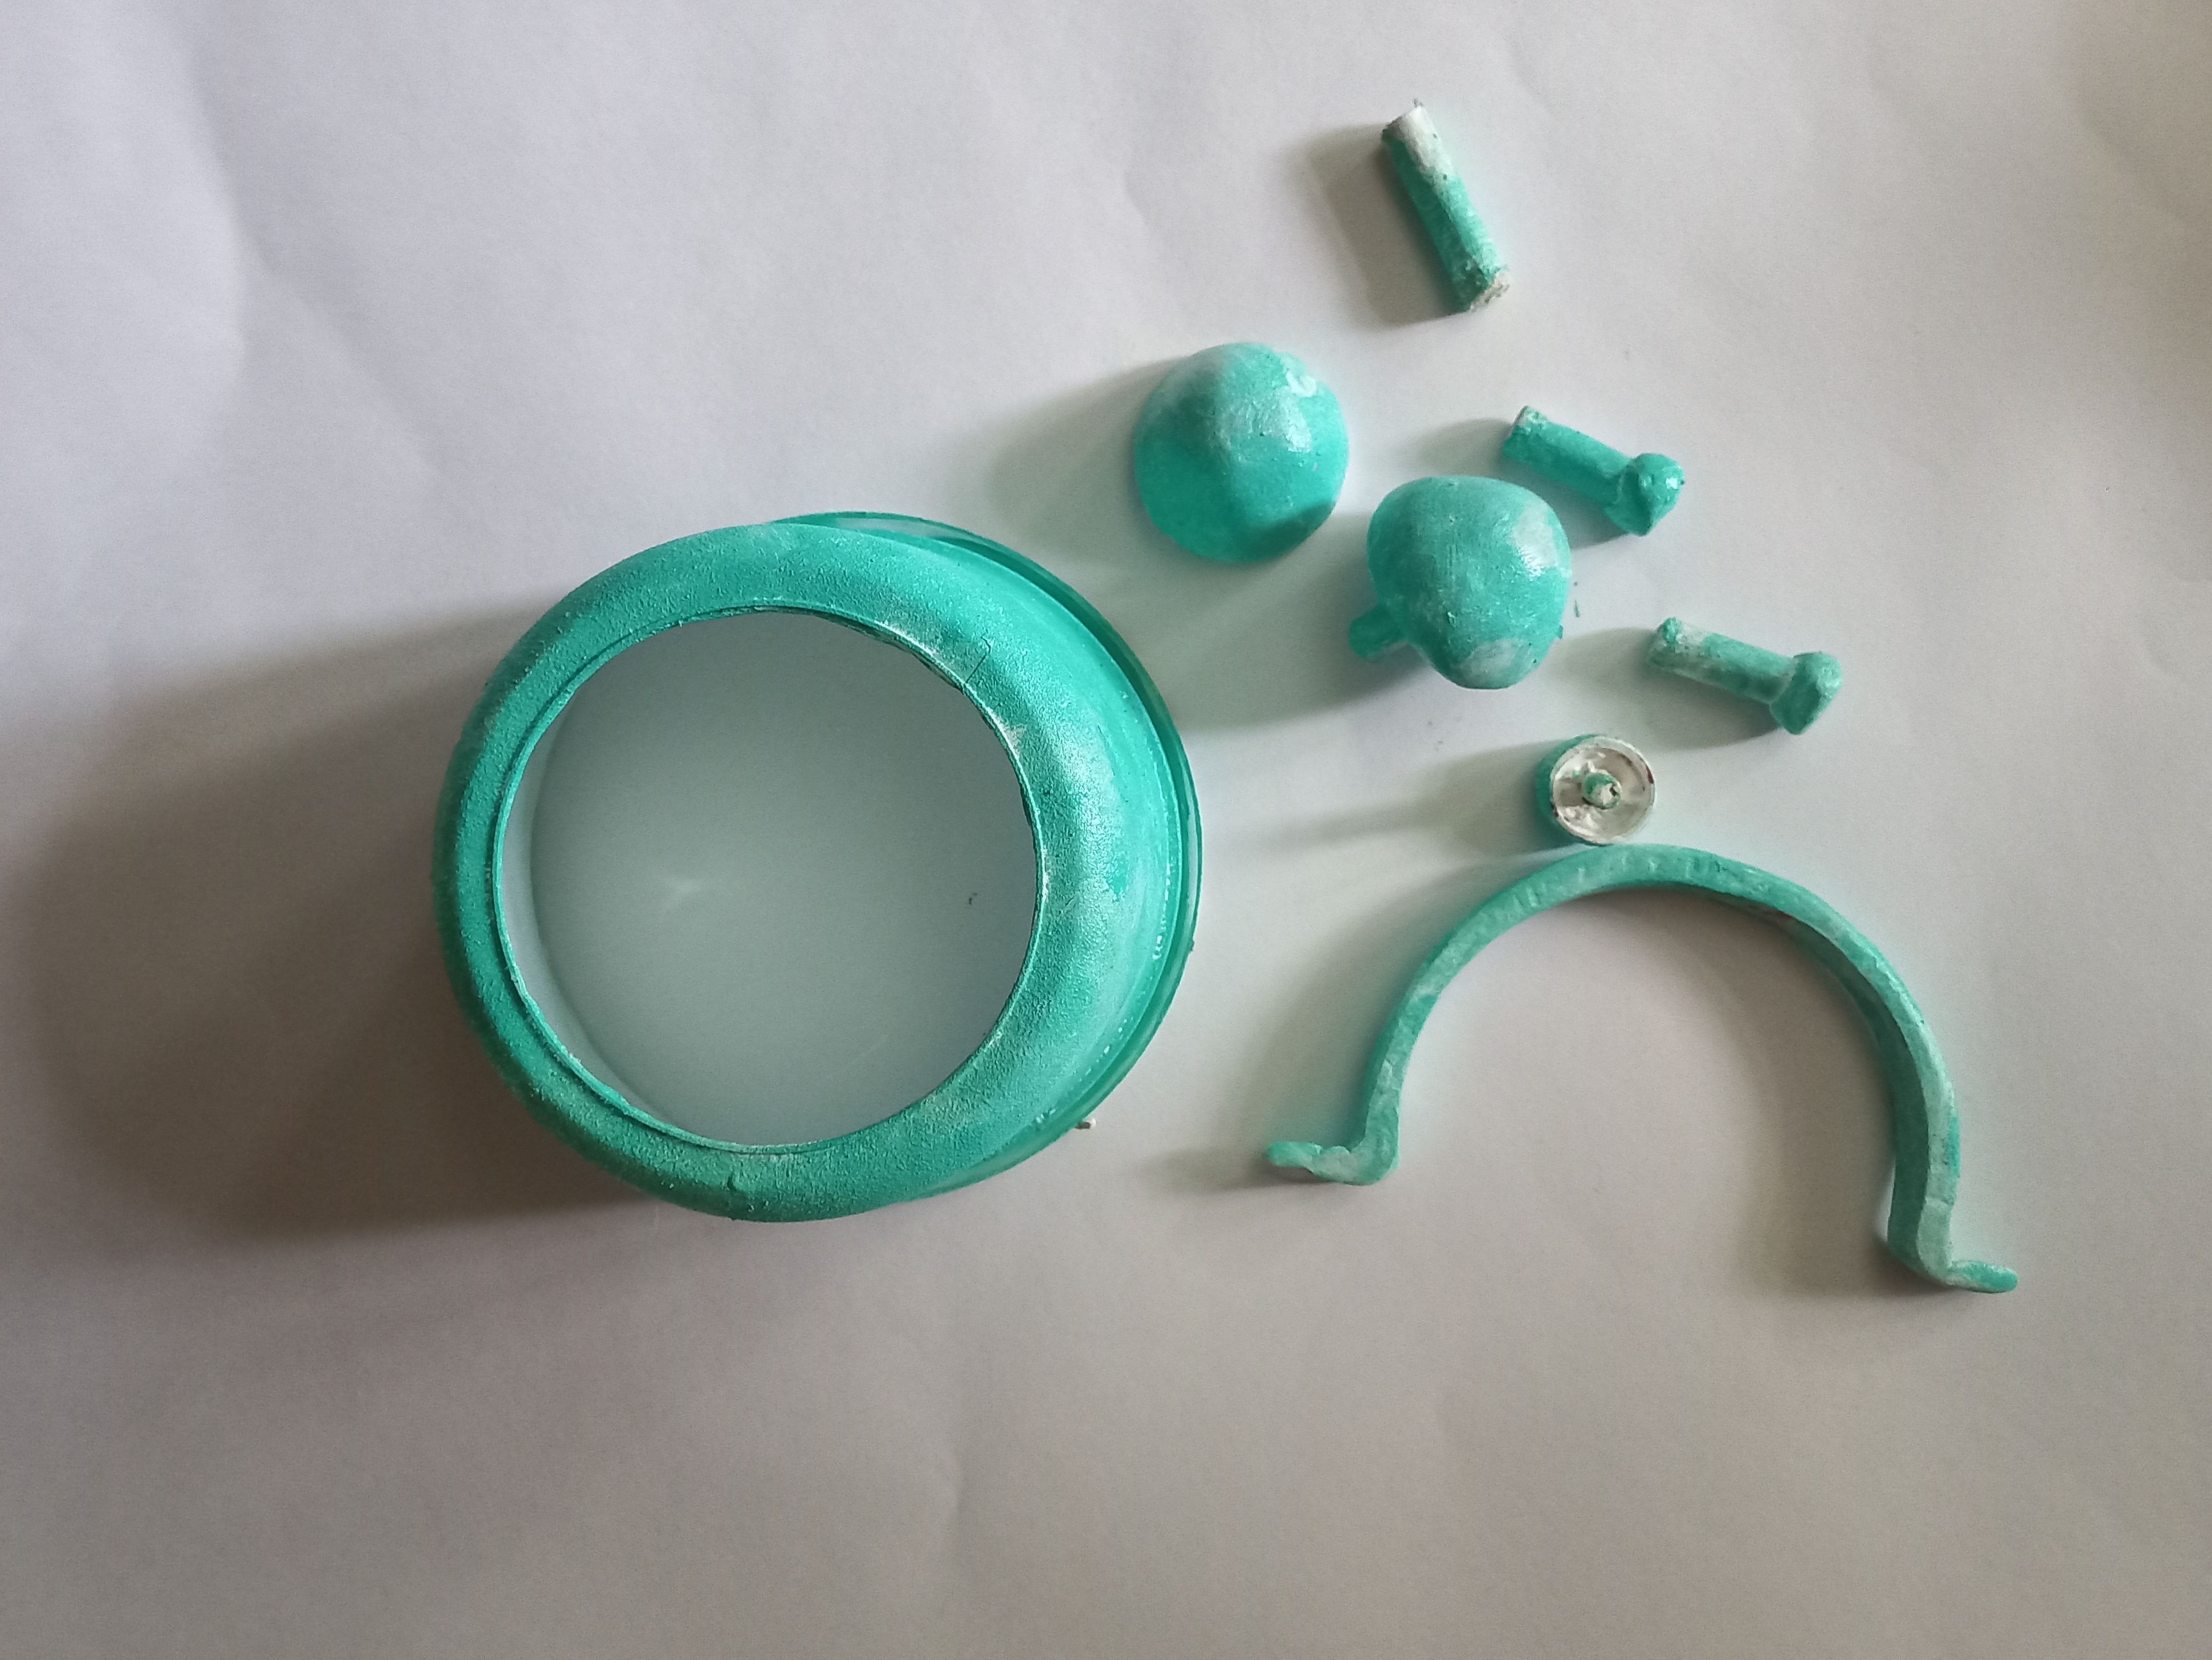
Start painting the alarm clock parts using Fevicryl Acrylic Colours - Sky Blue 63 & Teal Blue 68.
Start sticking the clock parts like you see in the image using Fevicryl Fabric Glue.
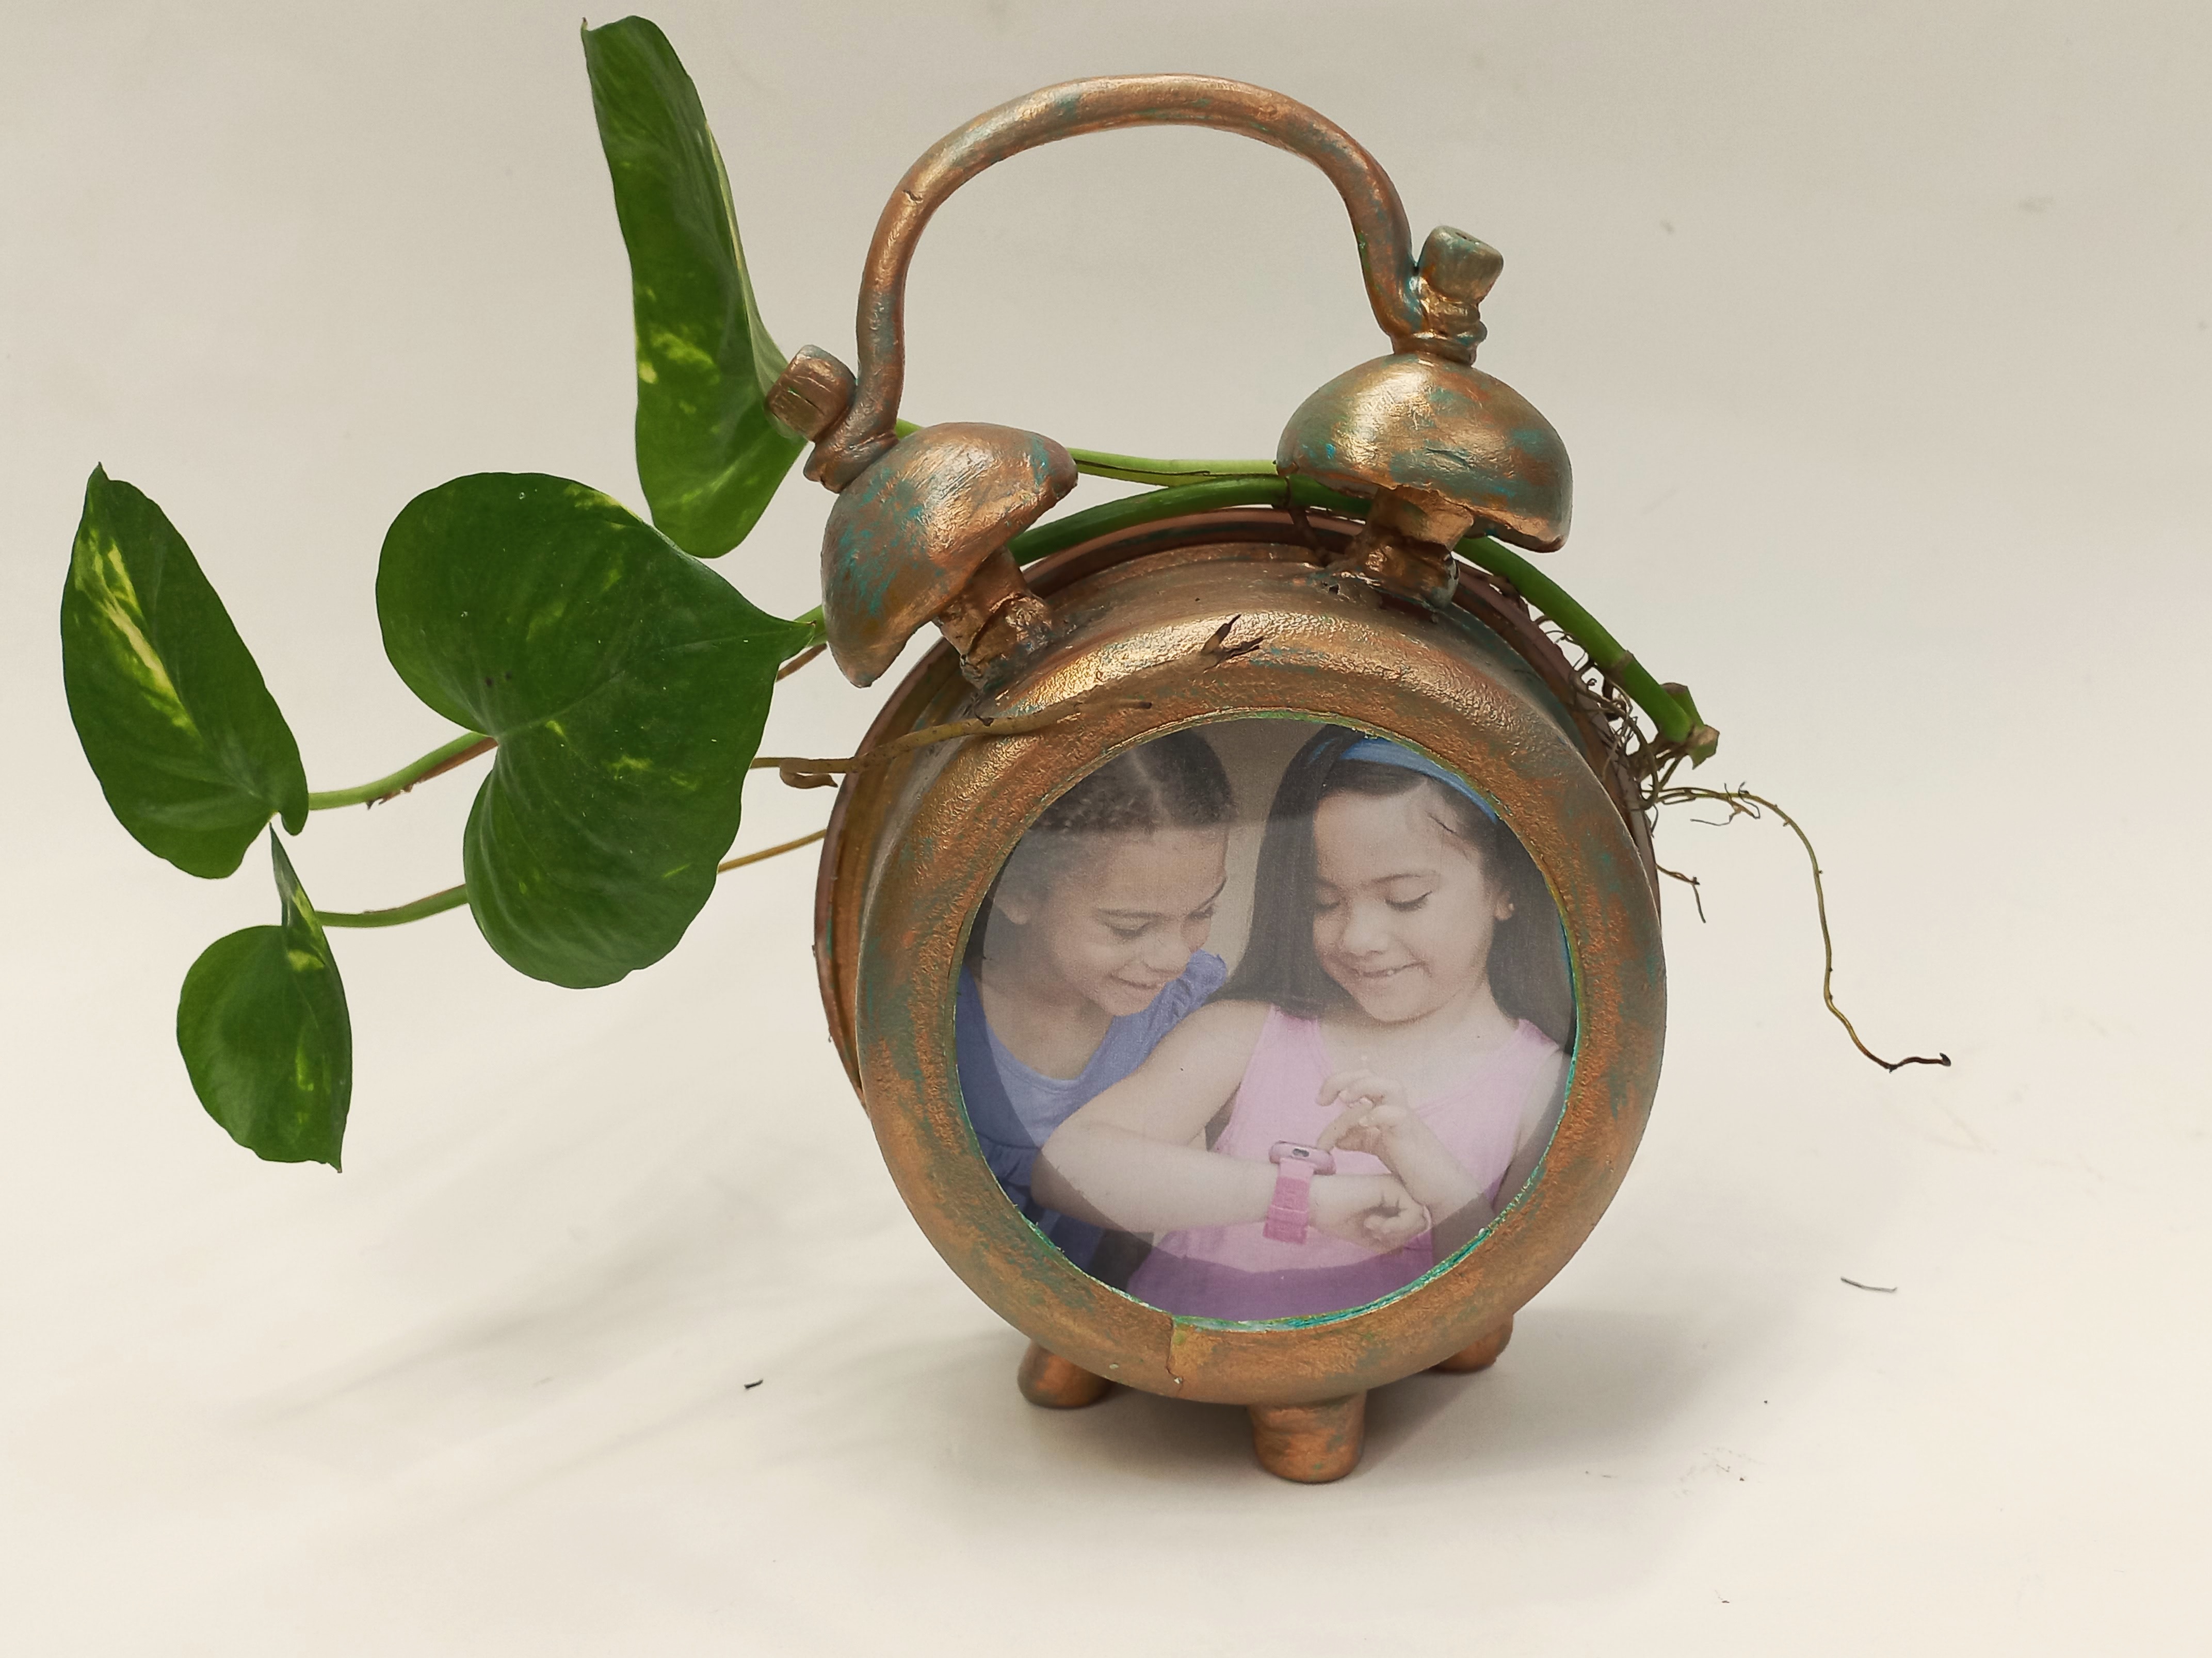
Paint over using Fevicryl Acrylic Colours Pearl - Metallic Bronze 355, and rub off the colour with a rough rag, giving a patina burnished look. Place & stick an OHP sheet on the front side of the clock for pictures to be inserted.

The alarm clock once ready would look like this stunning and pretty ready to be adorned as your home décor addition.


 +91 99676 55545