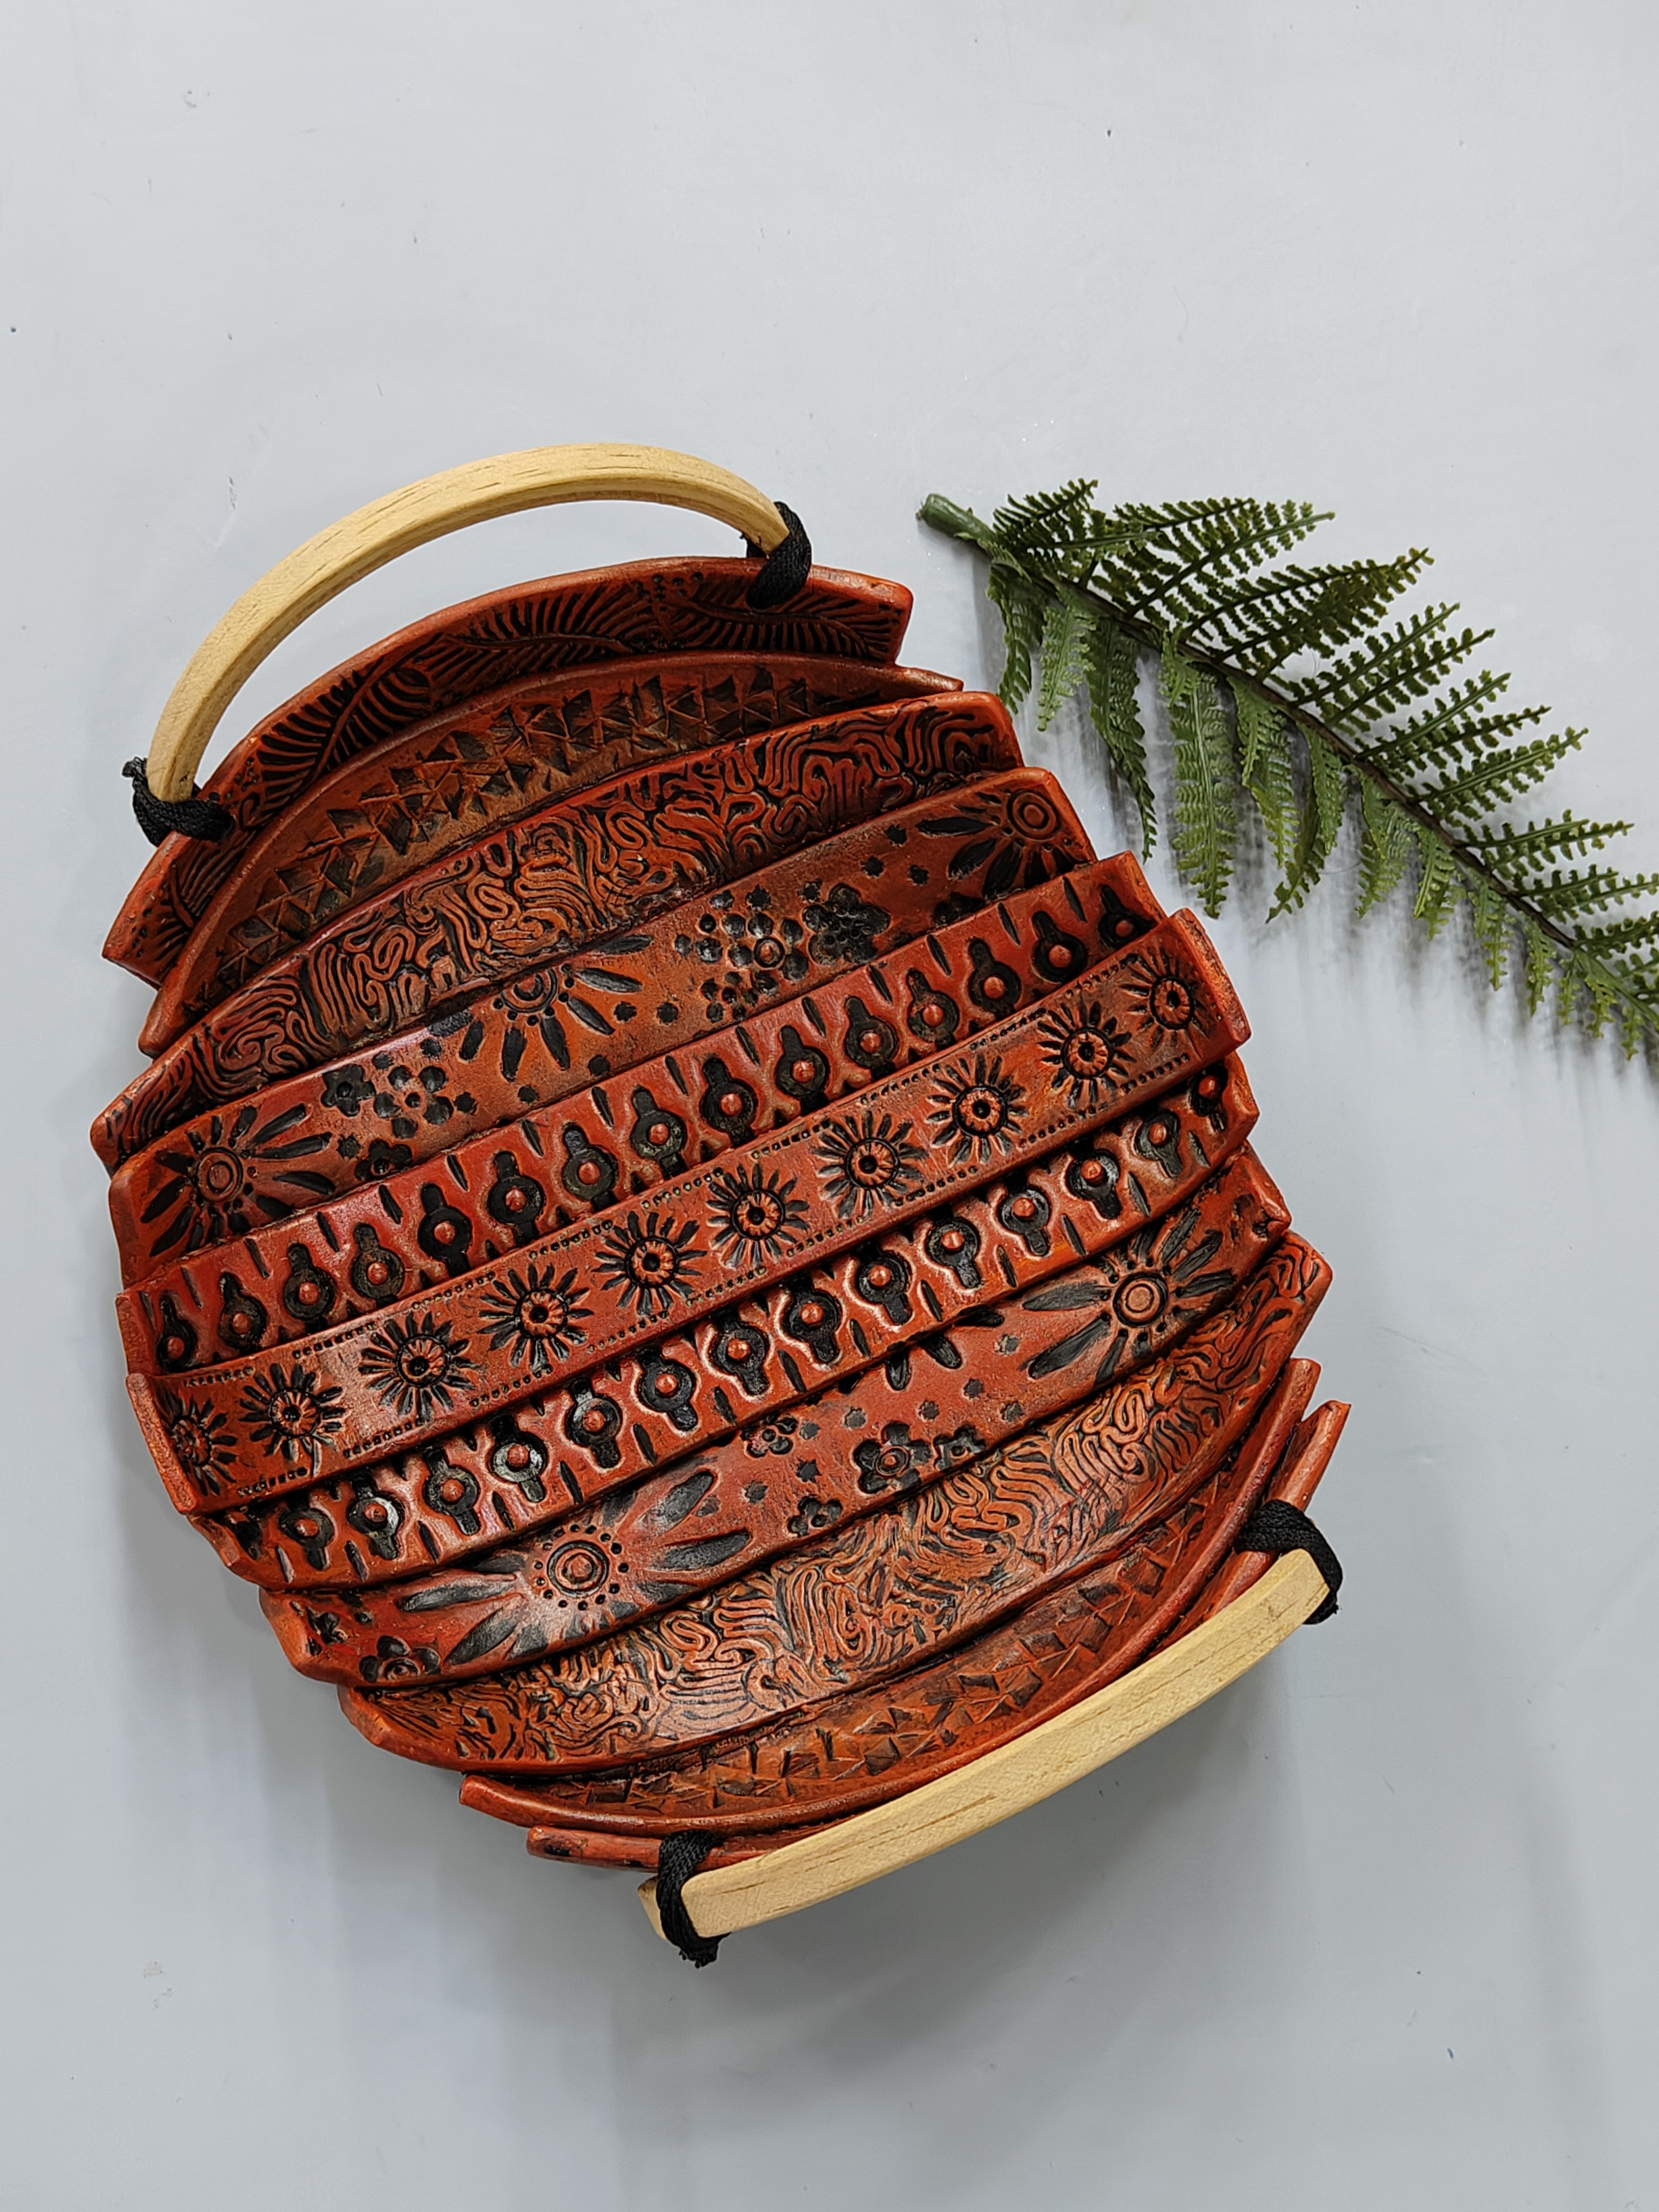
Mouldit Fruit Bowl

You Will Need:
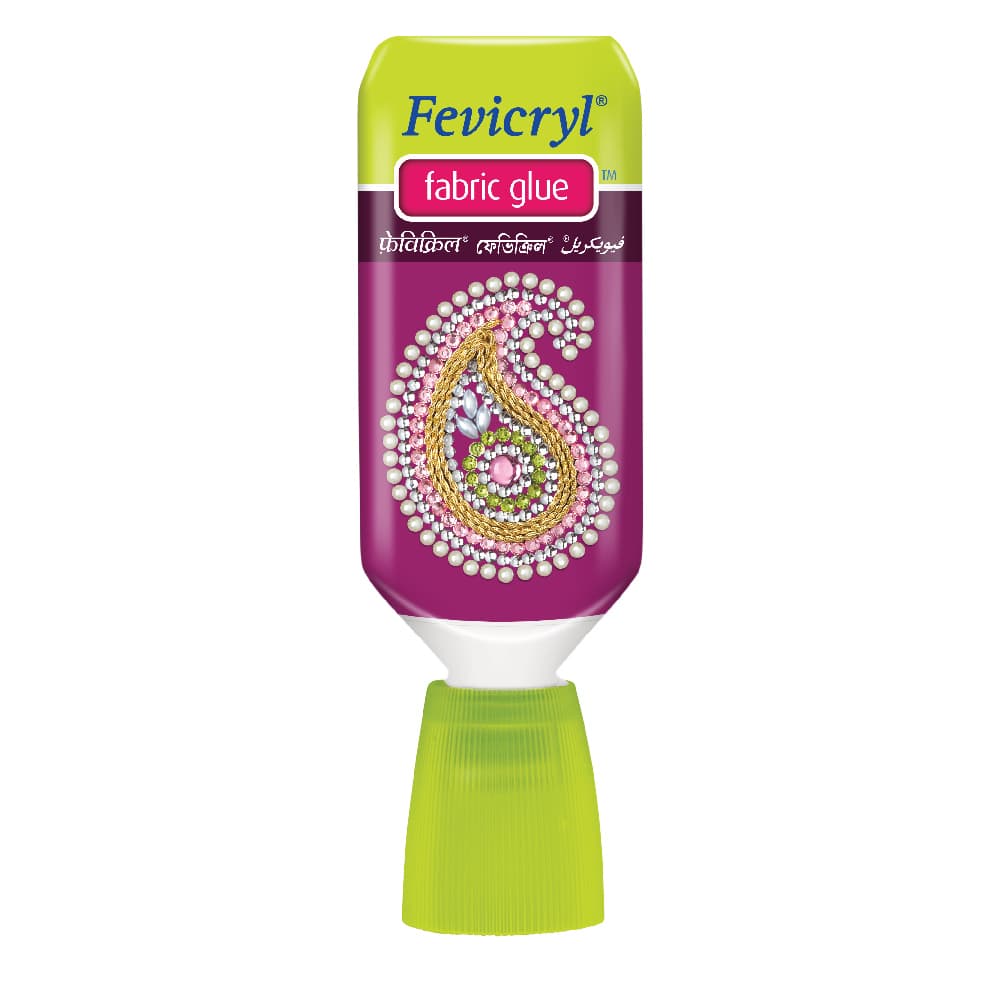
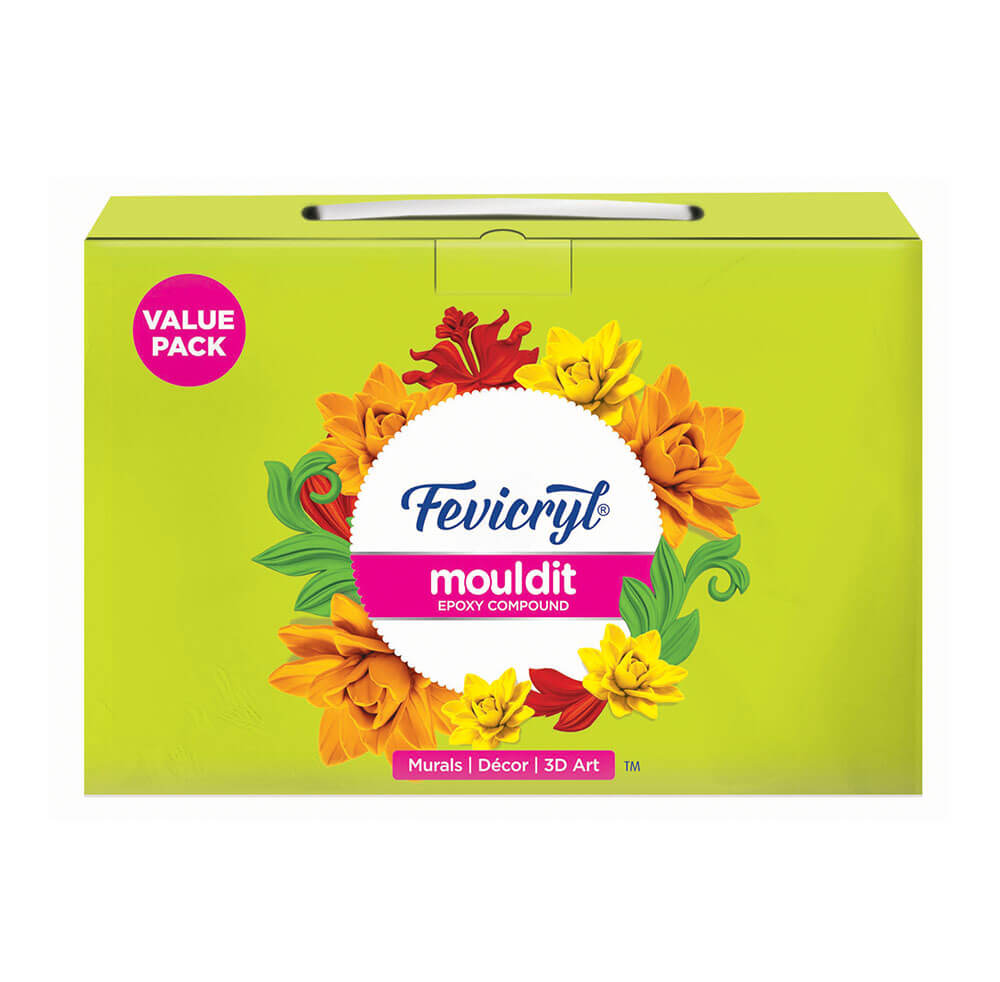
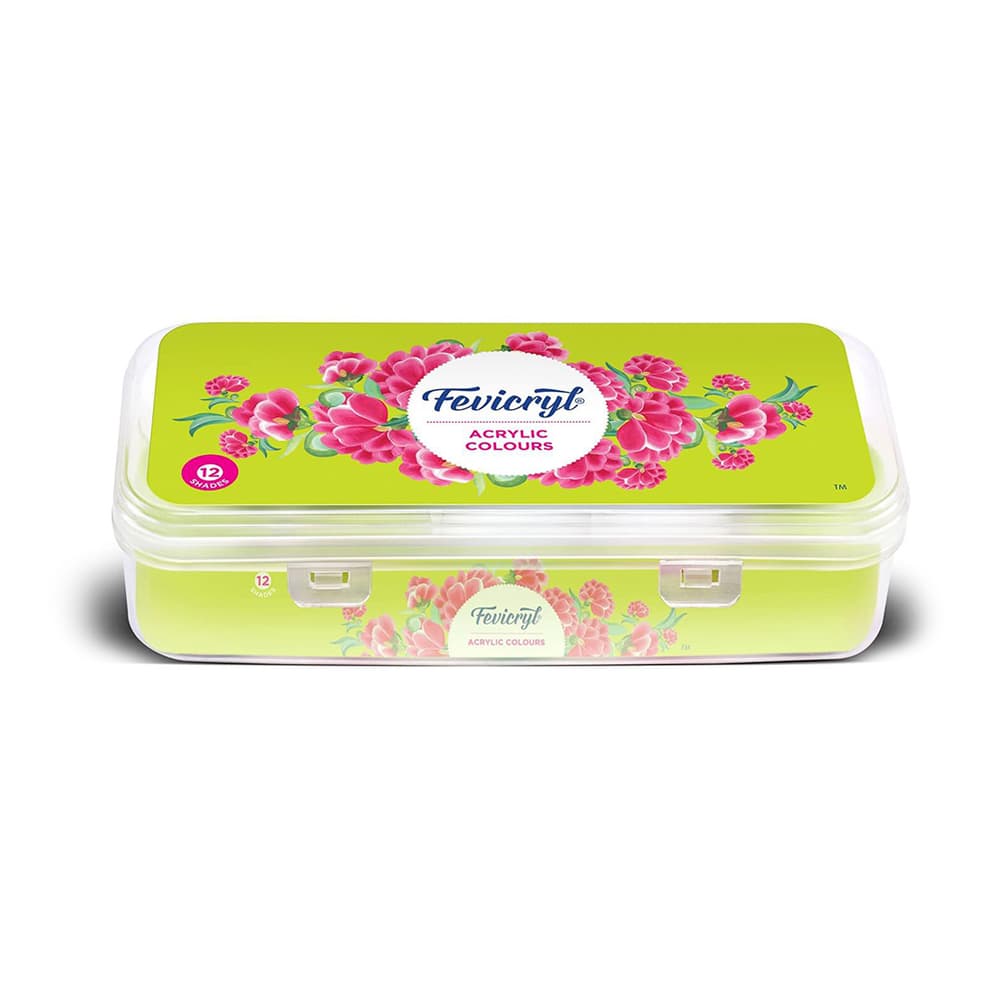
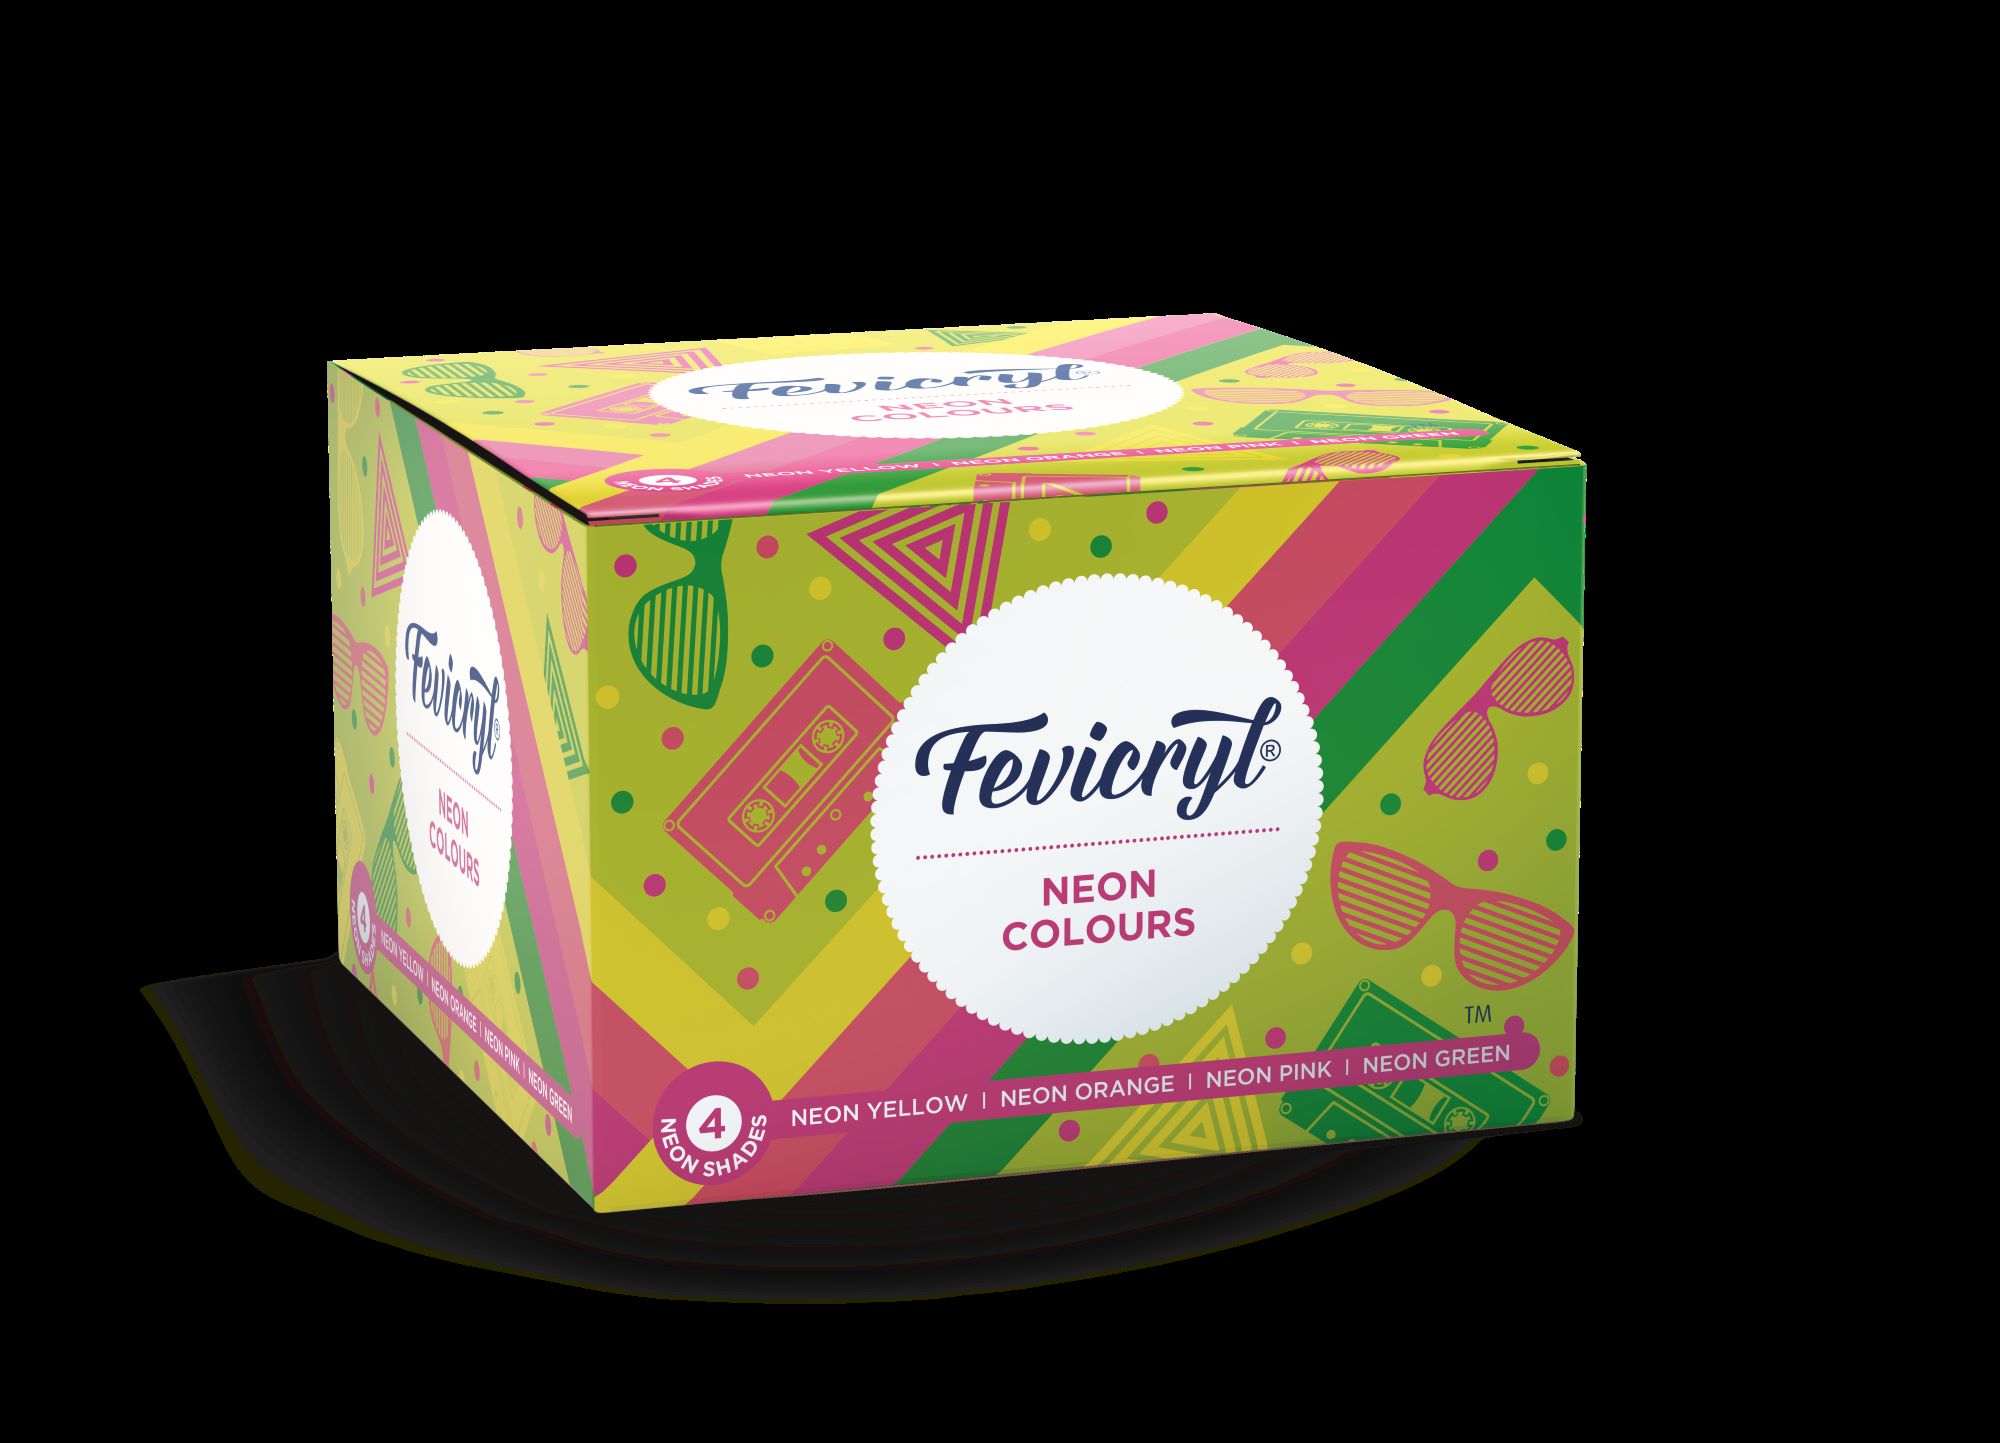
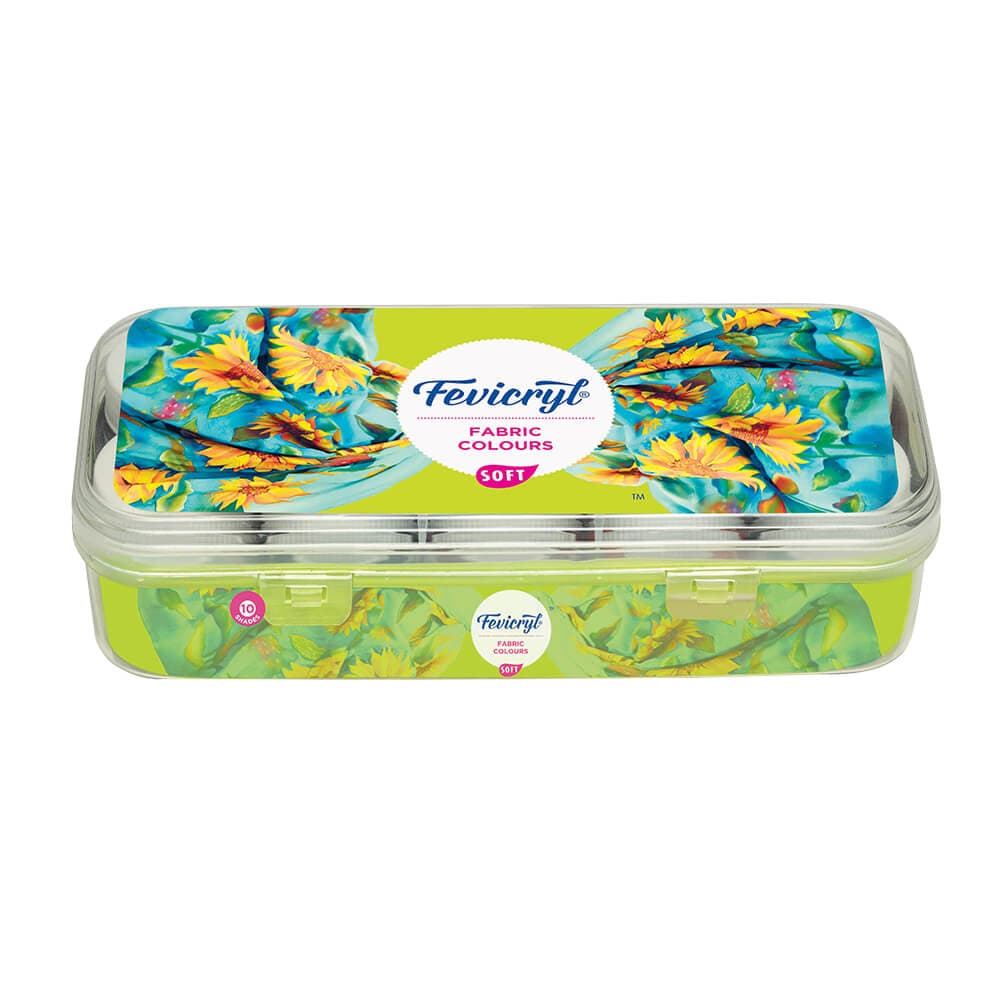
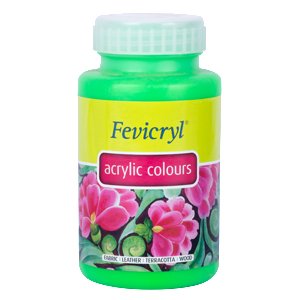
Fevicryl Acrylic Colours Black 02, Indian Red 10, Orange 17, Fevicryl Mouldit, Fevicryl Fabric Glue, Fine Art Brushes, Clay Carving Tools, Wooden Embroidery Ring, Black Cord, Scissors, Colour Palette, Water Container
Product Used:
Description :
Create a unique fruit bowl using Mouldit clay and Fevicryl Acrylic Colours. This project combines clay modelling and texture engraving to craft a beautiful and functional home decor piece.
STEP 1 : Prepare the Clay and Make Impressions
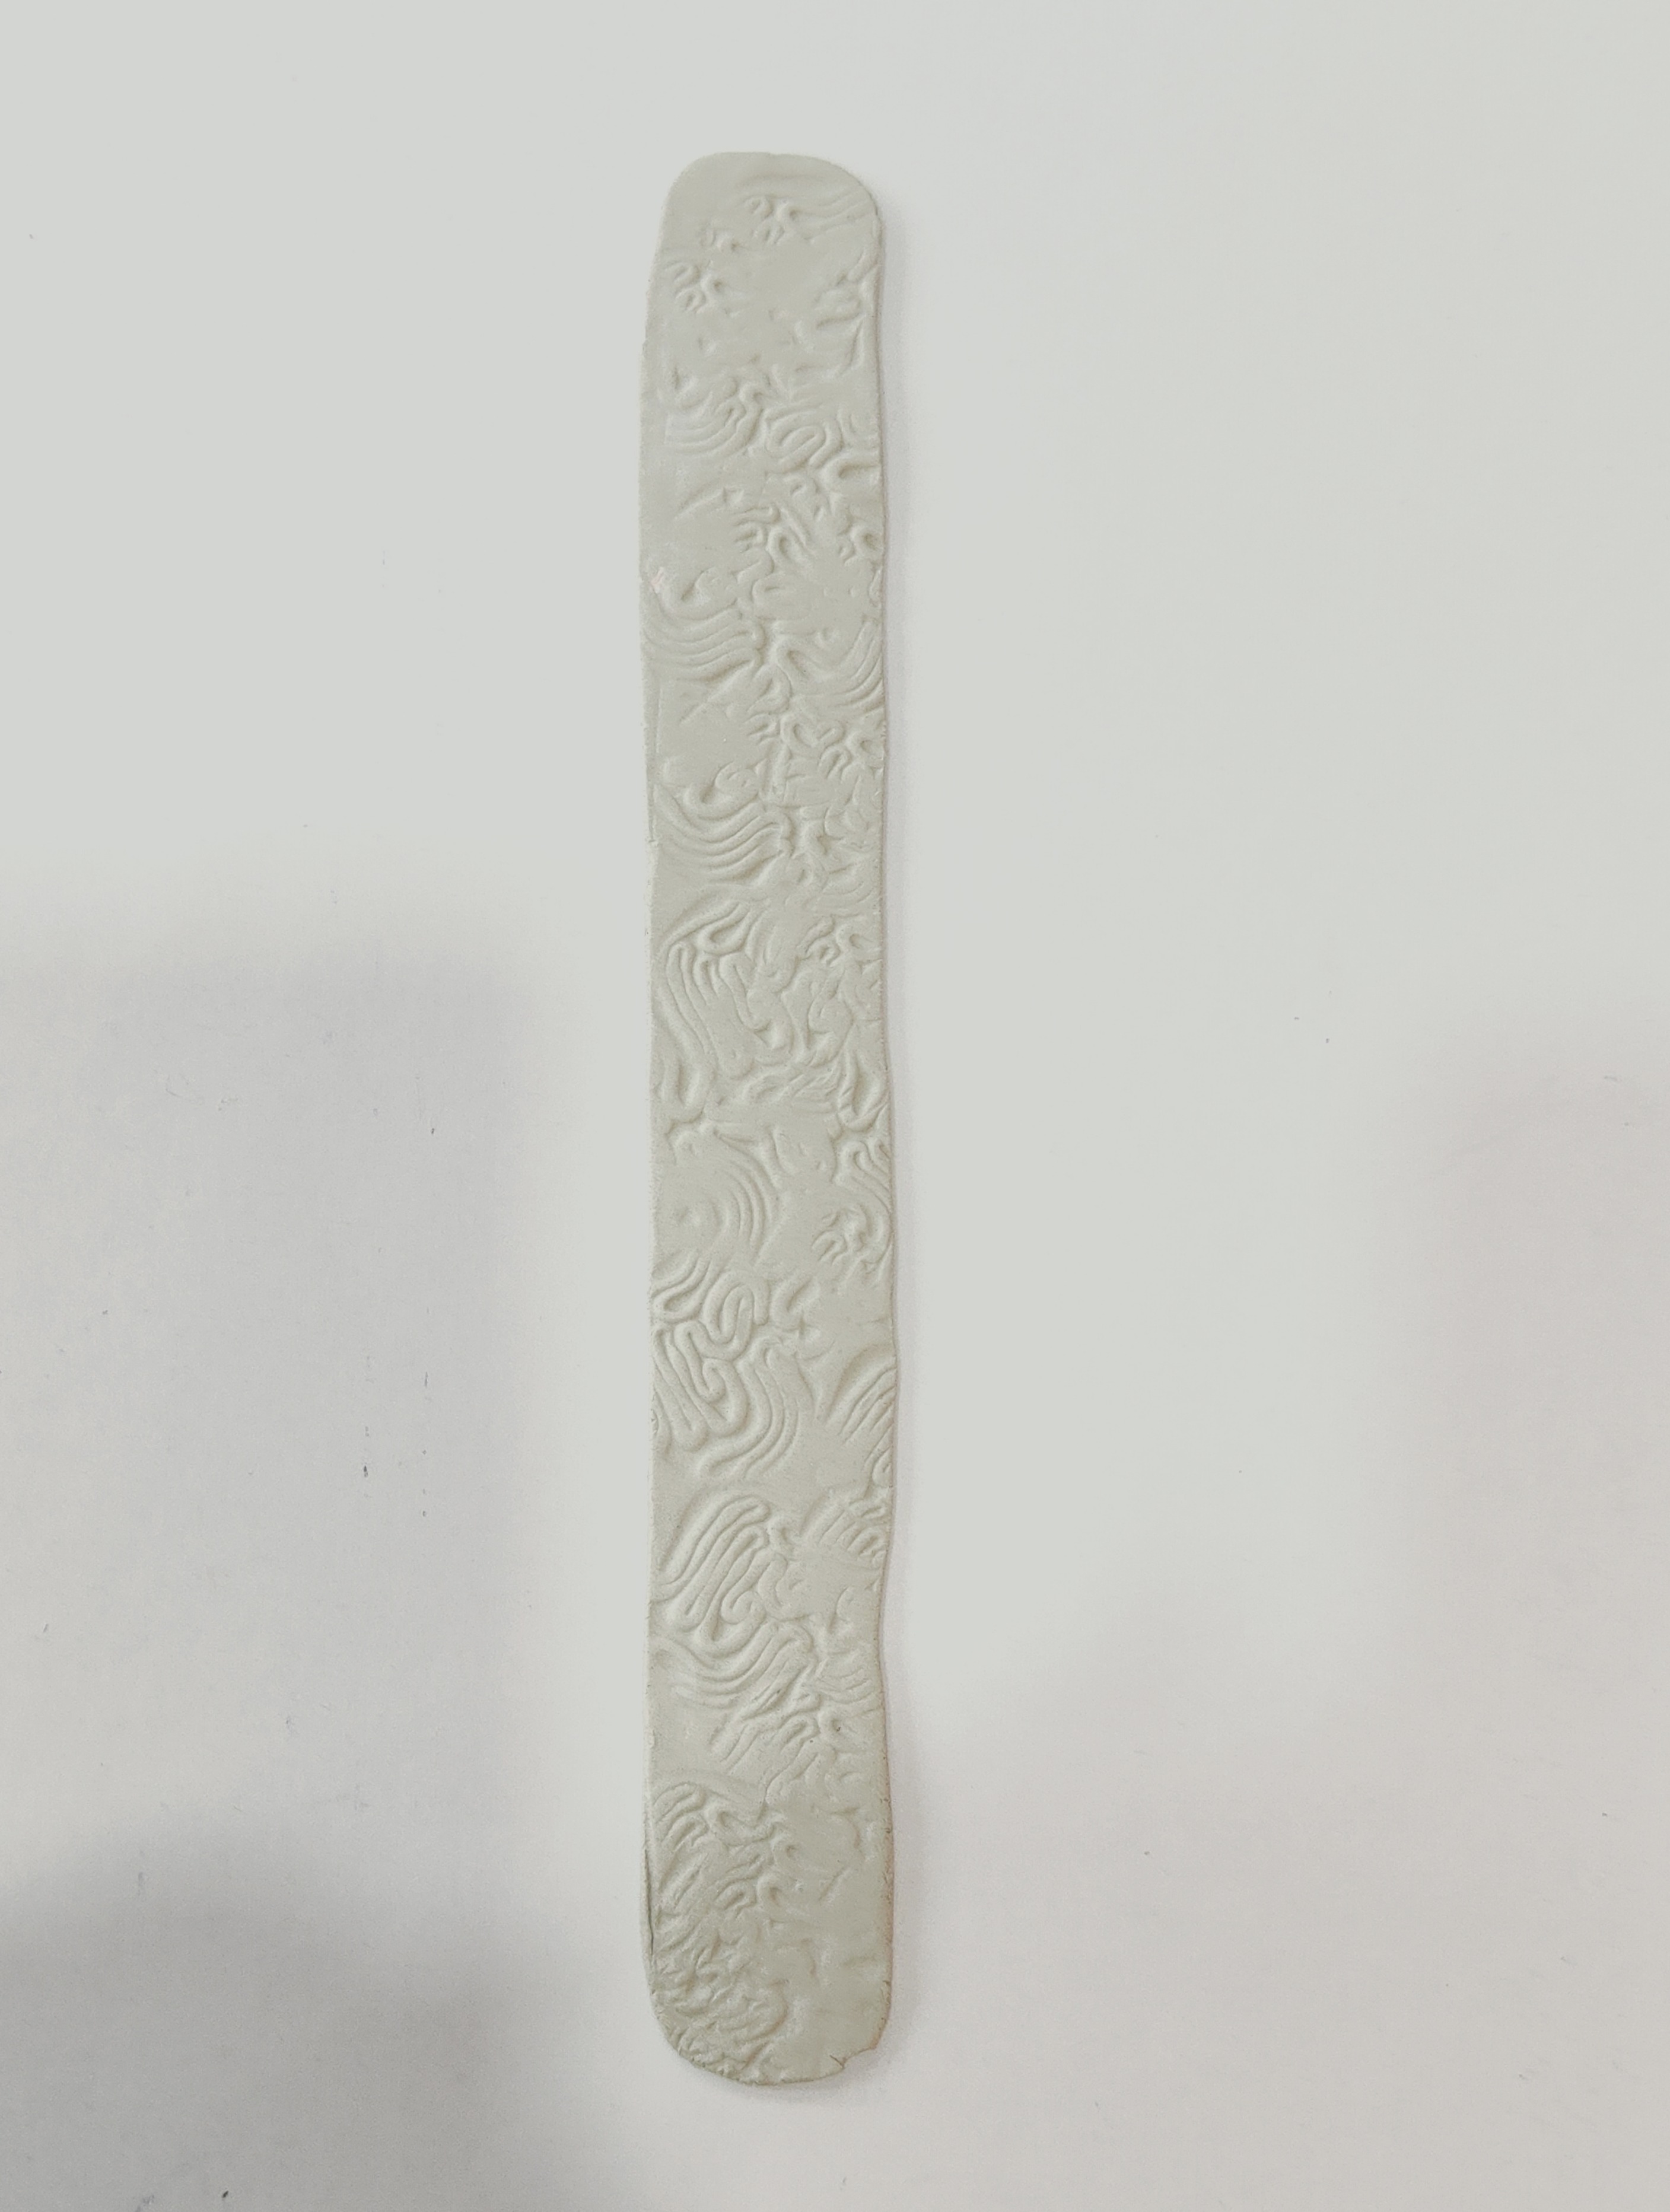
- We are going to make a fruit bowl using engraved Mouldit strips.
- Mix Fevicryl Mouldit resin base and hardener to make an even dough.
- Roll the dough into a medium-thin slab using a rolling pin.
- Mark and cut 1” broad strips from the slab.
- Use clay modelling tools to create and engrave various textures on the strips.
STEP 2 : Build the Bowl Shape
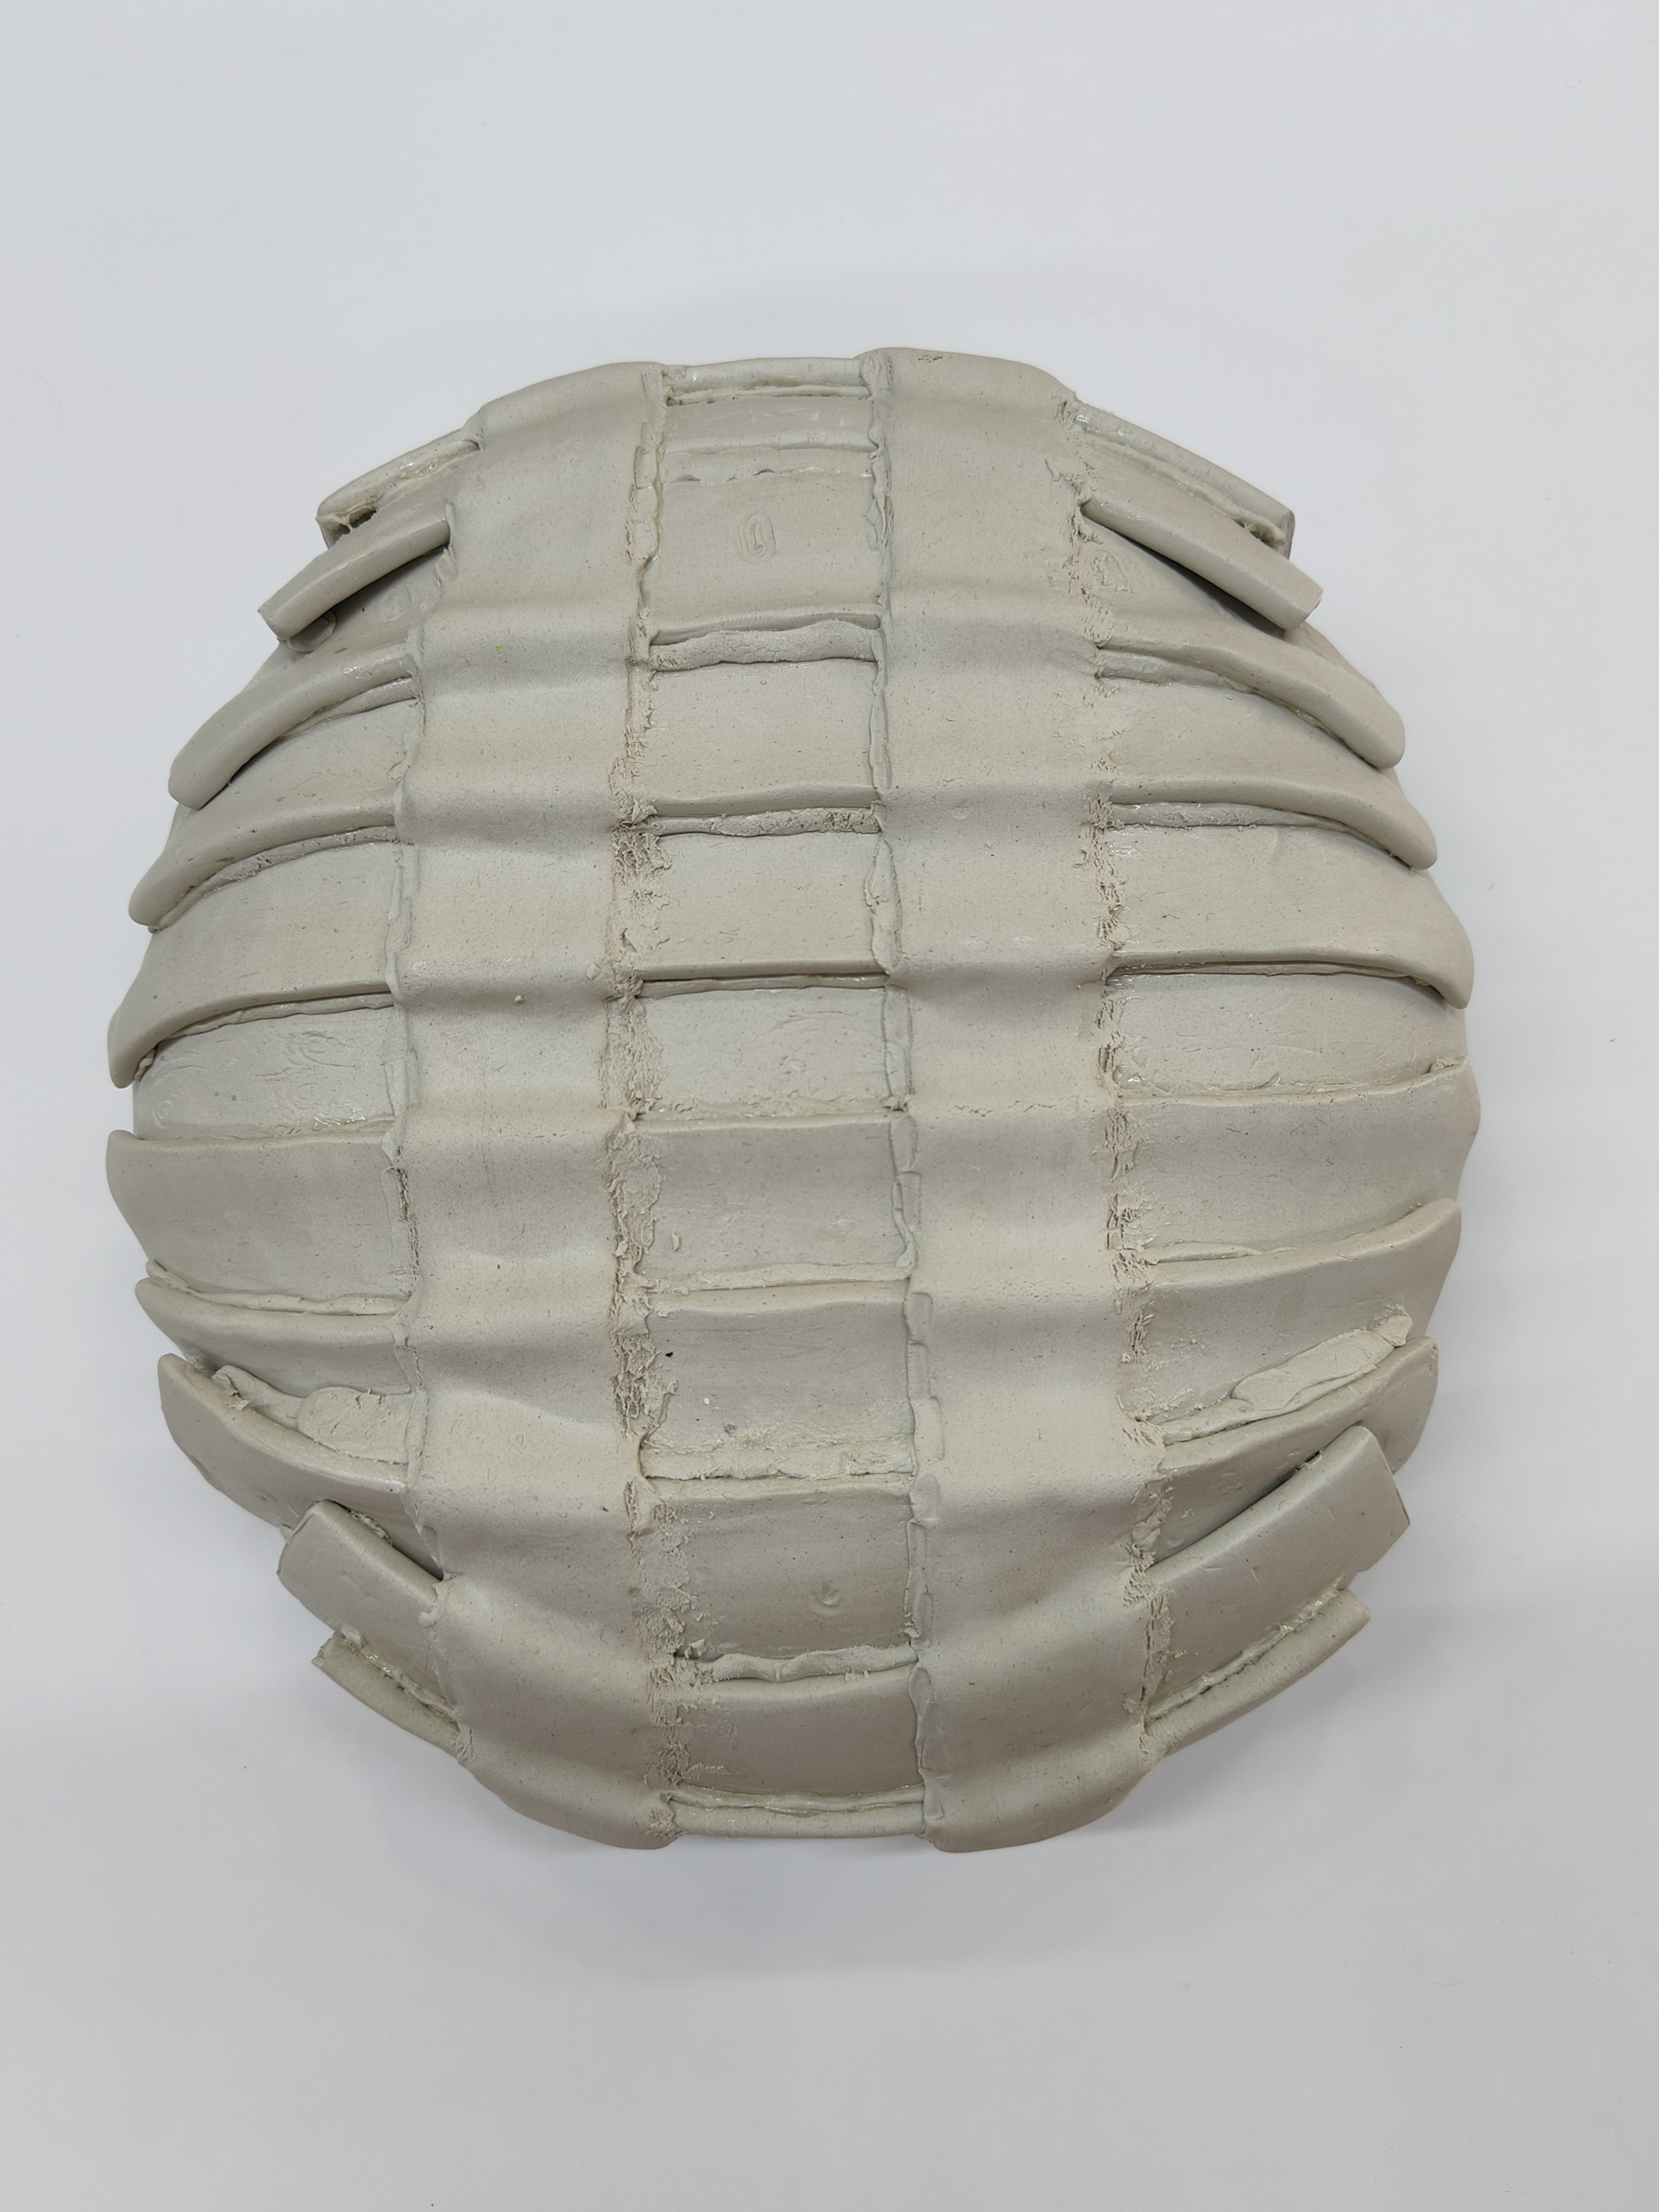
- Take a plastic or ceramic bowl and apply talcum powder on its rear side.
- Place the engraved strips on the bowl, overlapping them slightly and using Fabric Glue at regular intervals to secure them together.
- Cover the entire bowl in this manner to form a mold.
- Attach one plain strip vertically to make it more sturdy using Fabric Glue. Let it dry.
STEP 3 : Finishing Touches
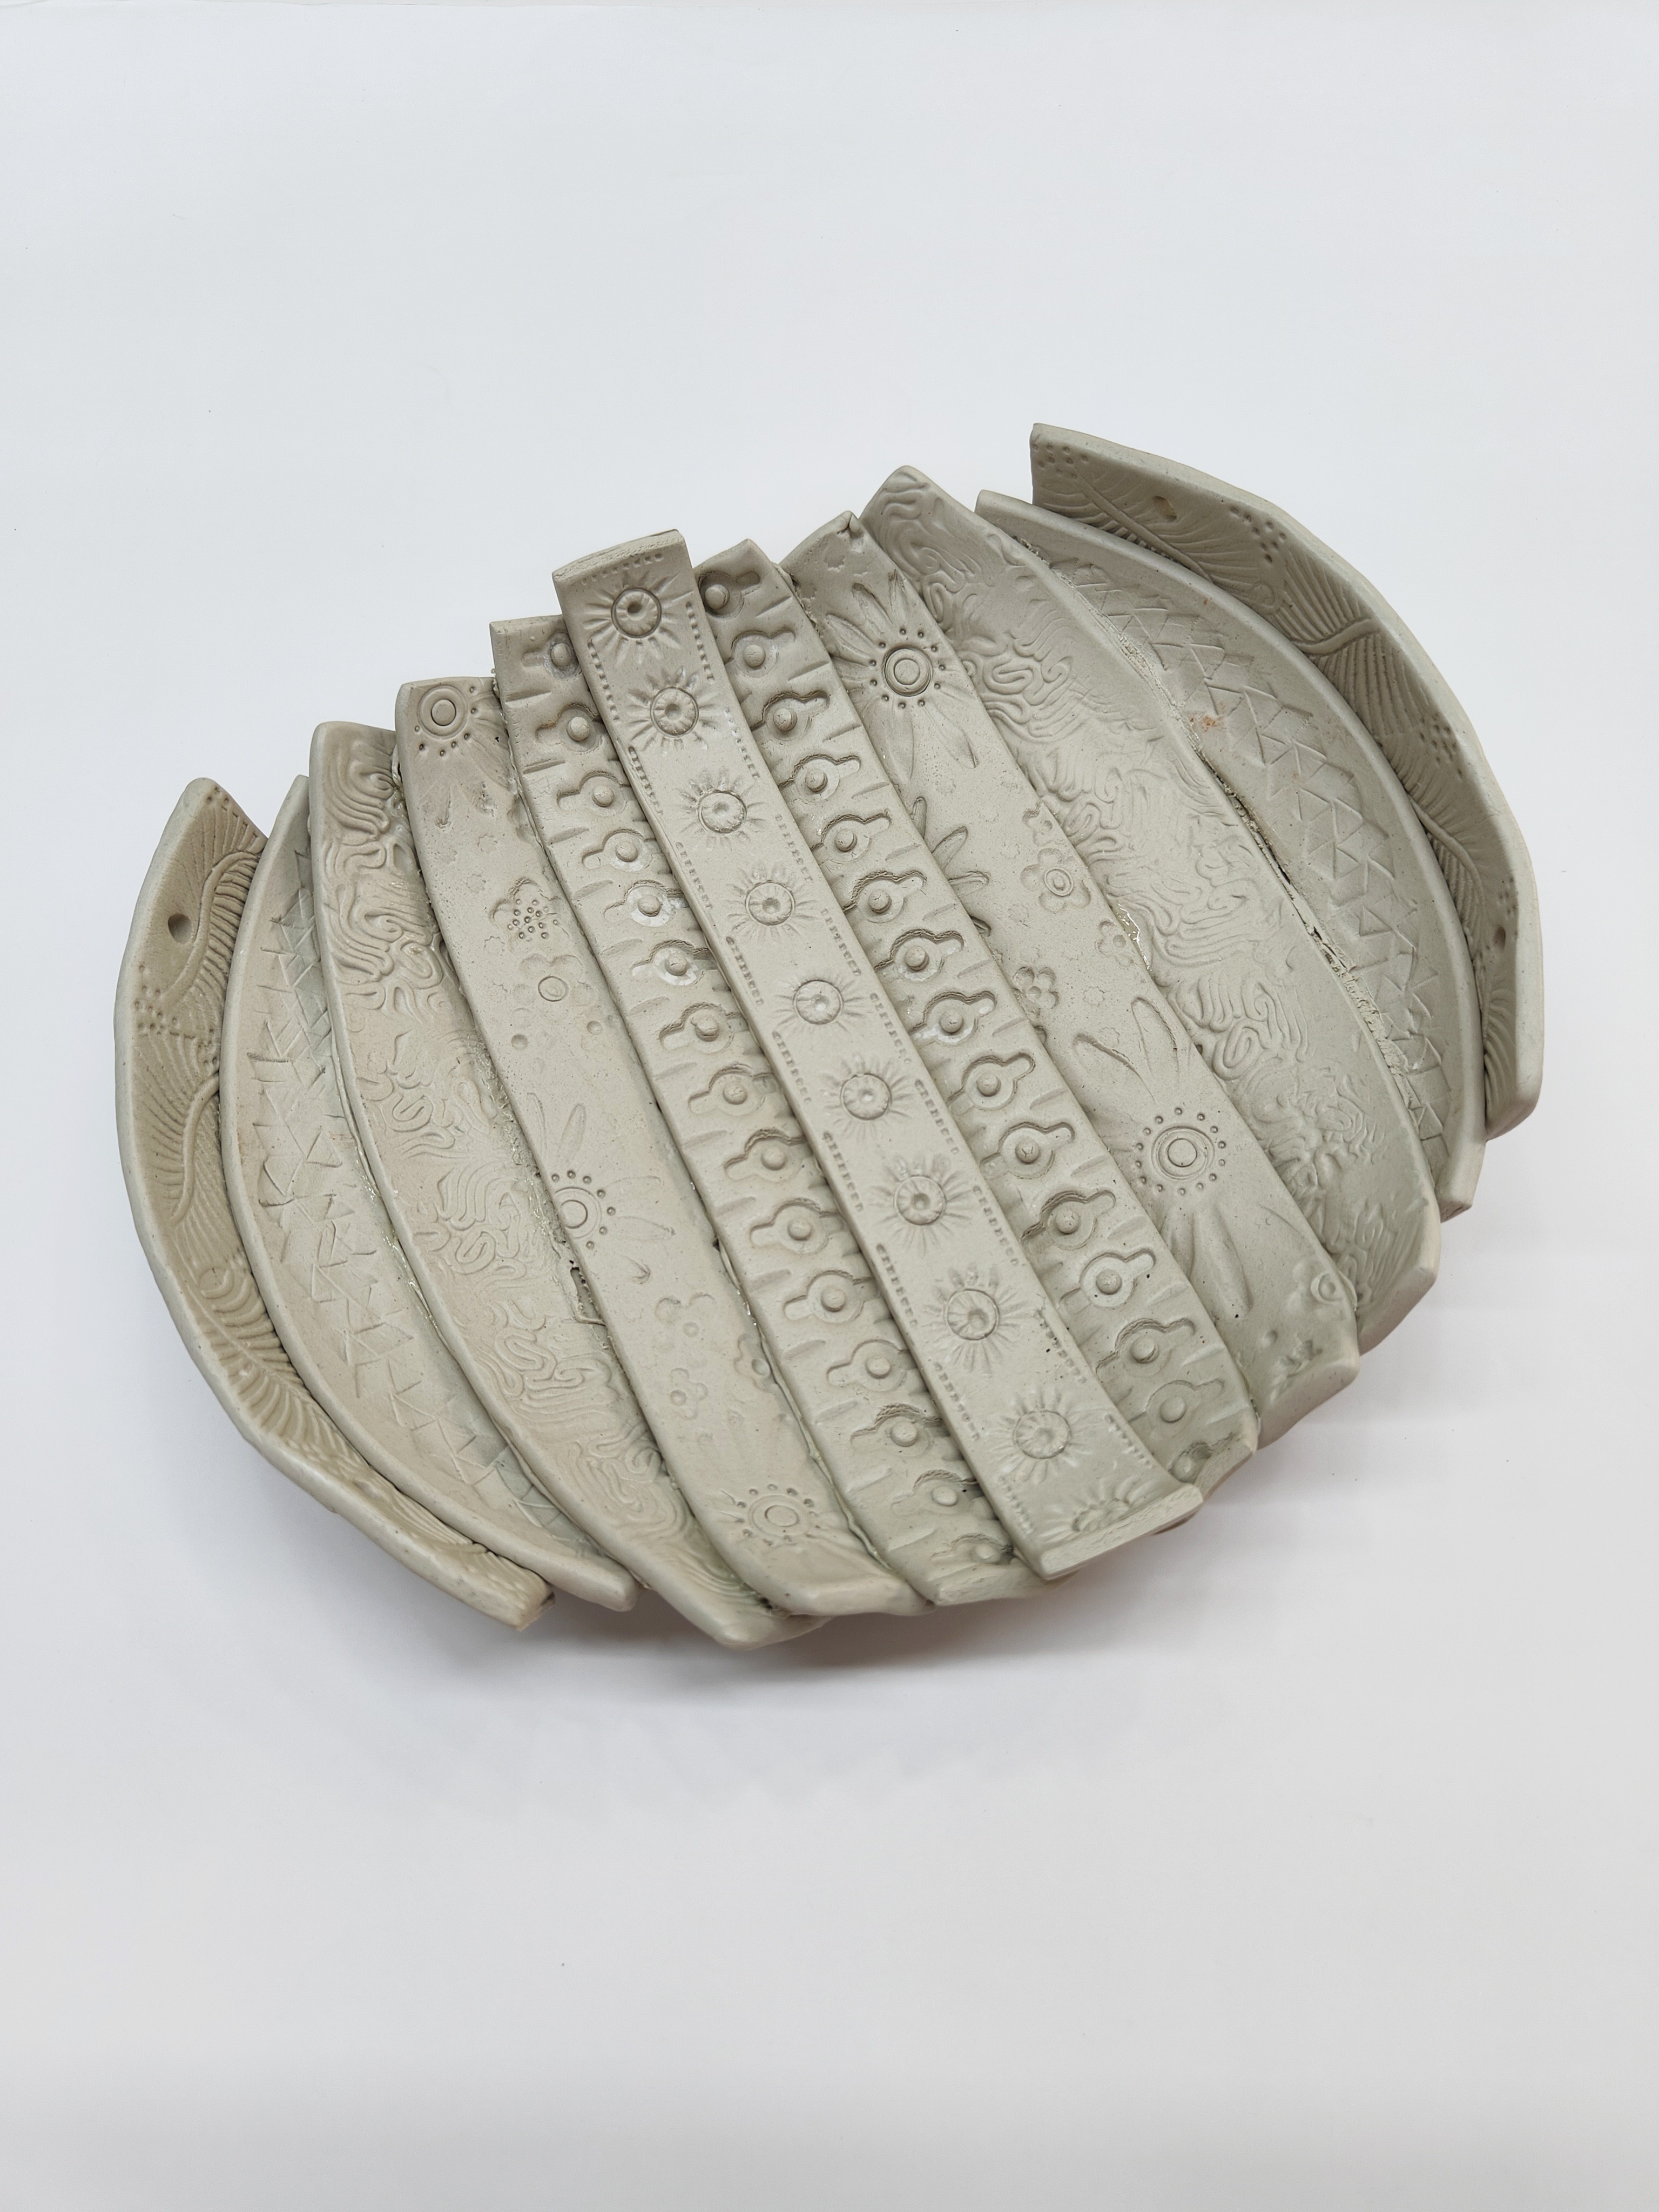
- Pierce two holes on the last strip on opposite sides to attach the handle. Refer to the image.
STEP 4 : Paint the First Coat

- Paint the bowl with a base coat of Fevicryl Acrylic Colour Black 02.
- When the colour is semi-dry, wipe it with a rough rag. Let it dry.
STEP 5 : Paint the Final Coat
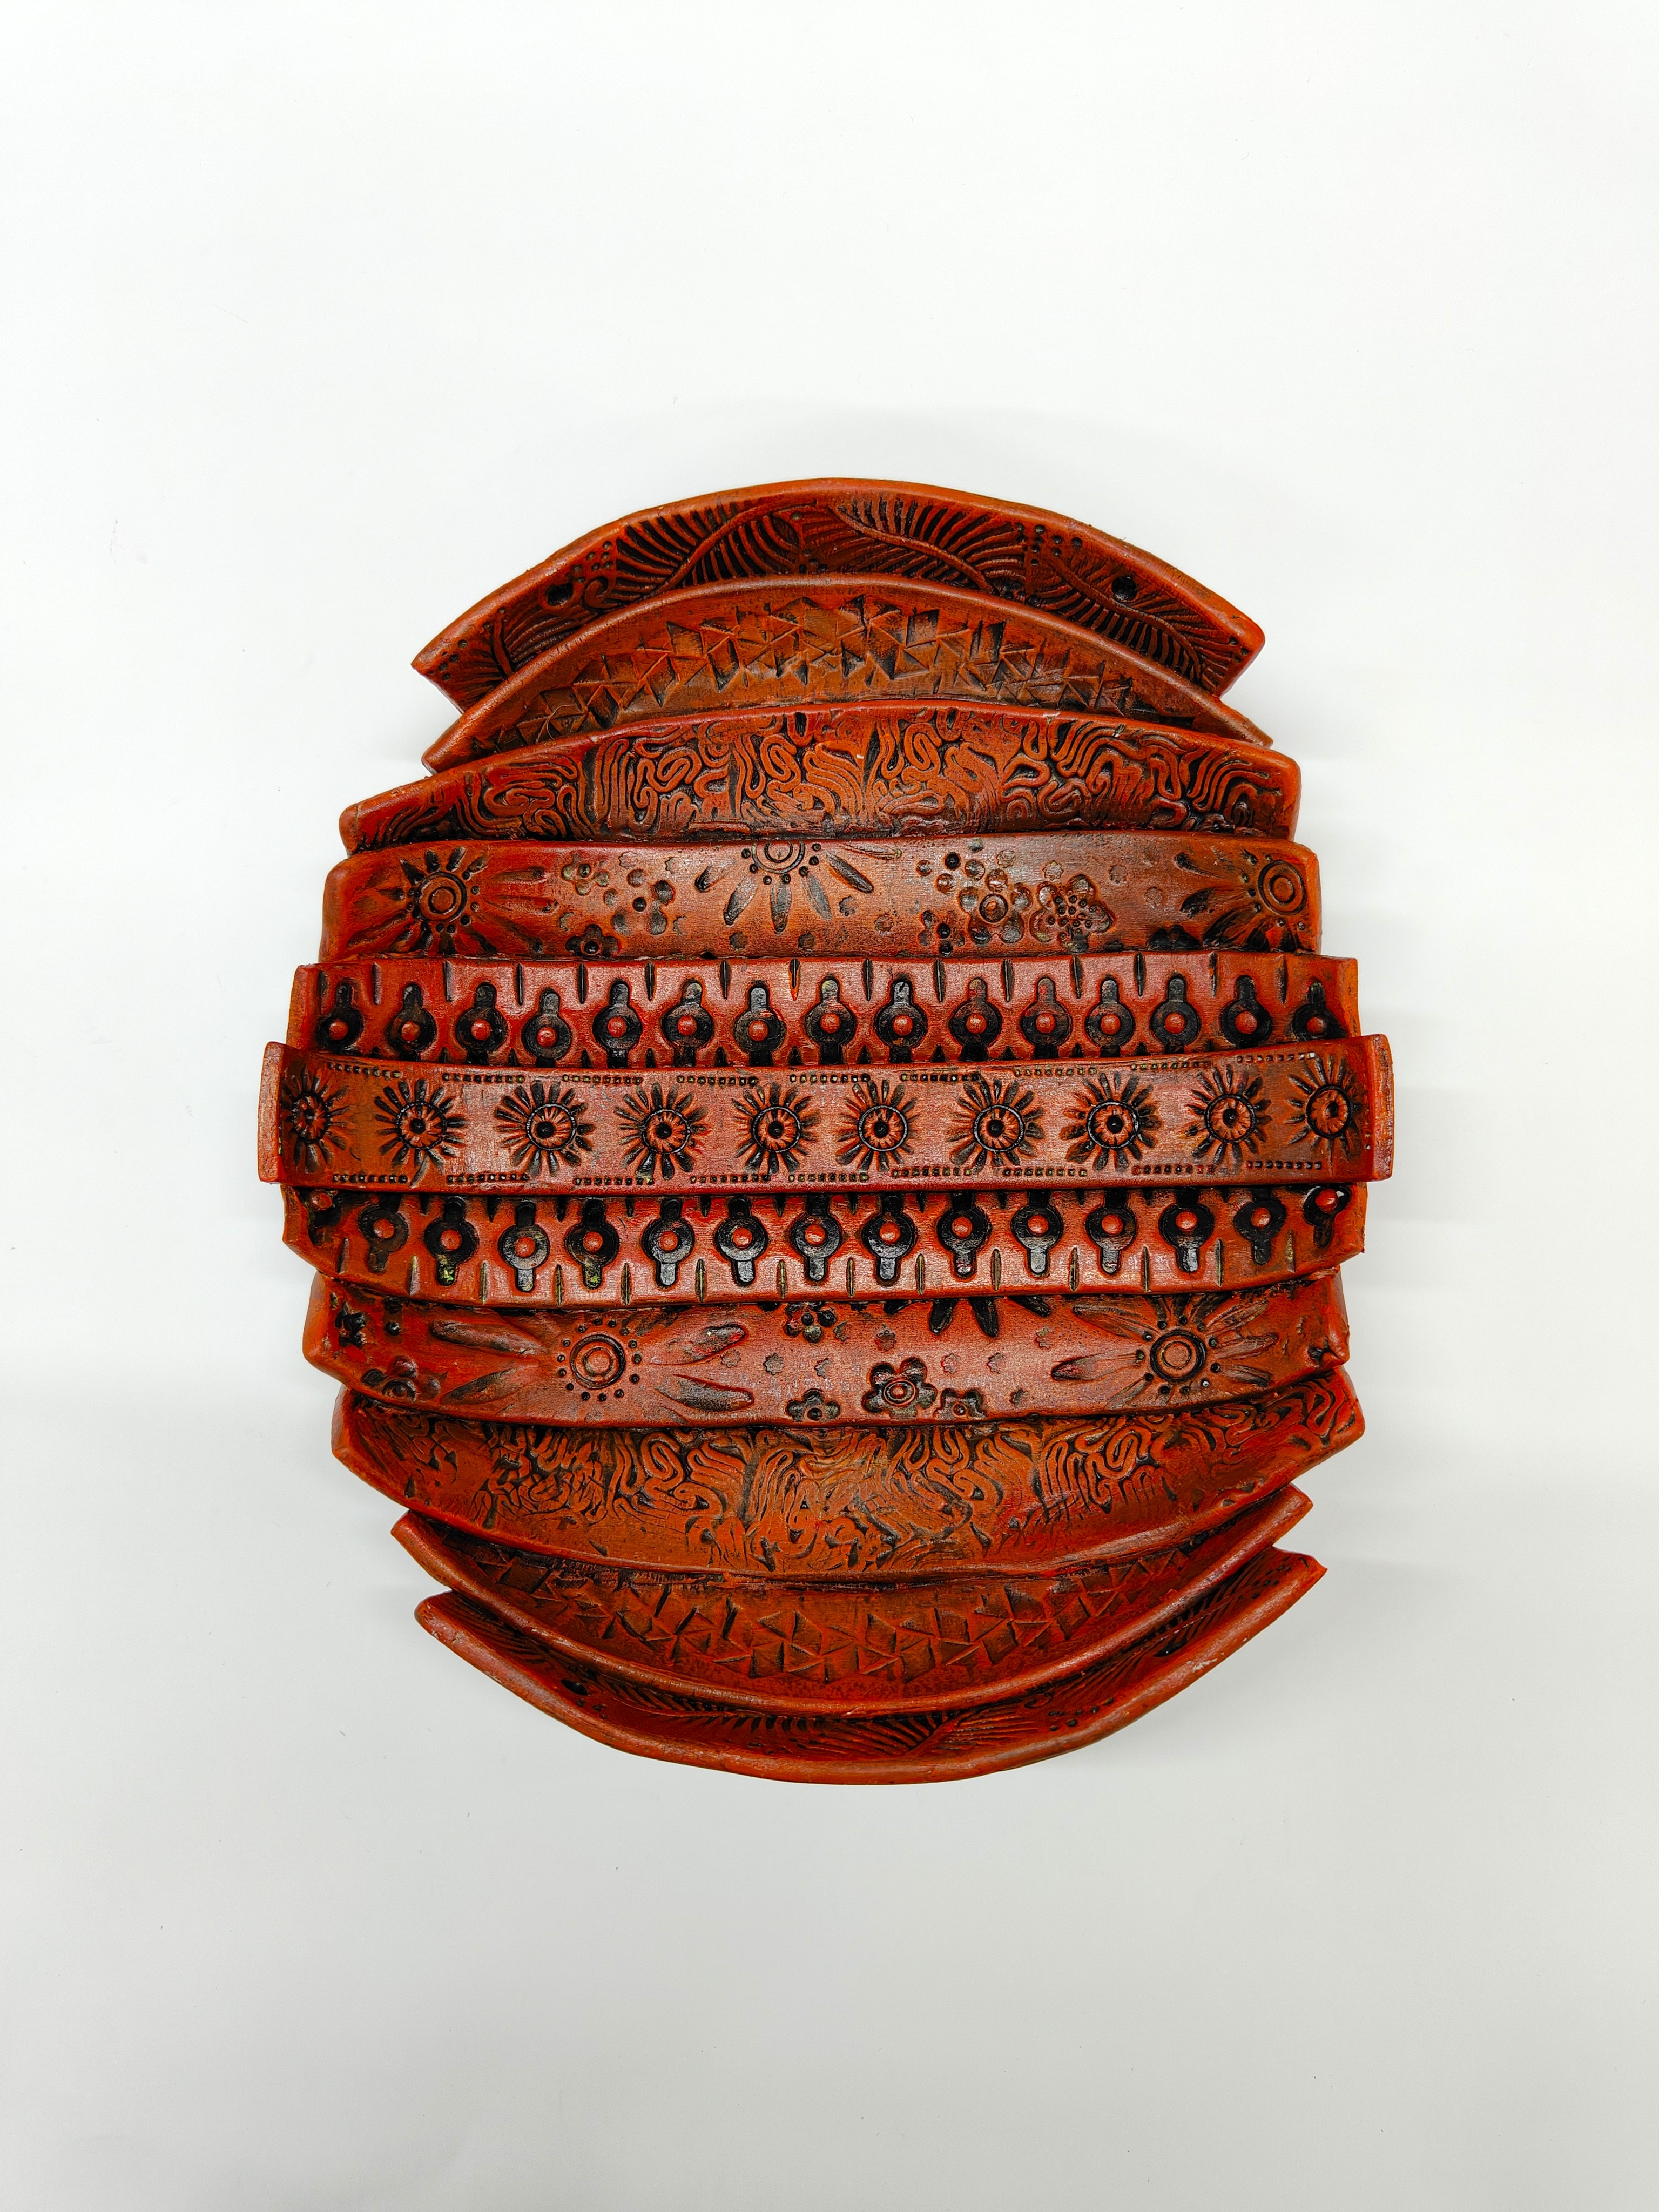
- Paint the bowl with Fevicryl Acrylic Colours Indian Red 10 and Orange 17 for the final coat. Let it dry.
STEP 6 : Final Touches and Final Look
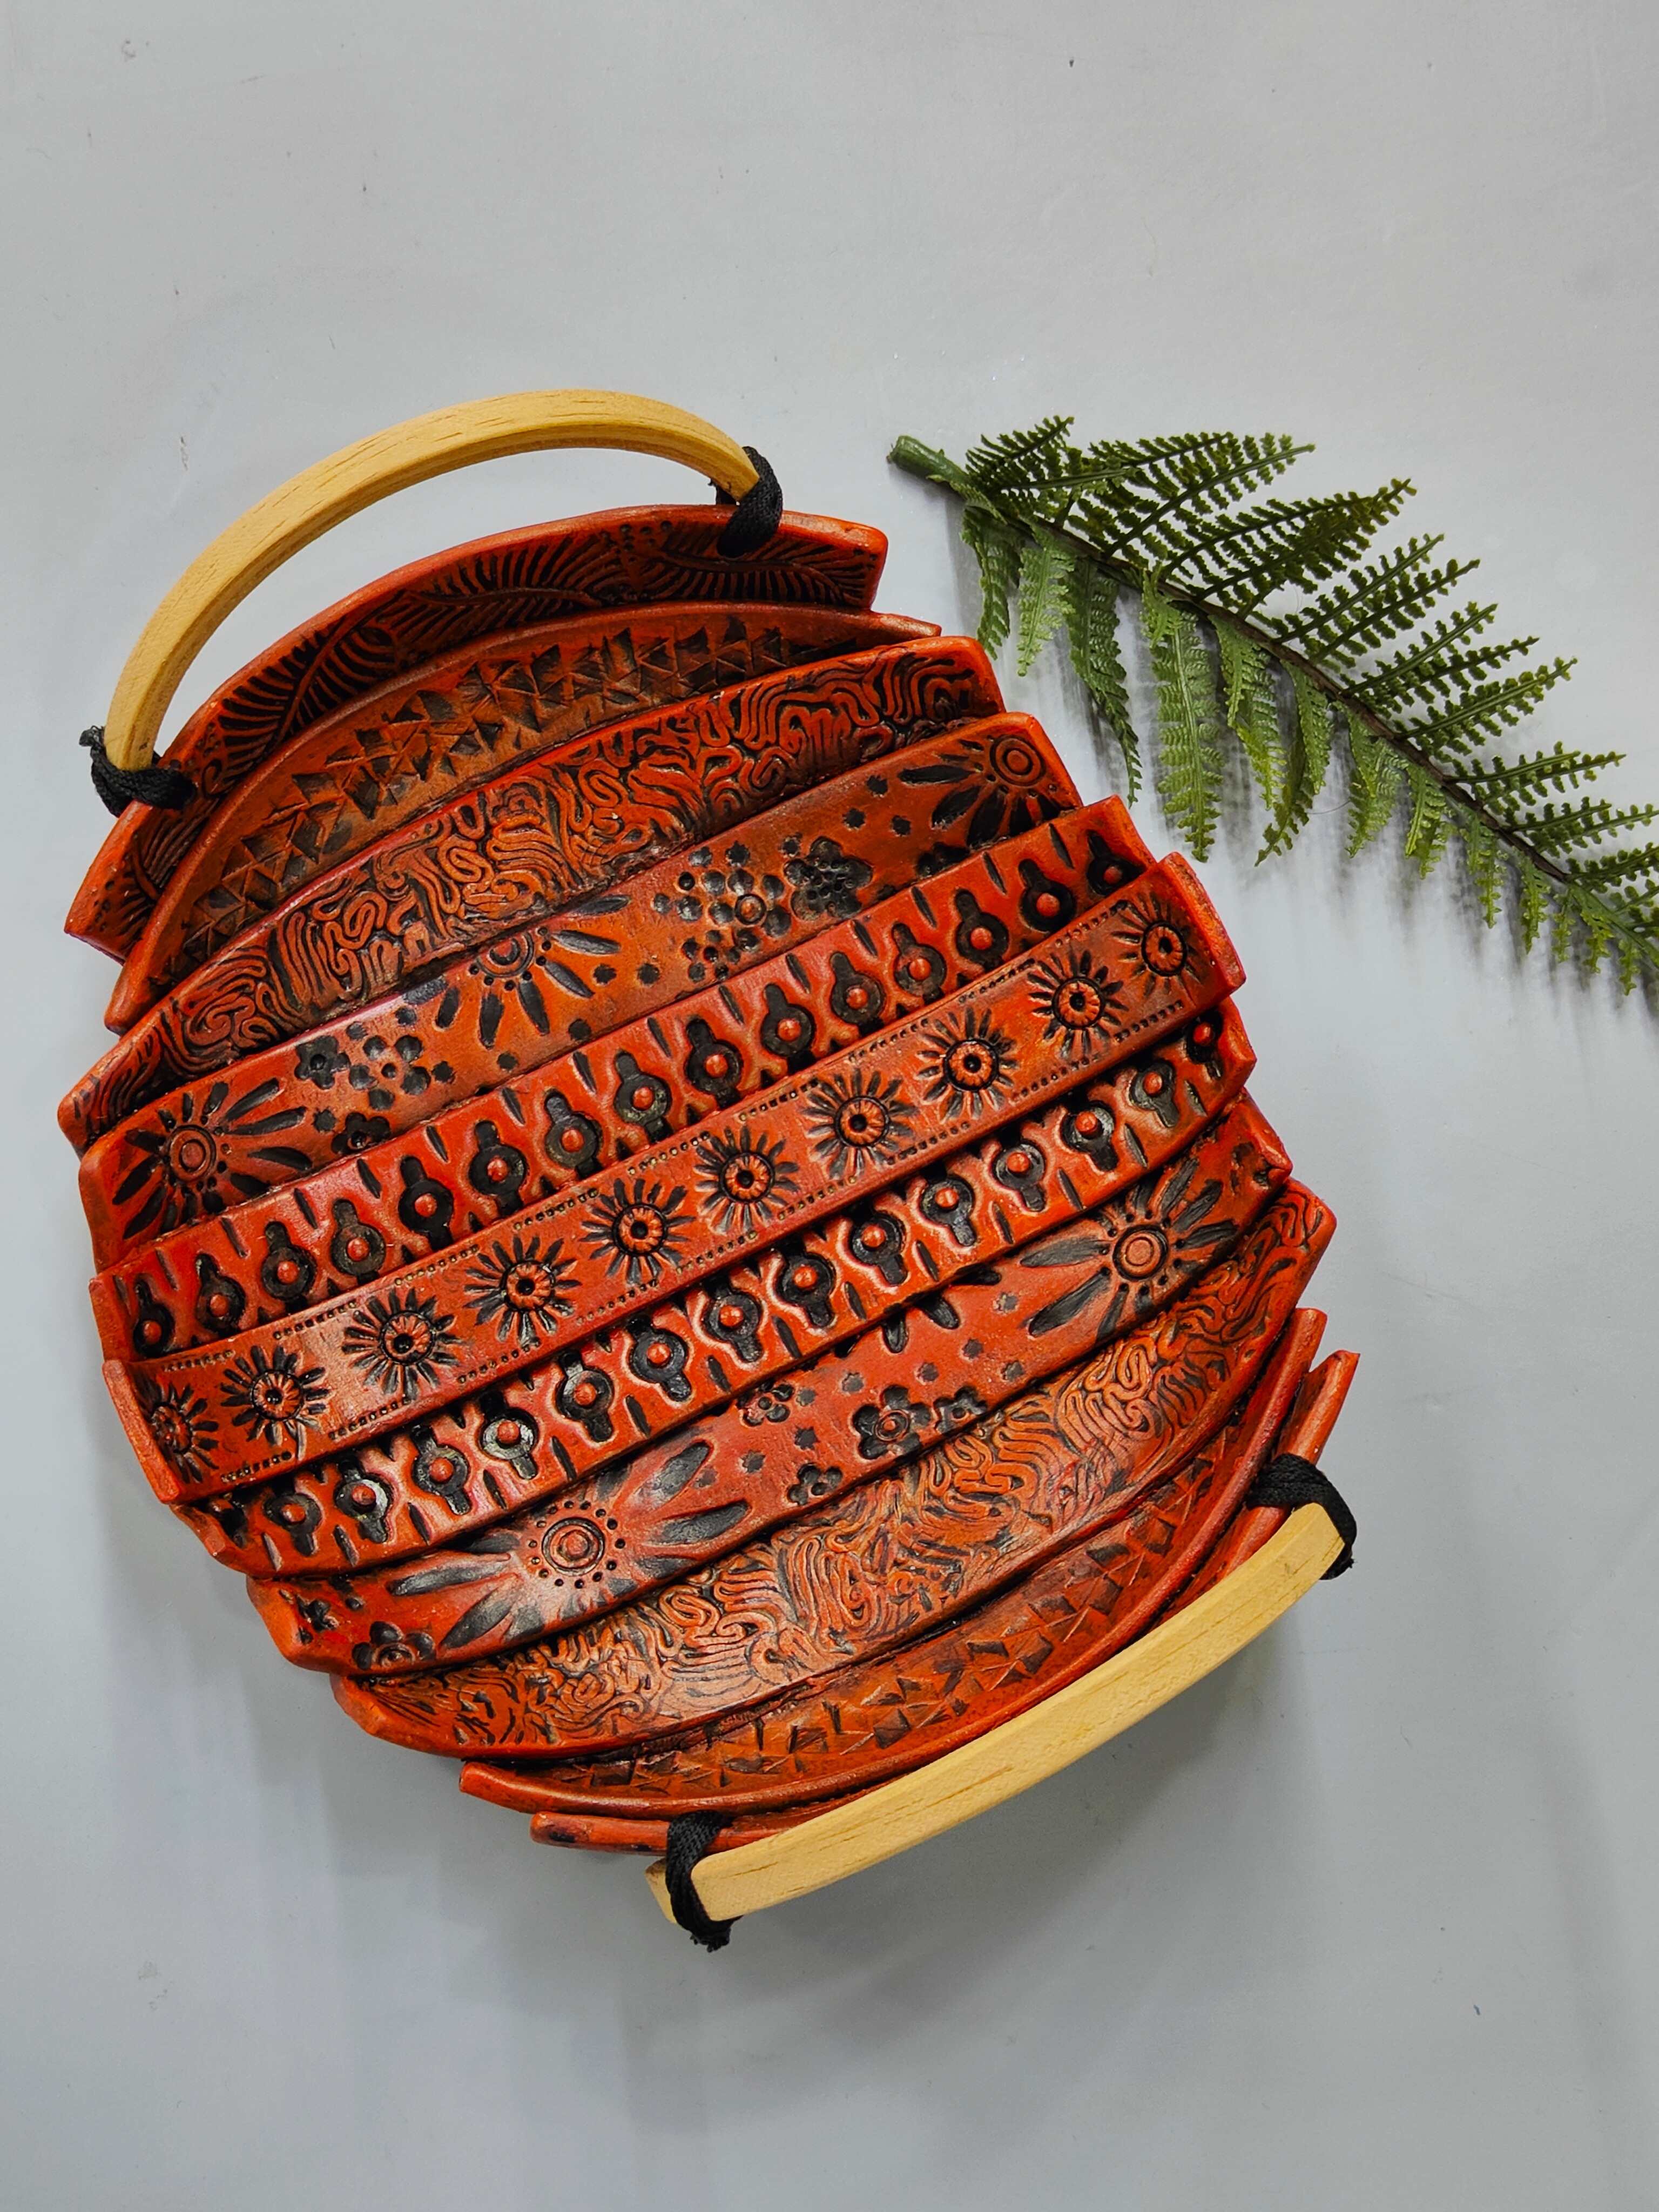
- Take a wooden embroidery ring measuring 6” to 7” in diameter or use wooden handles if available.
- Cut the ring in half and attach the pieces to the bowl using black cord.


 +91 99676 55545