Kutchi Jewellery

You Will Need:
Fevicryl 3D Outliner Red 701, Blue 702, Light Green 704, Orange 705, White 707, Fevicryl Fabric Glue, Piece Of Black Fabric, A4 White Paper, White Carbon Paper, Pencil, Green & Orange Wool, Assorted Foil Mirrors, Colourful Beads, Sponge Sheet from Packing, Green Colour Thread, Needle & Thread, Scissors
Product Used:

Description :
Create the art of Kutch, where each bead tells a story of rich heritage and intricate craftsmanship.
So, create this DIY Kutchi Jewellery using Fevicryl 3D Outliners!
STEP 1 : Source the base material

- Take black fabric from any left-over pieces.
- Take A4 white paper, draw kutchi design in a circle to make the pendant and earrings.
- Trace the same design on the fabric with white carbon paper.
STEP 2 : Paint the design
- Paint the design by replicating the Kutchi Bharat embroidery design using 3D Outliner Red 701, Blue 702, Light Green 704, Orange 705 and White 707.
- Let it dry completely.
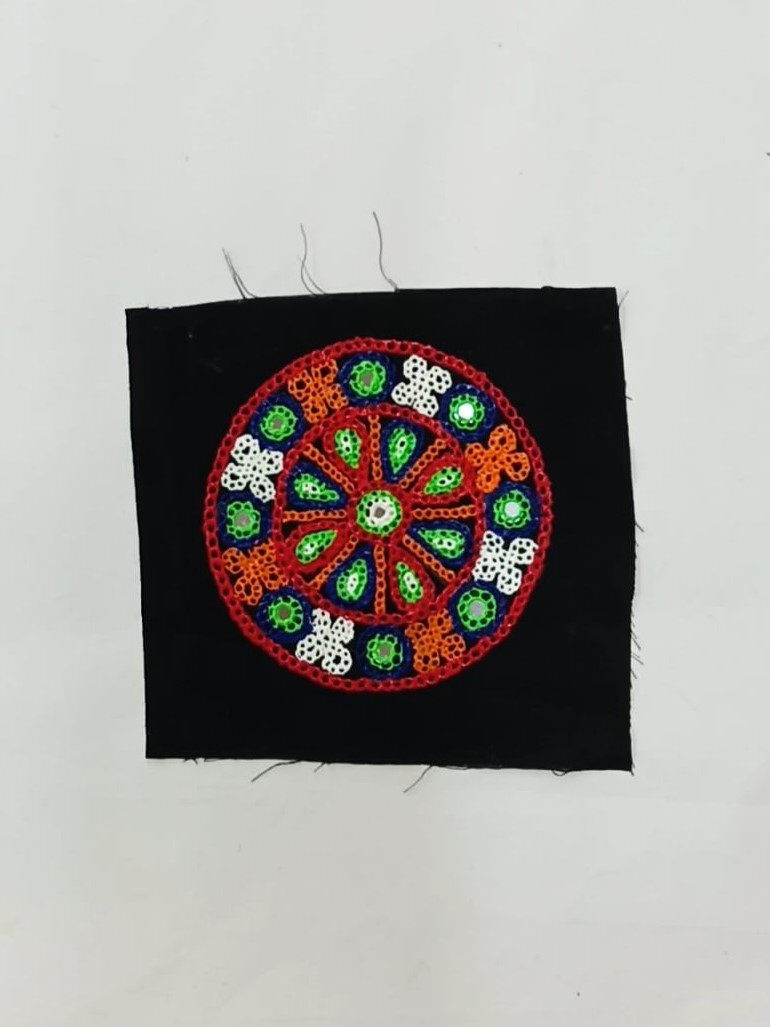
STEP 3 : Final look
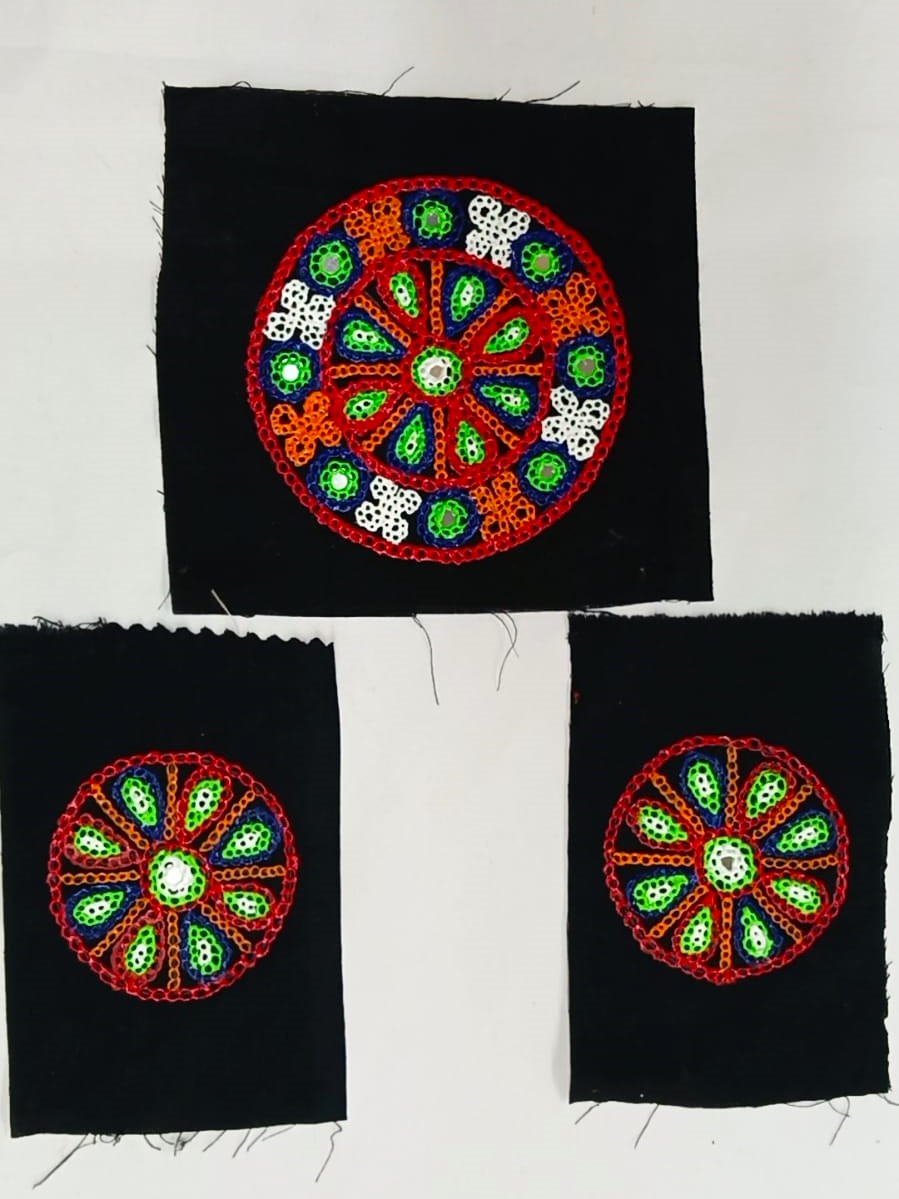
- Your design for the pendant and the earrings will look like this.
STEP 4 : Finishing touches

- Take a thin sponge sheet from any shirt packing.
- Mark and cut circles in the size of the pendant and earrings.
- Similarly cut the plain black fabric circles too.
- Stick the sponge circles on the rear side using Fabric Glue.
- Cover the sponge sheet with plain black fabric circle using Fabric Glue. Let it dry.
- Take green wool, plait the wool neatly and stitch around the pendant with needle and thread.
STEP 5 : Final look
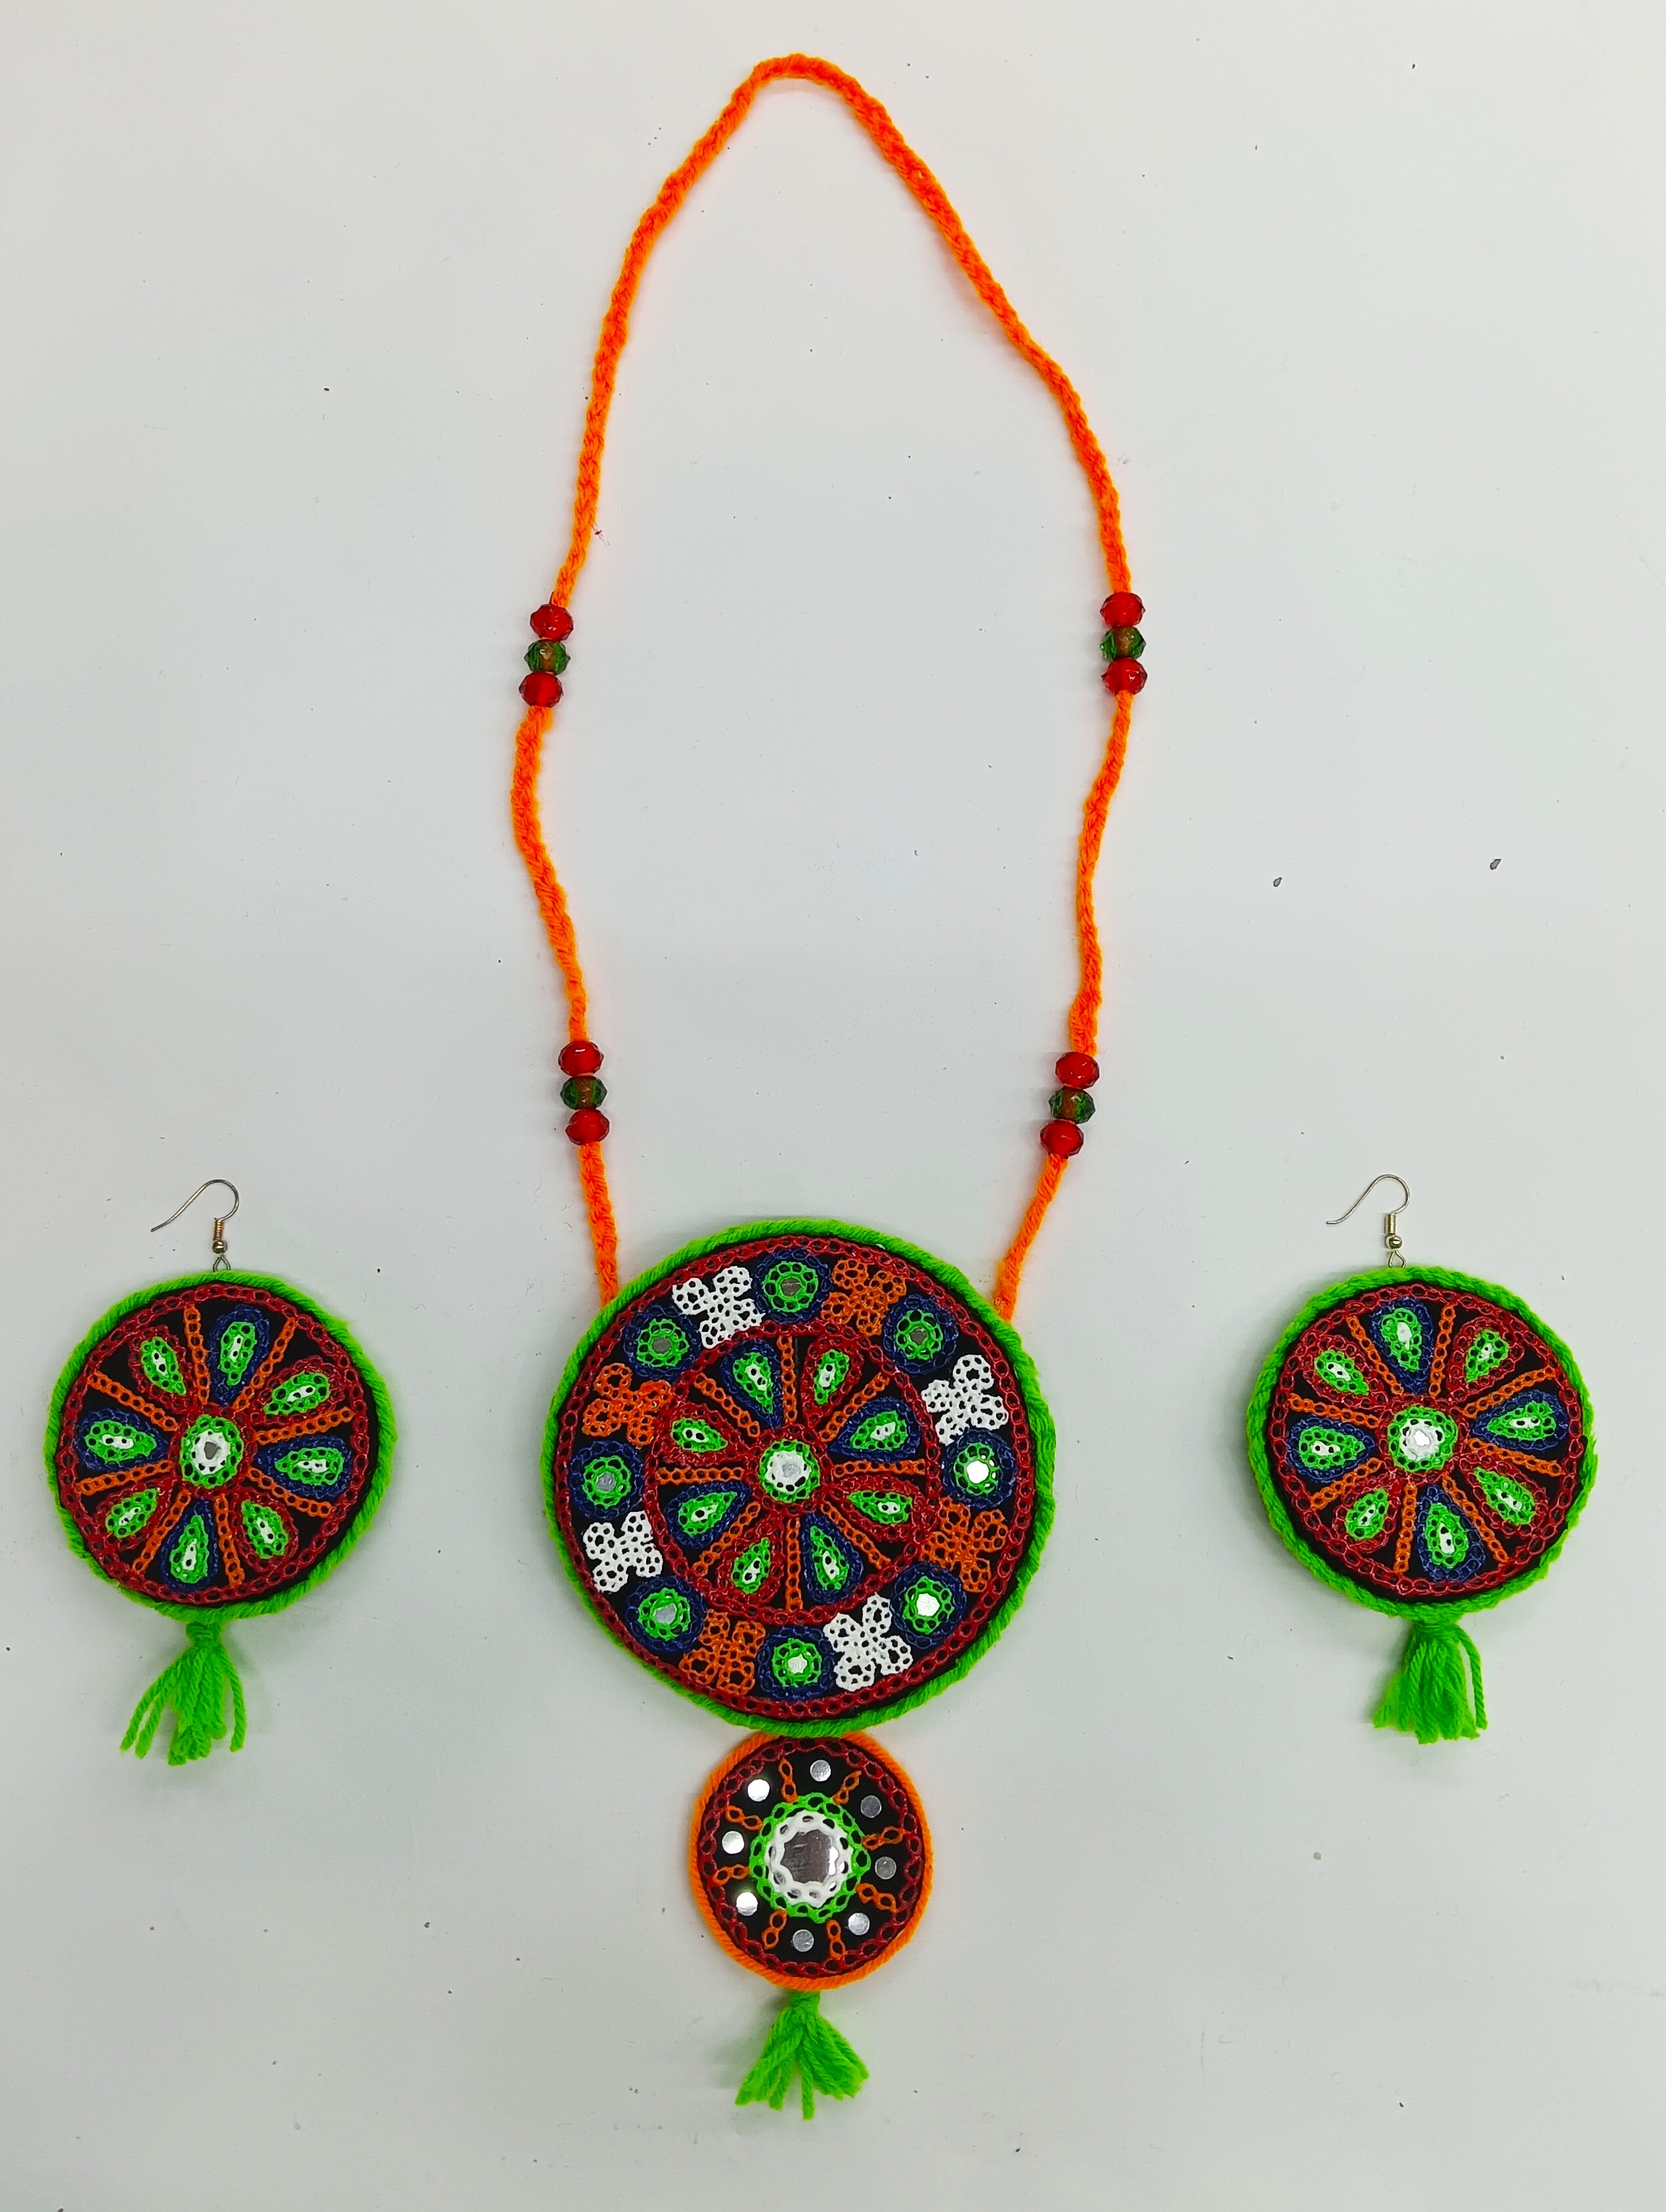
- Similarly repeat the process for the earrings too.
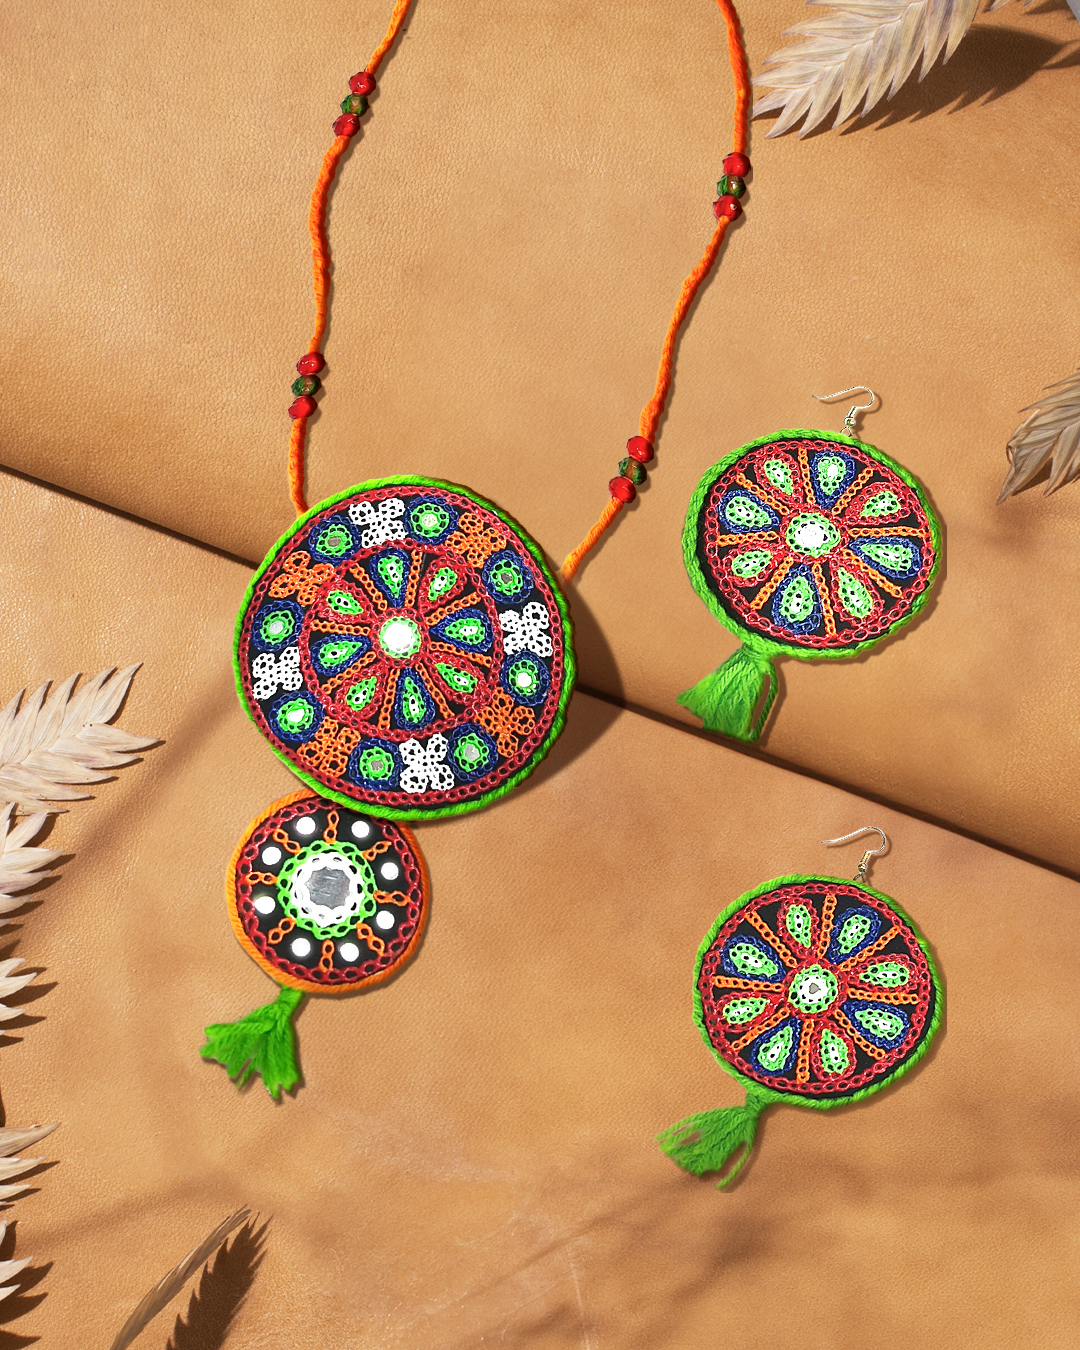
- Take orange wool, plait the wool by inserting colourful beads in between.
- Attach the plaited cord with beads to the pendant using Needle & Thread.
- Enhance the design by sticking foil mirrors in between using Fabric Glue. Let it dry.
- Attach the woolen tassels towards the bottom edge on the earrings and pendant. Attach the earring attachment too.


 +91 99676 55545