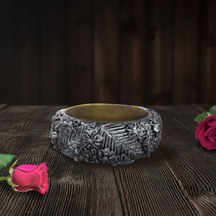
Kada With Mouldit Flowers
Sept. 27, 2019
You Will Need:
Fevicryl Acrylic Colour Black 02, Fevicryl Acrylic Colour Pearl Metallic Silver 351, Fevicryl Mouldit, Fevicryl Fabric Glue, Fine Art Brushes, Rolling Pin, Paper Cutter, Pencil, Plain Readymade Kada (Big Broad Bangle), Colour Palette, Water Container
Description :
A plain old kada transformed into a piece of art is what you will learn in this DIY. Read more to learn how.STEP 1 : Mixing Fevicryl Mouldit
• We are going to decorate the plain kada with Mouldit flowers and leaves.
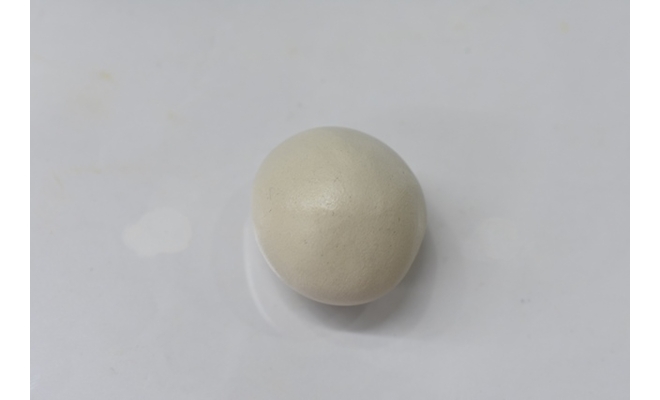
• Take the Mouldit resin base and hardener; mix it thoroughly to make even dough.
STEP 2 : Rolling the dough
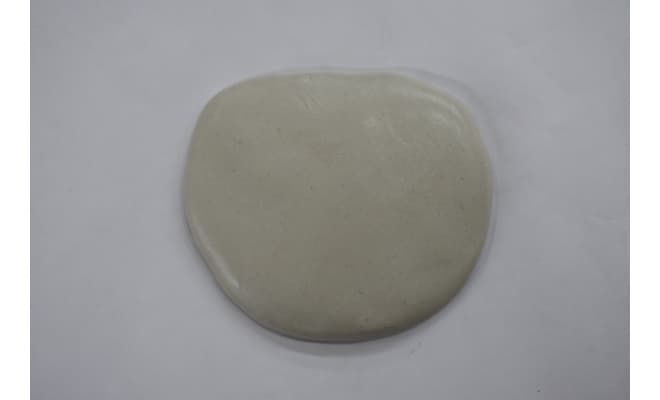
• Take the dough, roll it to make the medium thin slab with rolling pin.
• Let it get semi dry.
STEP 3 : Making leaves
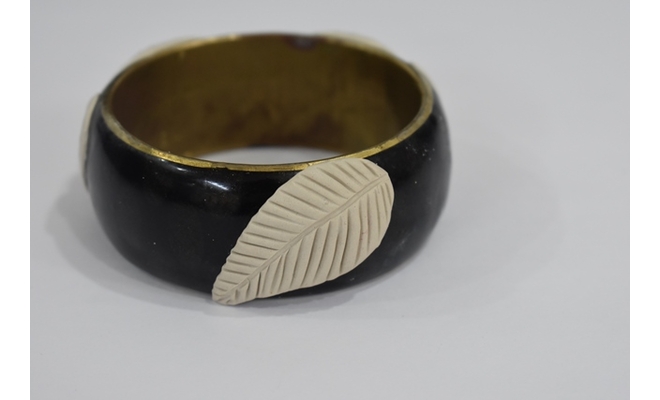
• Draw a few leaves with veins on the slab.
• Cut the leaves appropriately with a paper cutter.
• Create prominent veins with clay carving tools.
• Stick the leaves on regular intervals on the kada with Fabric Glue.
• Let it dry.
STEP 4 : Making flowers
• Take the dough; divide them into very tiny balls to make the petals of the flowers with pinching technique.
• Let the petals get semi dry.
• Attach the petals together to make the shape of a tiny flower.
• Stick such a bunch of flowers in between the leaves with Fabric Glue.
• Let it dry completely.
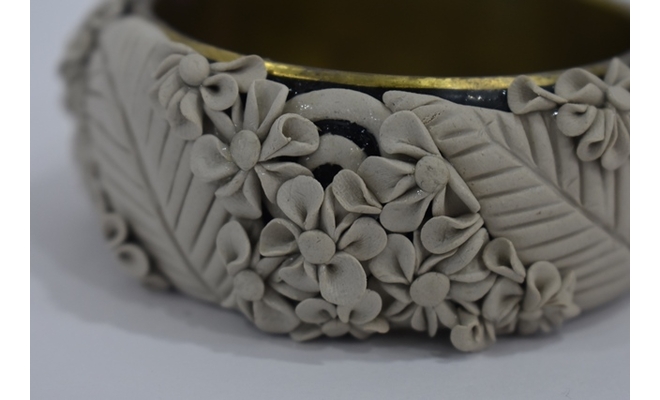
STEP 5 : Assemble

• Your kada will look like this after sticking the flowers.
STEP 6 : Painting the kada
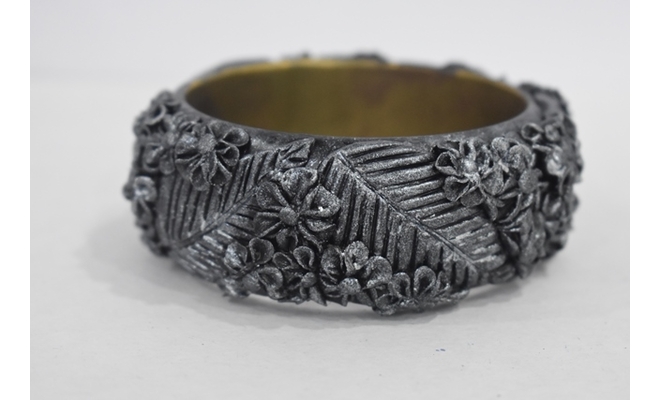
• Paint the flowers and the leaves with Acrylic Colour Black 02 and Pearl Metallic Silver 351.
• Leave it to dry completely.


 +91 99676 55545