Diy Photo Frame

May 13, 2019
You Will Need:
Fevicol MR, Cardstock, Ruler, Pencil/pen, Scissor.
Description :
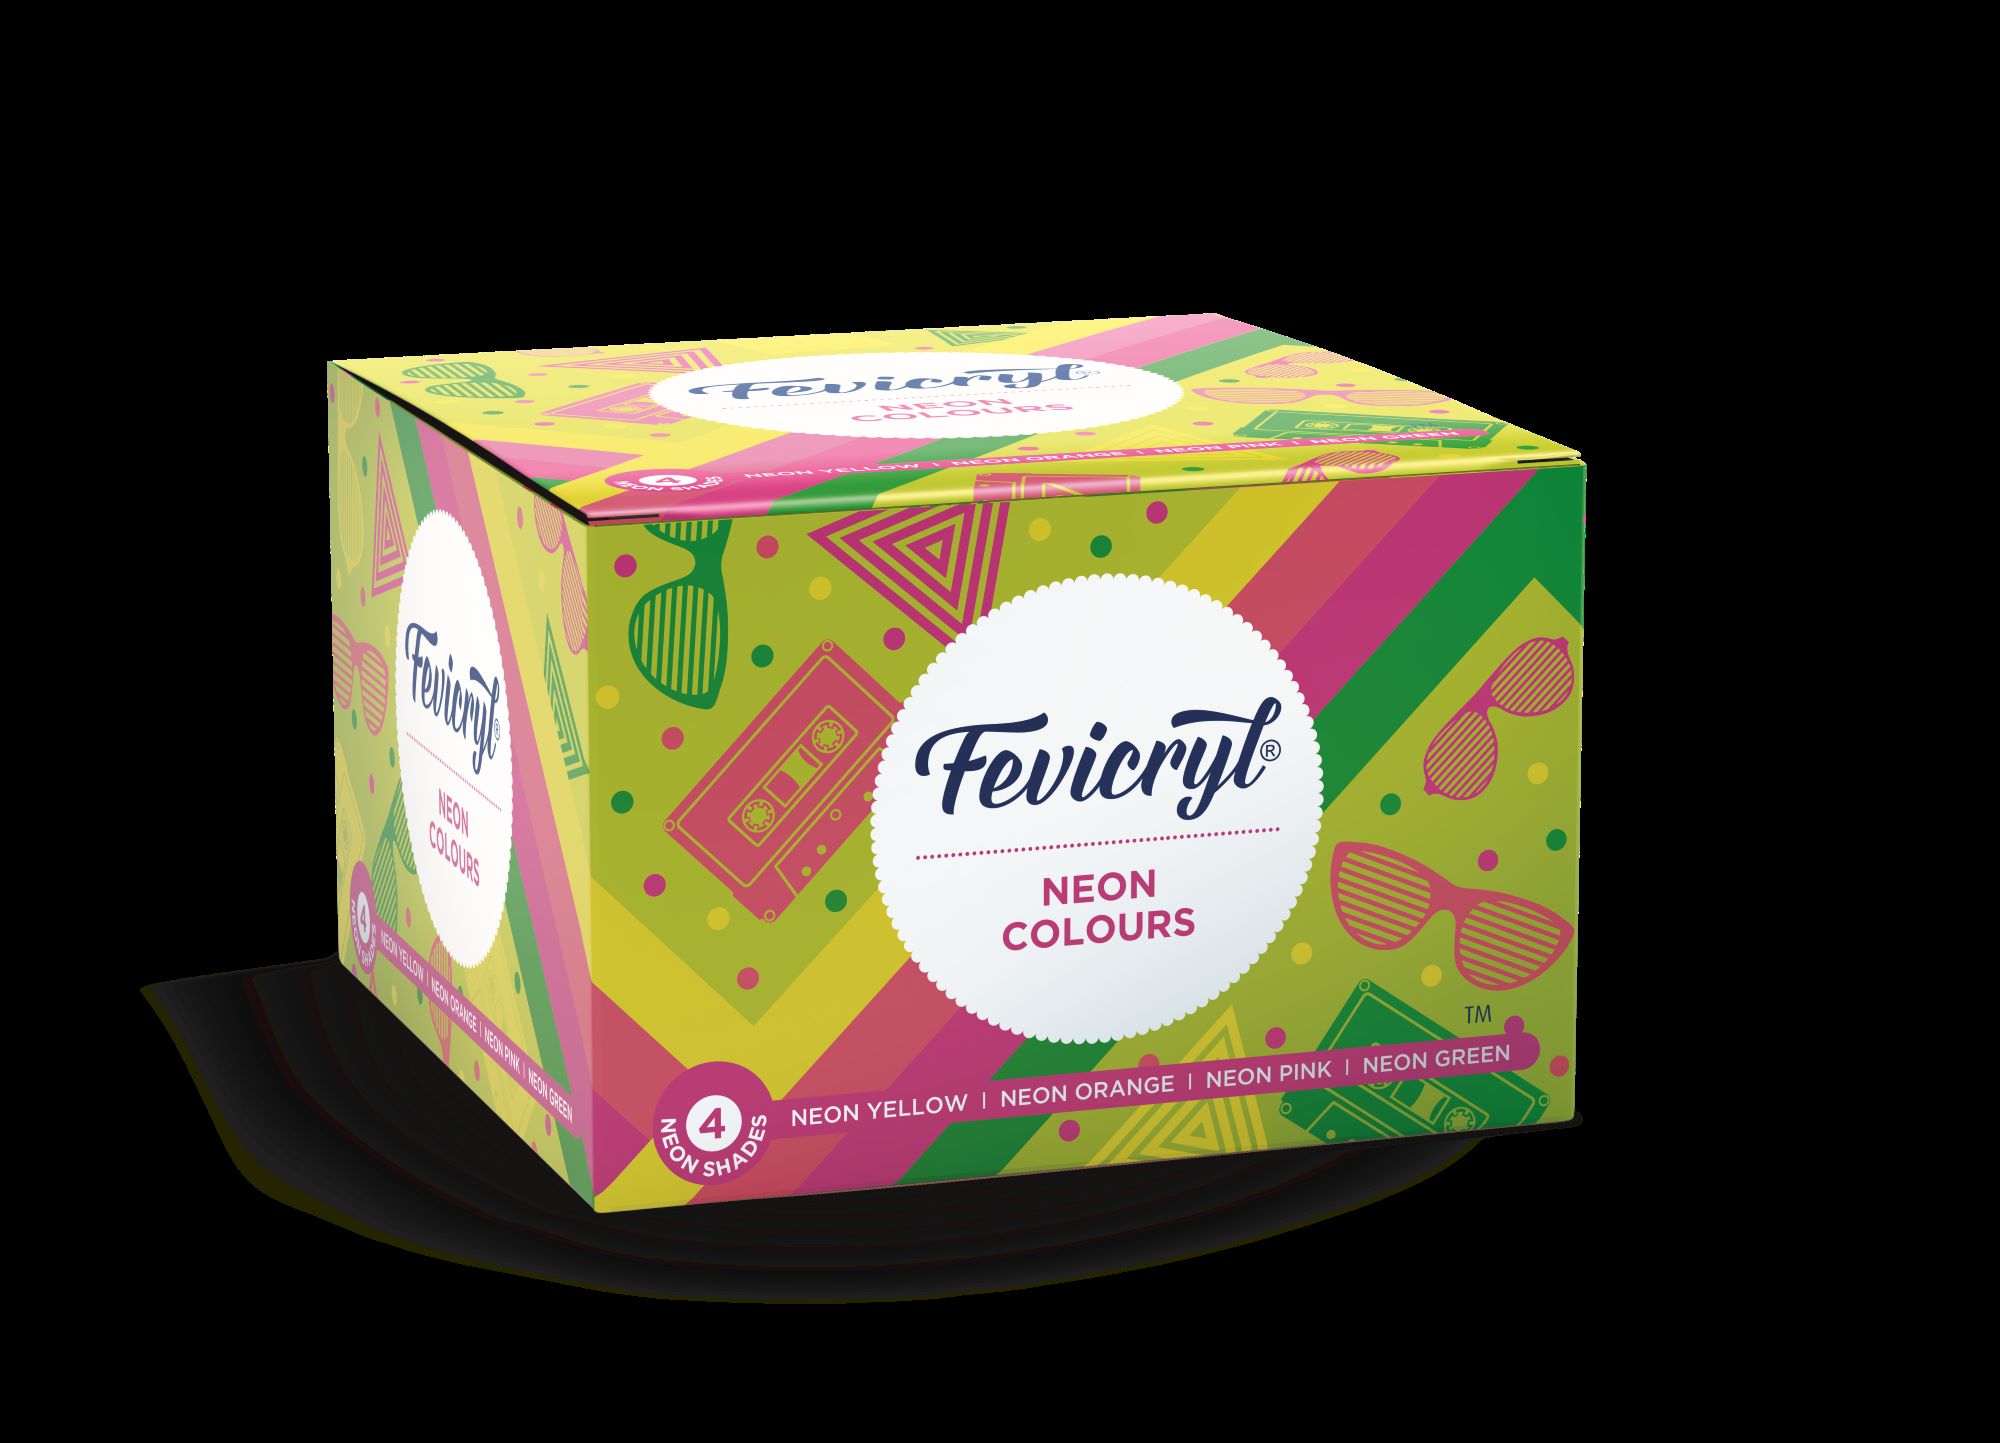
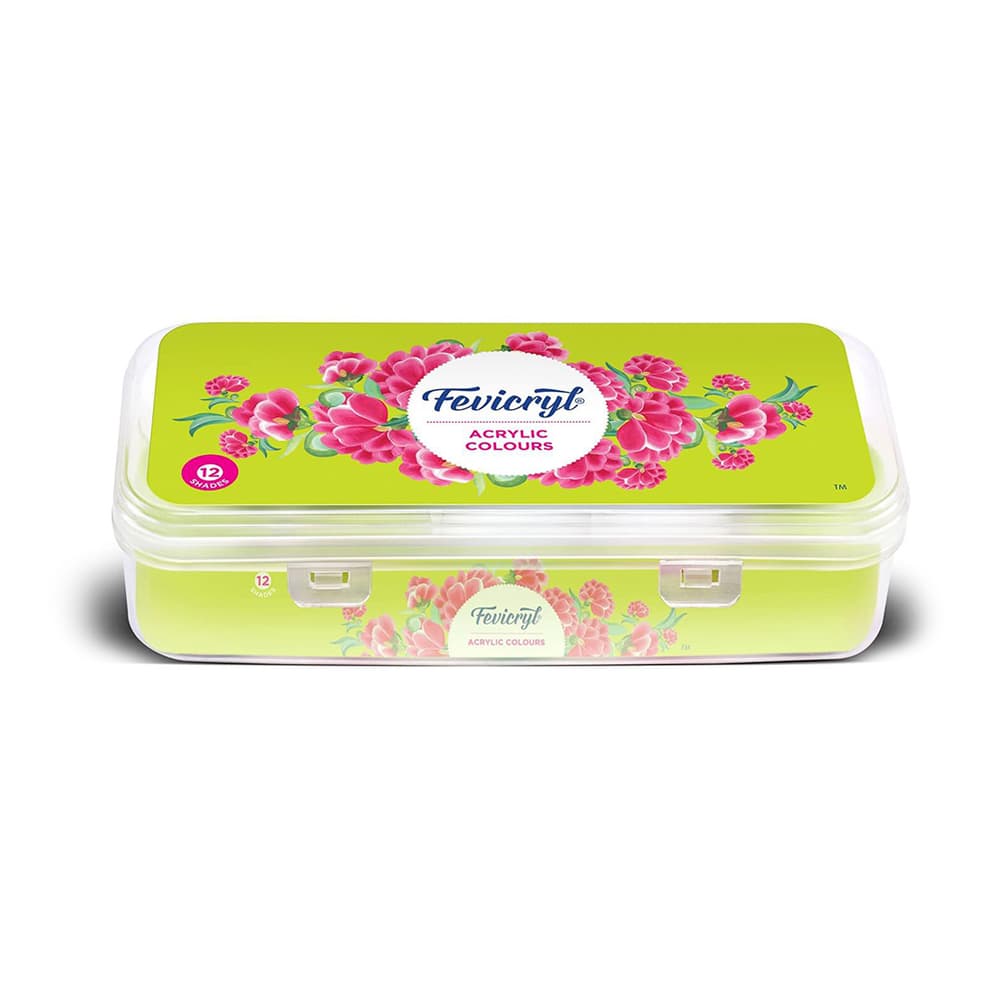
I made this frame from cardstoke/cardpaper. And decorated with few pattern papers . You can also decorate this with neon colours, acrylic colours or fevicryl liners.Choice is yours.I'm sharing with you how I made this frame.STEP 1
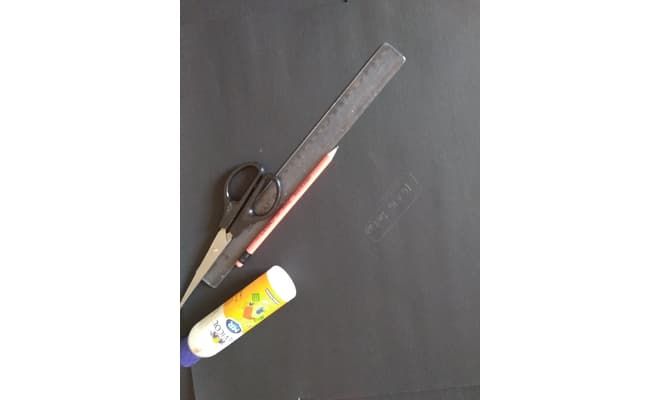
Here you'll need one 16×16 inches cardstock , Fevicol MR , Ruler , scissor & pencil/pen.
STEP 2
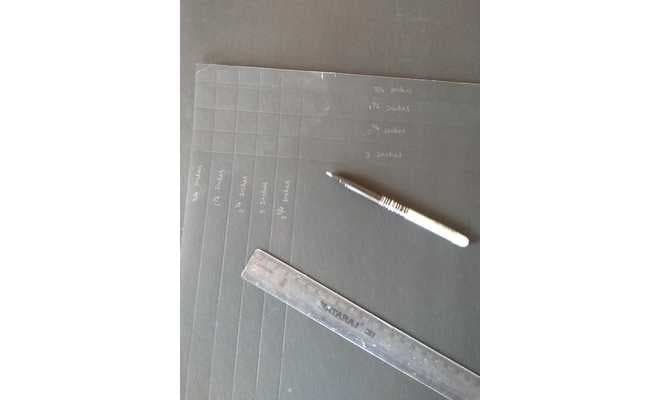
Take a cardstock and mark point at 3/4 , 1 1/2, 2 1/4, 3 , and 3 3/4 inches . Mark these lines for all the four sides of cardstock.
STEP 3
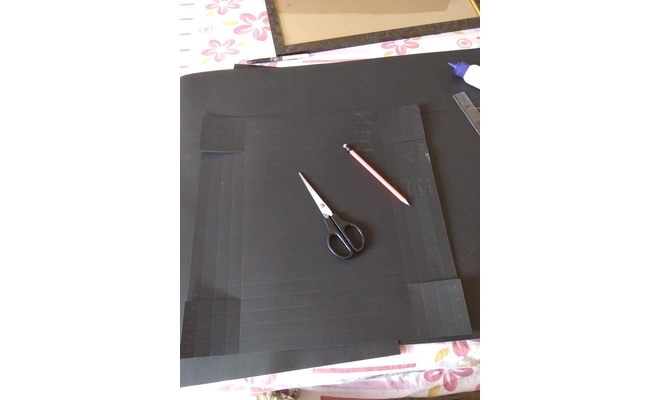
As shown in the picture , cut off two sides of cardstock upto 4 lines. After cutting it will look like this (see the picture above).
STEP 4
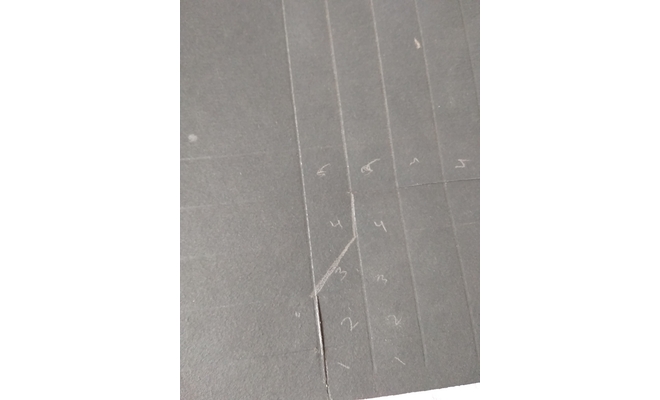
For remaining two sides, first cut upto 2nd line then cross 3rd line & after that cut upto 4th line. I've marked it in the picture .
STEP 5
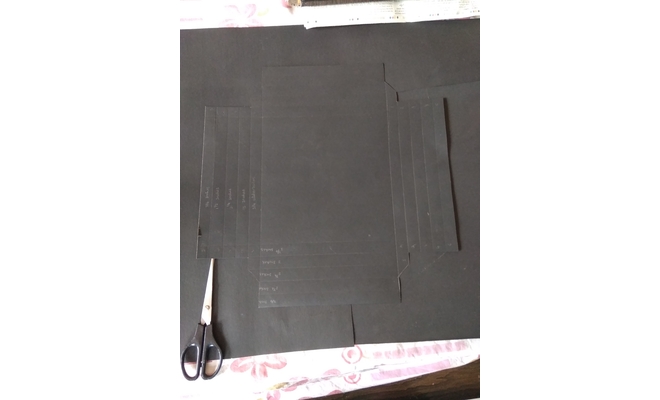
After cutting all the sides it will look like this. And then fold the marked lines to make a frame .
STEP 6
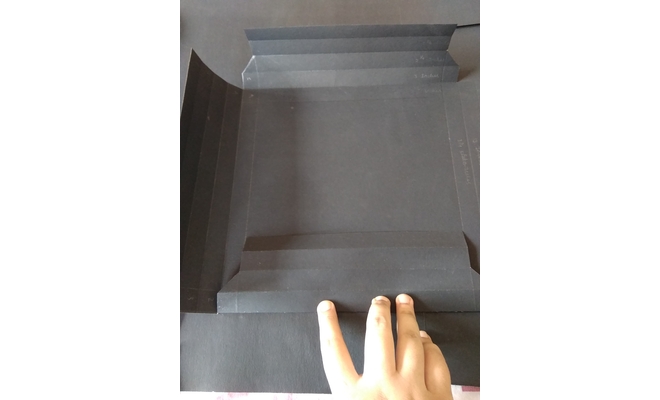
Fold the lines like this . And make a frame layout roughly (Don't stick it immediately).
STEP 7
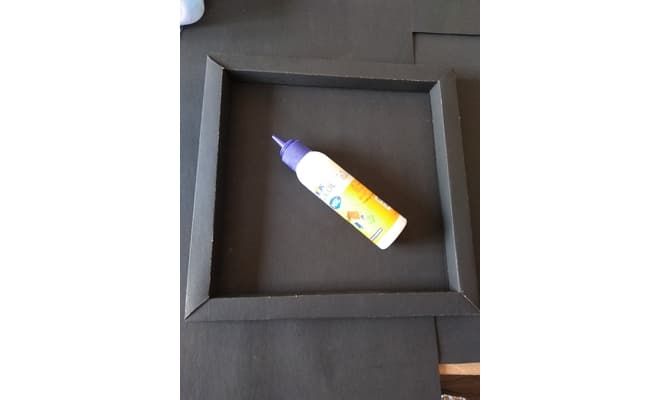
After getting the frame layout you can stick it with Fevicol MR.
STEP 8
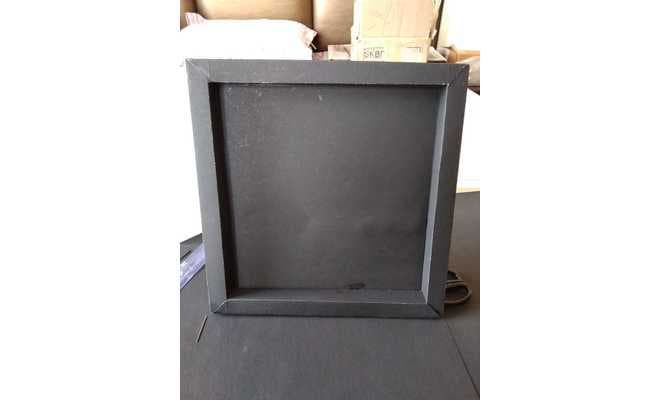
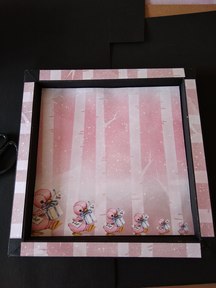
Here's the frame made with cardstock. You can embellished it as you want.
STEP 9
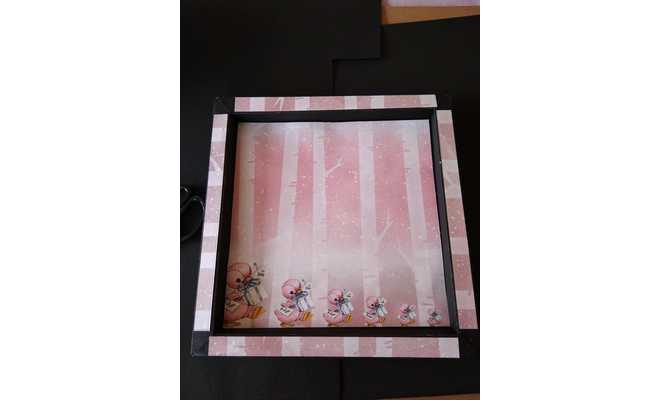
I have embellished it with few pattern papers, flowers and photos .
Hope you l like this DIY.
Thank you!


 +91 99676 55545