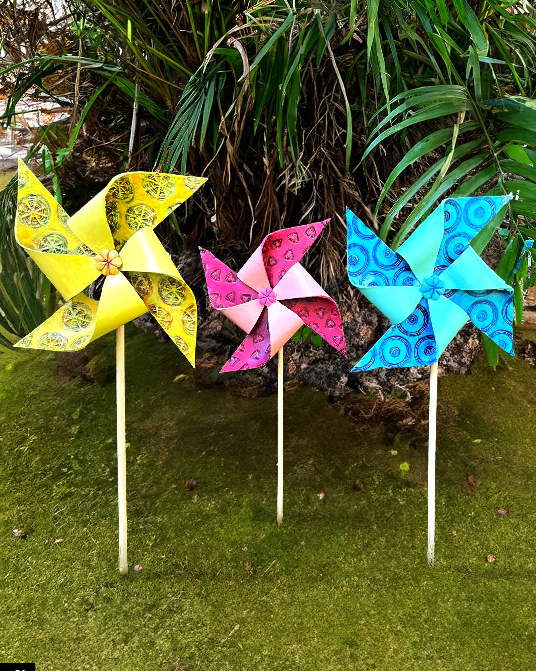
Clay Pinwheel For Garden

You Will Need:
Fevicryl Acrylic Colours Burnt Sienna 01, Black 02, Chrome Yellow 03, Crimson 04, Maroon 14, Prussian Blue 19, Fevicryl Pastel Acrylic Colours Kit, Fevicryl Mouldit, Fevicryl Fabric Glue, Fine Art Brushes, Wooden Sticks, Rolling Pin, Paper Cutter, Pencil, Clay Modelling Tools, Colour Palette, Water Container
Product Used:

Description :
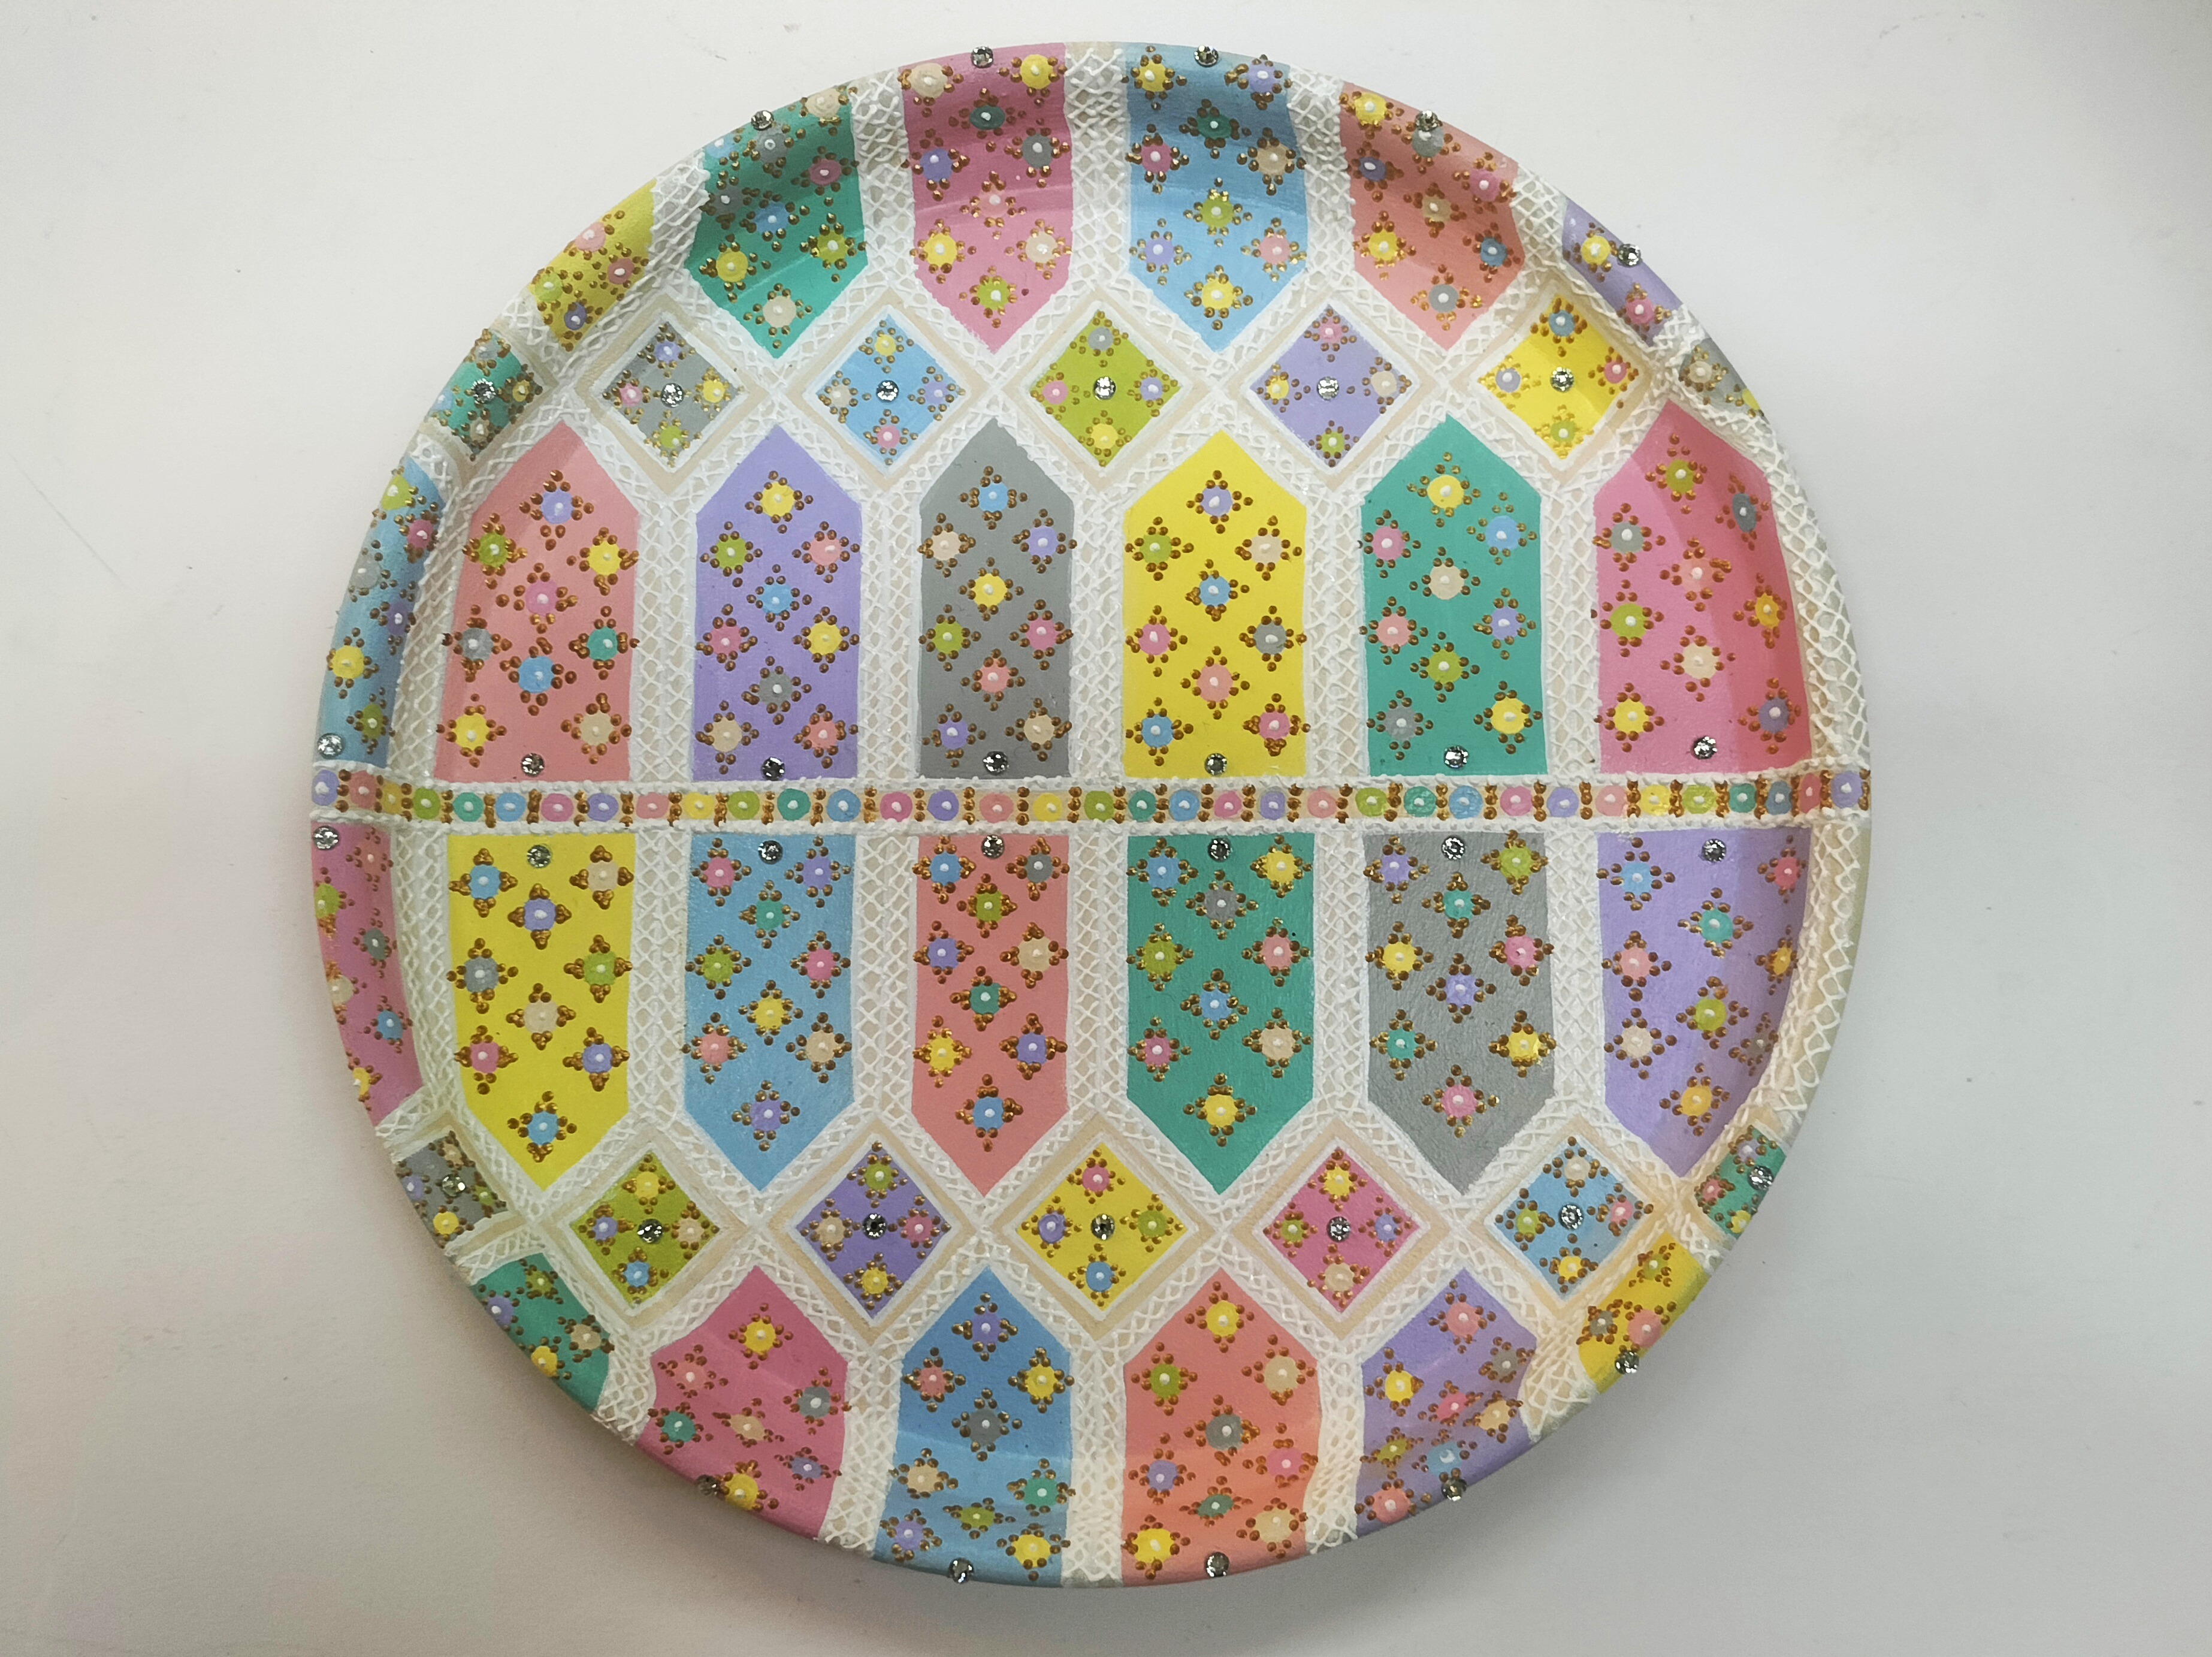
Create a charming clay pinwheel for your garden using Mouldit and Acrylic Colours. This project combines clay modeling and painting for a delightful garden decoration.
STEP 1 : Prepare the dough
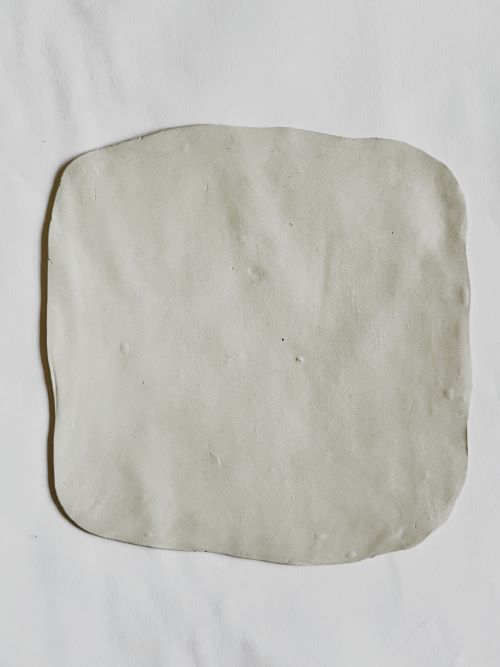
- Knead the Mouldit resin and hardener until soft and pliable.
- Roll out the clay using a rolling pin to about 1/8-inch thickness, ensuring the surface is smooth and even.
STEP 2 : Create Impressions
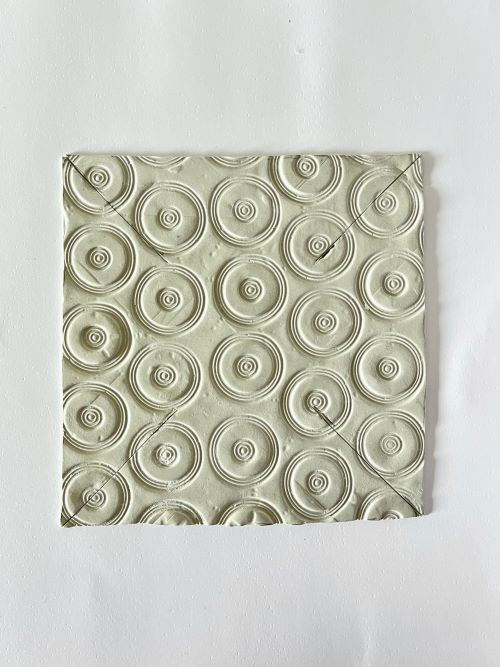
- Mark and cut the slab into a square shape.
- Use clay modelling tools and a marker pen cap to create impressions on the slab.
- To make the blades of the pinwheel, lightly mark the center of the square with a toothpick.
- Follow the pinwheel template and make cuts on the 4 opposite corners using a paper cutter. Refer to the image for the cut lines.
STEP 3 : Shape the Pinwheel
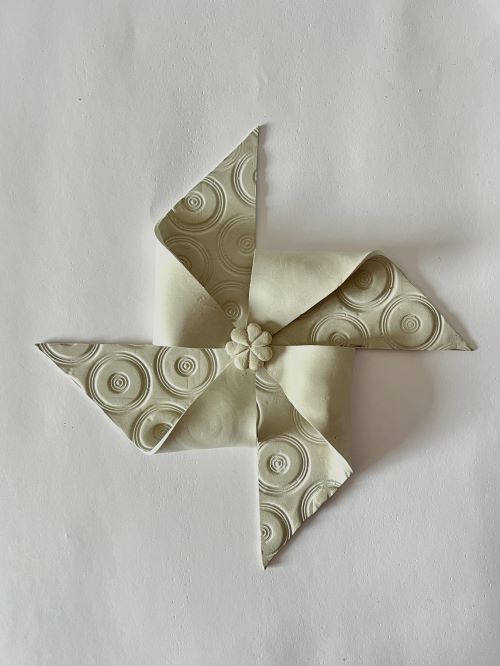
- Fold the corners carefully by lifting every other corner of the square and bringing it towards the center.
- Press the tips gently into the center to form the pinwheel shape.
- Secure the center using Fabric Glue.
- Take some clay to make a flower and stick it in the center with Fabric Glue for finishing touches.
STEP 4 : Paint and Decorate
- Paint the pinwheel with Acrylic Colours Burnt Sienna 01, Black 02, Chrome Yellow 03, Crimson 04, Maroon 14, Prussian Blue 19, and Pastel Acrylic Colours Aqua Blue, Soft Peach, and Buttercup Yellow.
- Let it dry.
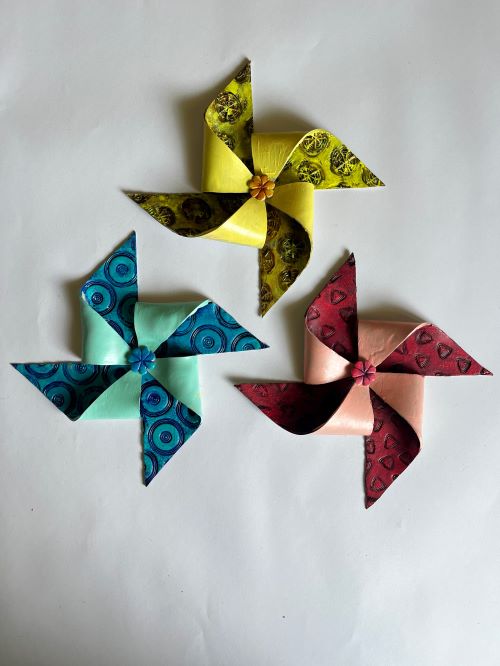
STEP 5 : Final look

- Your pinwheels are now ready to decorate your garden.


 +91 99676 55545